Curtains, Roof Bars, Awning and Roof Box..
My wife and I are almost finished converting a delivery van into a motorhome. The main bits of work are now complete and you can see the entire collection of posts here.
If you just want to look at pictures, here is a running project photo journal with the most recent photos at the top.
This post deals with the addition of curtains, roof bars, awning and a roof box.
Costs
The curtains, roof bars, awning and roof box cost us around £650. We found a second hand awning and roof box from eBay, the rest of the items were new.
Roof Bars
The decision came down to the following two products:
I decided to go with the Van Guard product, because of the T-Track system, making it easier to secure our custom bits onto it later.
This product can be either fixed to an existing VW T-Track or through existing mount points on the roof. The T-track option was appealing, however since our vehicle is not fitted with this piece of kit (I am actually not convinced the product exists), I used the old fashioned approach and drilled through the plastic caps.
The following photos are courtesy of Van Guard.
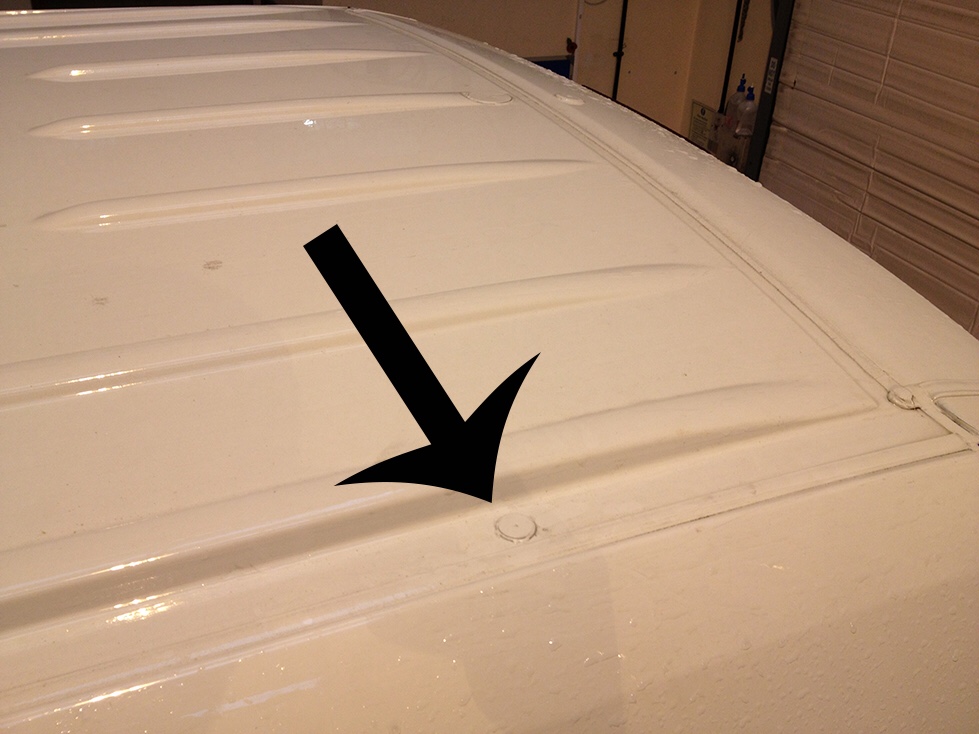
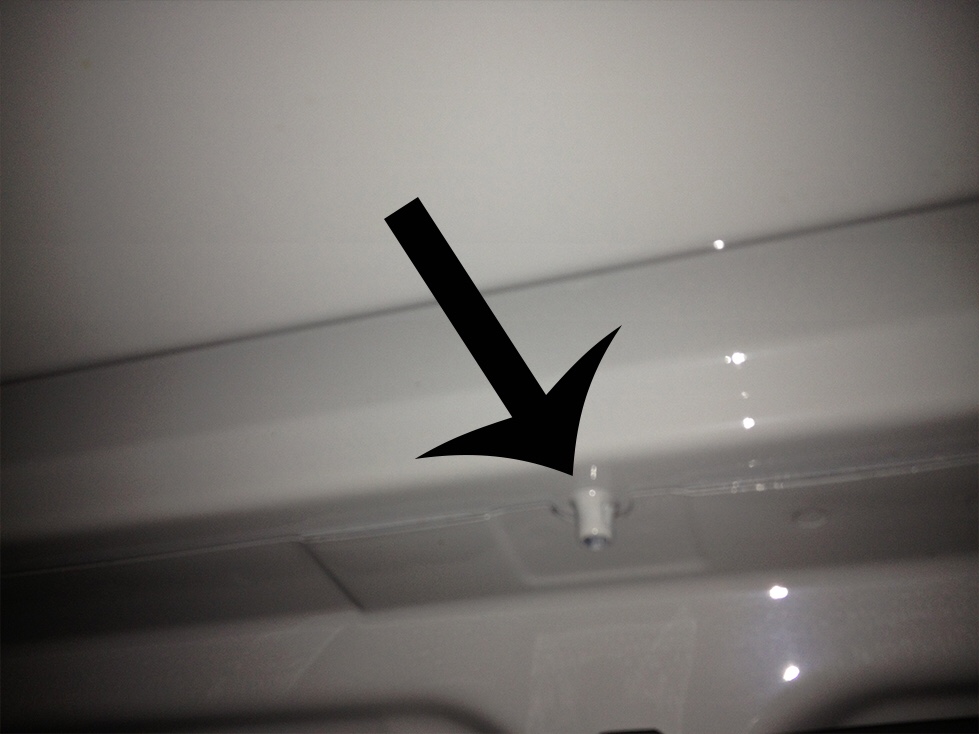
The literature stats no drilling is required, but please be assured, that unless you have this T-track already fitted to your roof, you will have to drill through the plastic caps and secure the bolts through the roof with nuts and washers from inside the vehicle. Of course by this point, we already put the ceiling up as well as all the furniture and taking it all apart wasn't an option. Luckily, the holes I made from the top were in convenient enough locations, for me to be able to get to them. If I was to do this again, I would put up the roof bars first, before doing all of the internal panels.
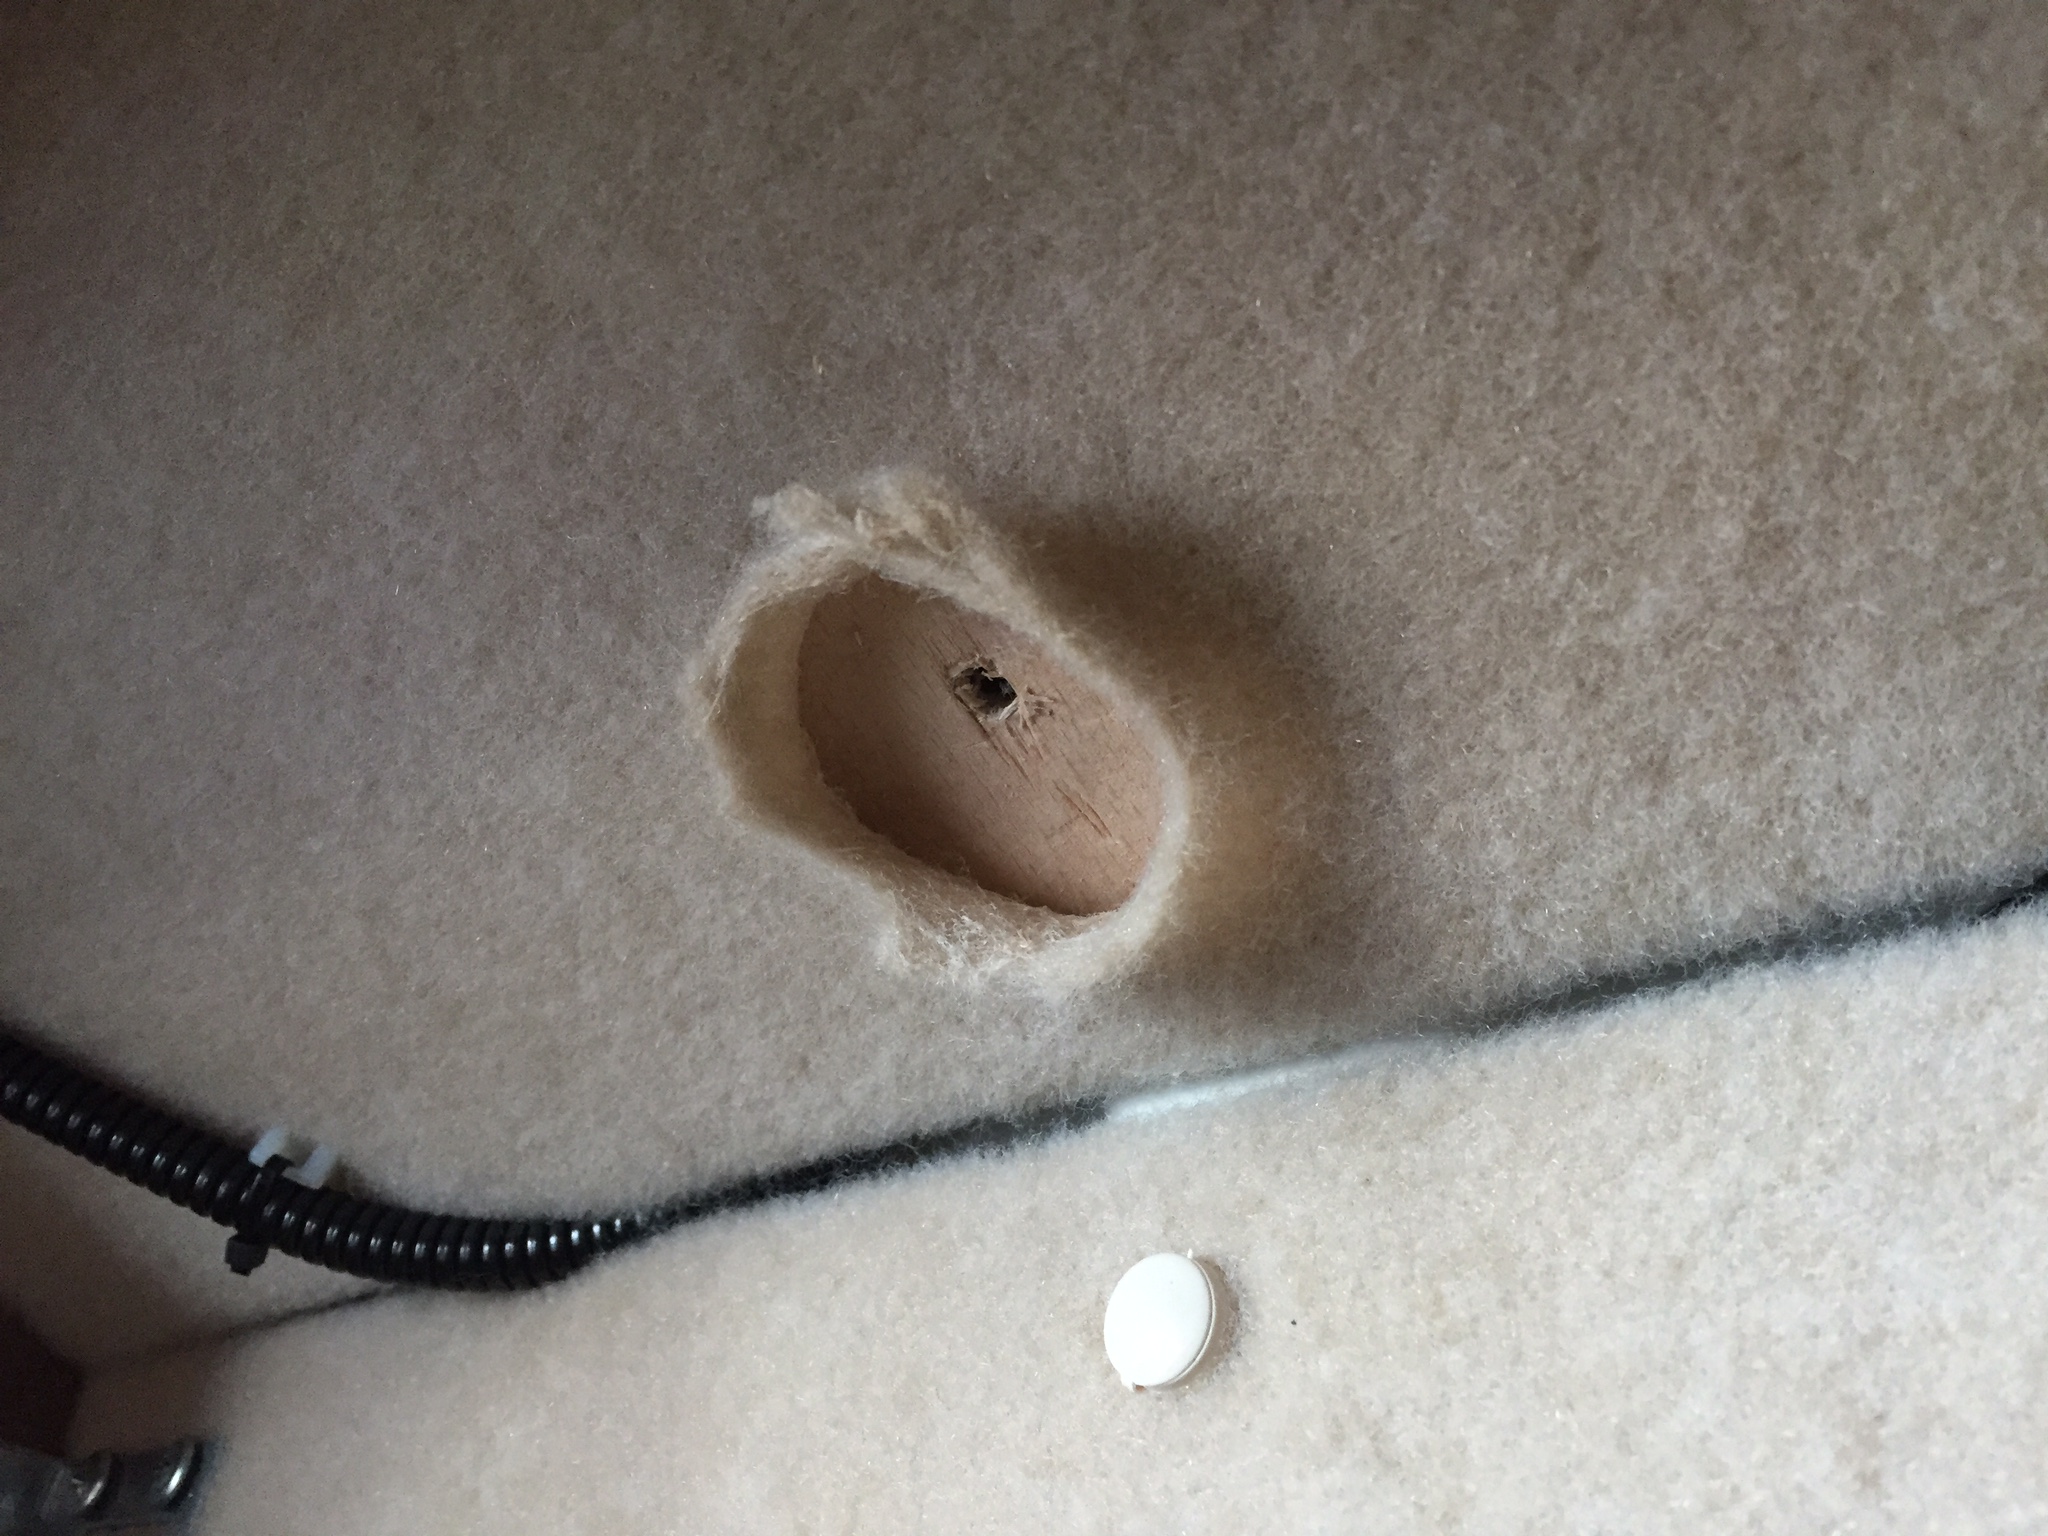
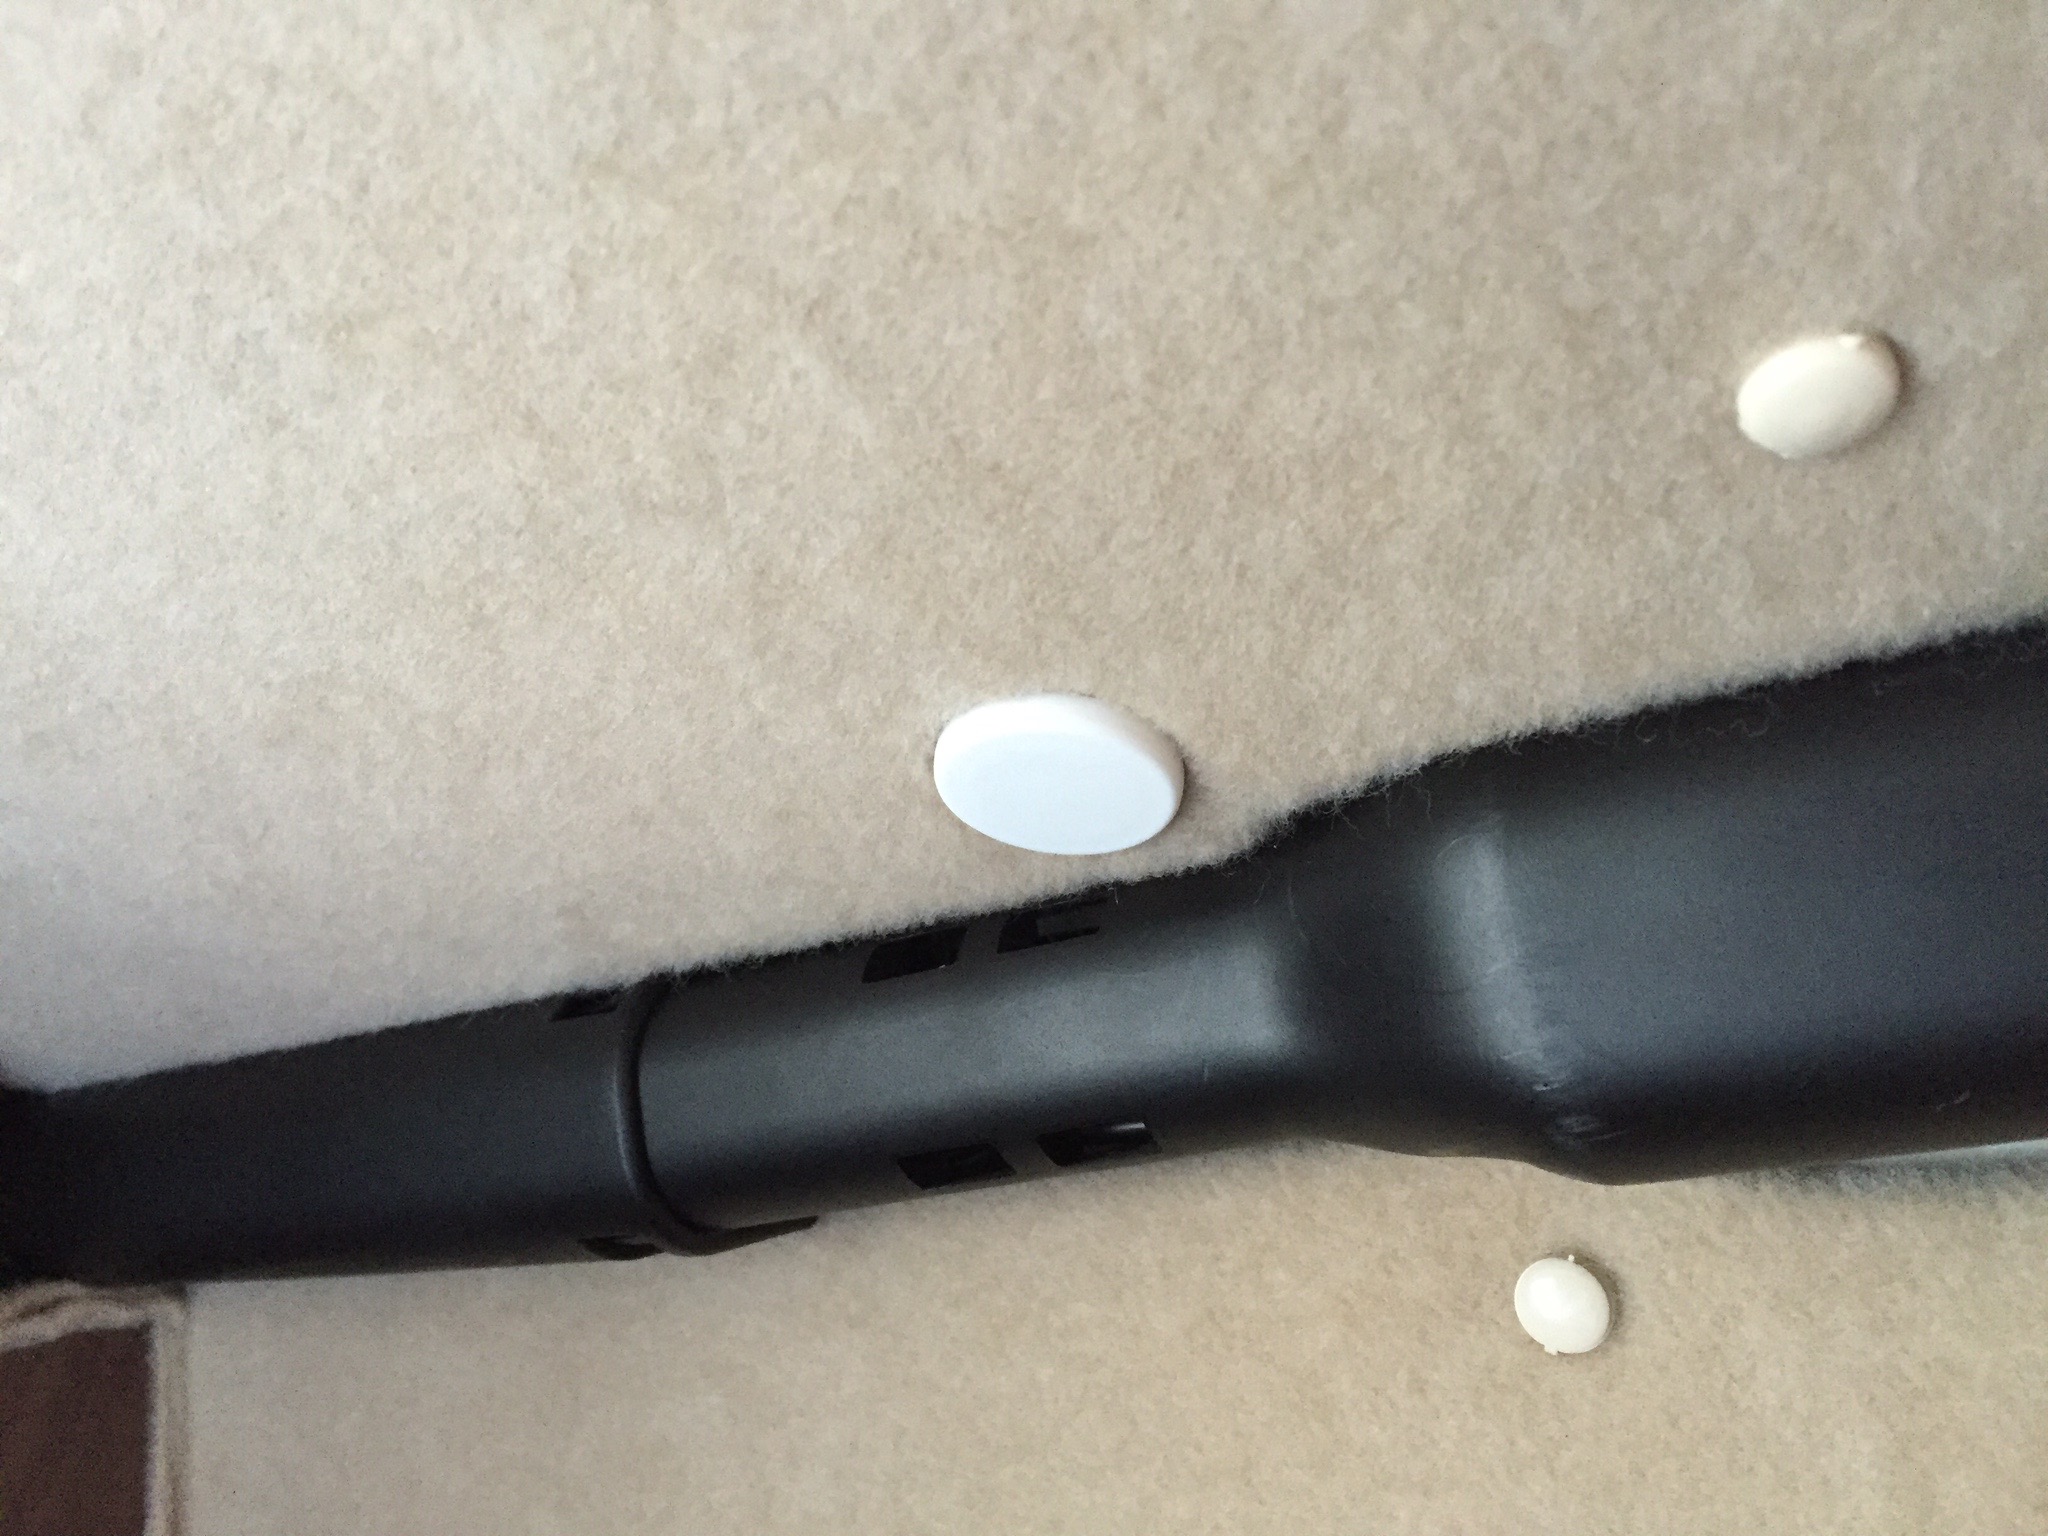
I took the approach of drilling through the plastic caps all the way through the ceiling panels.
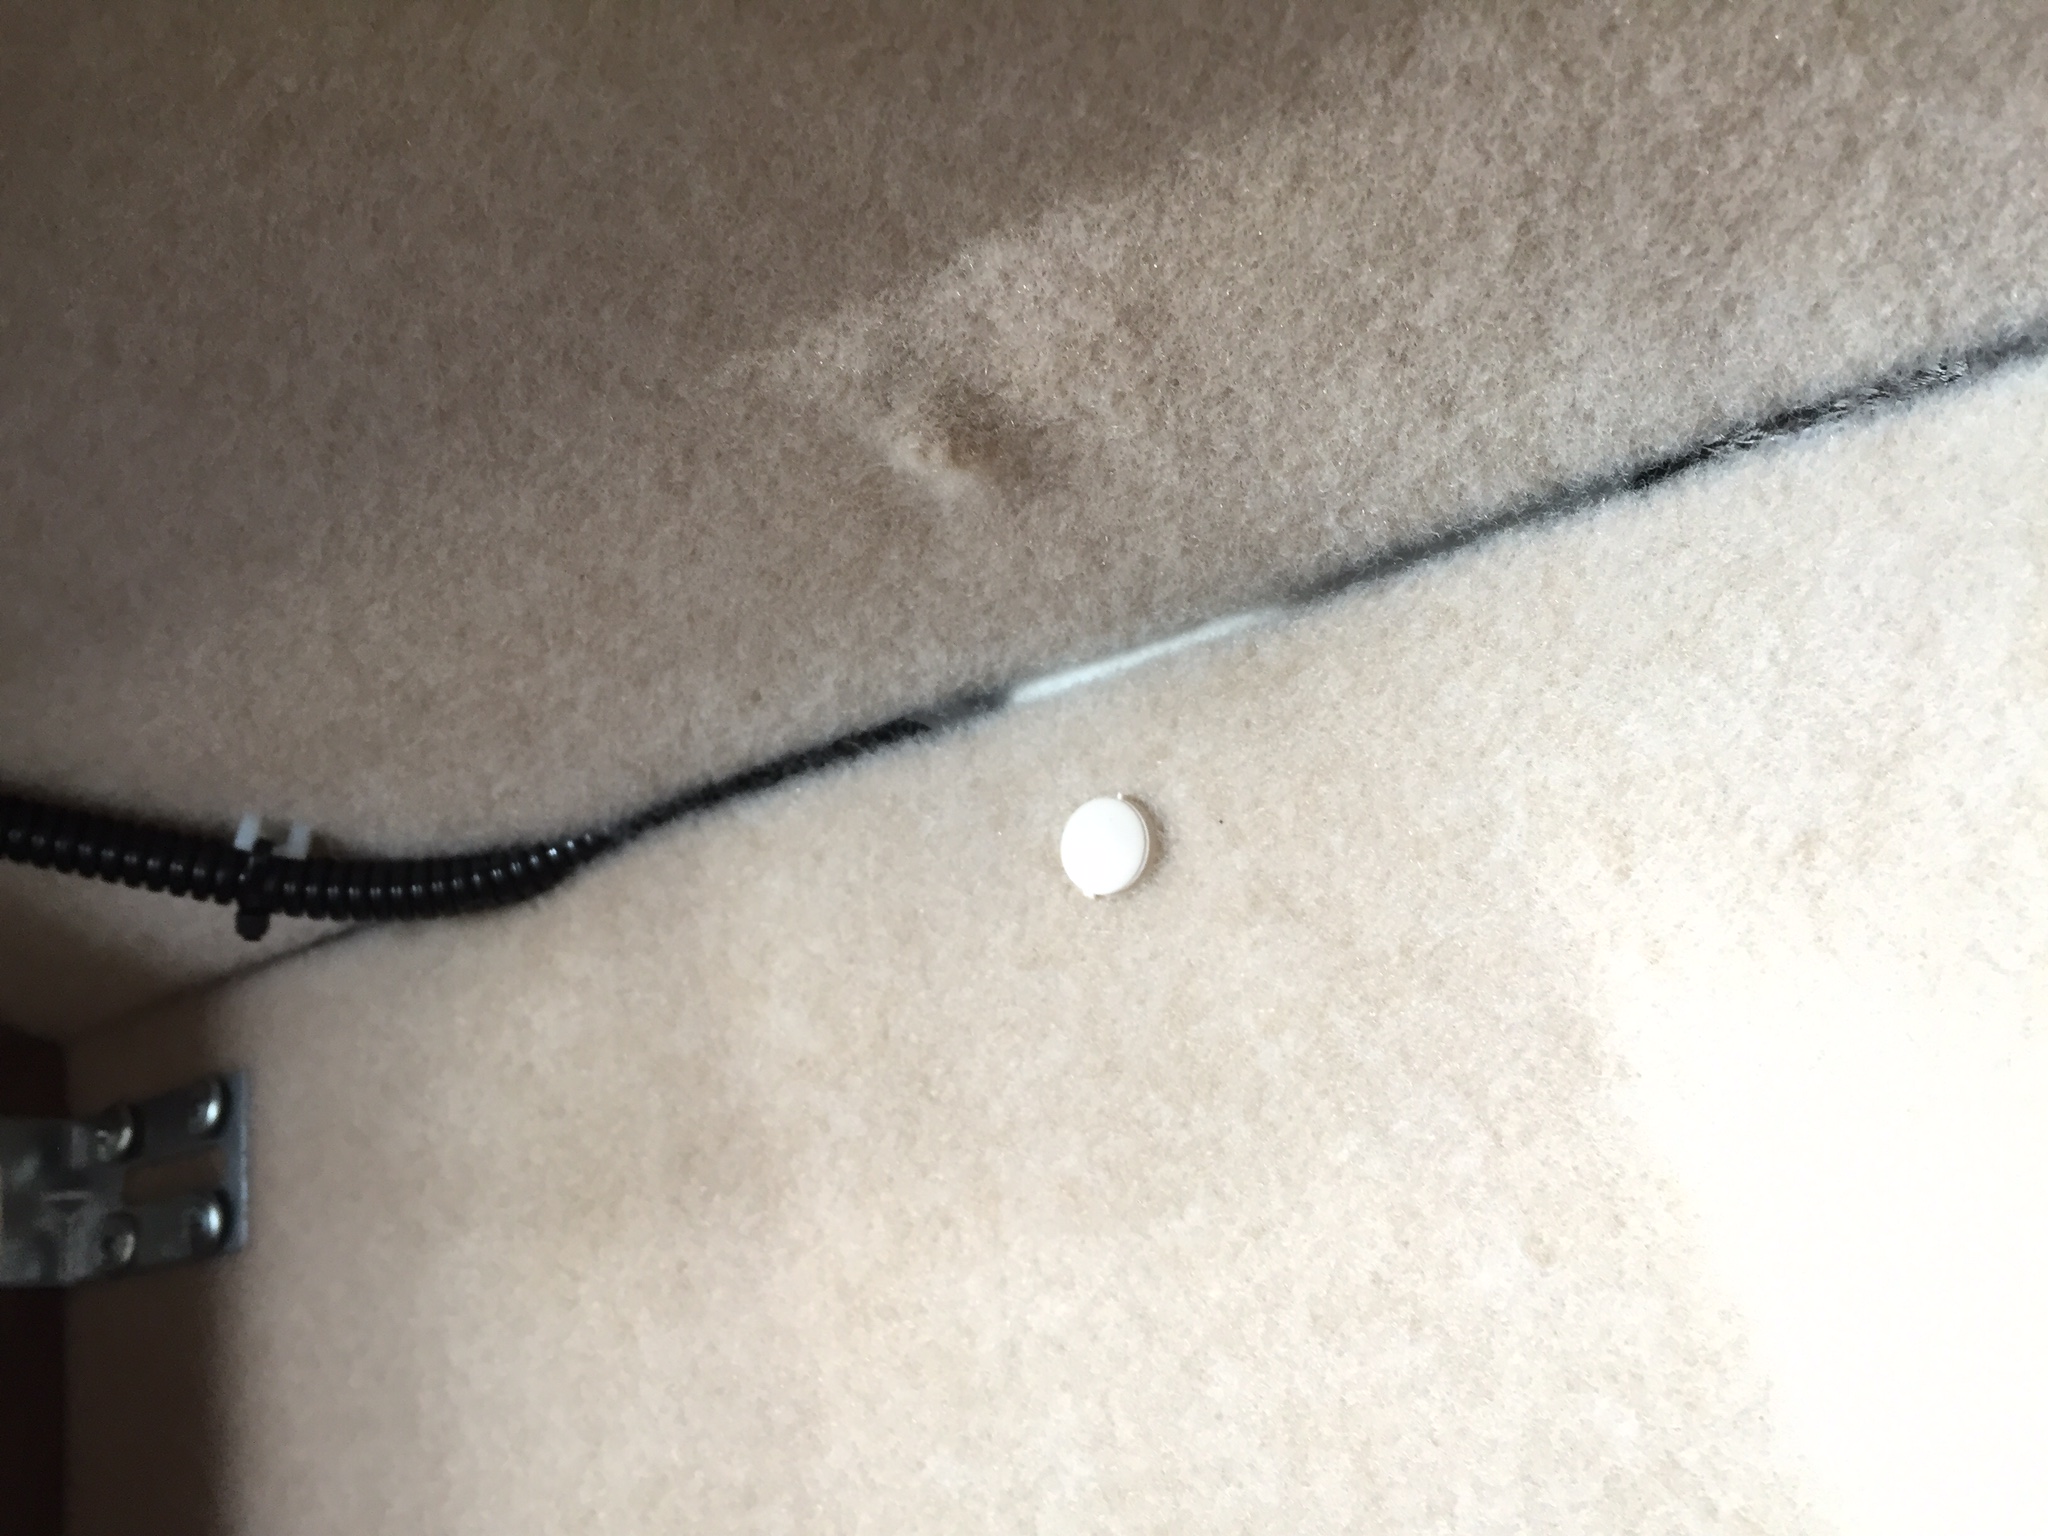
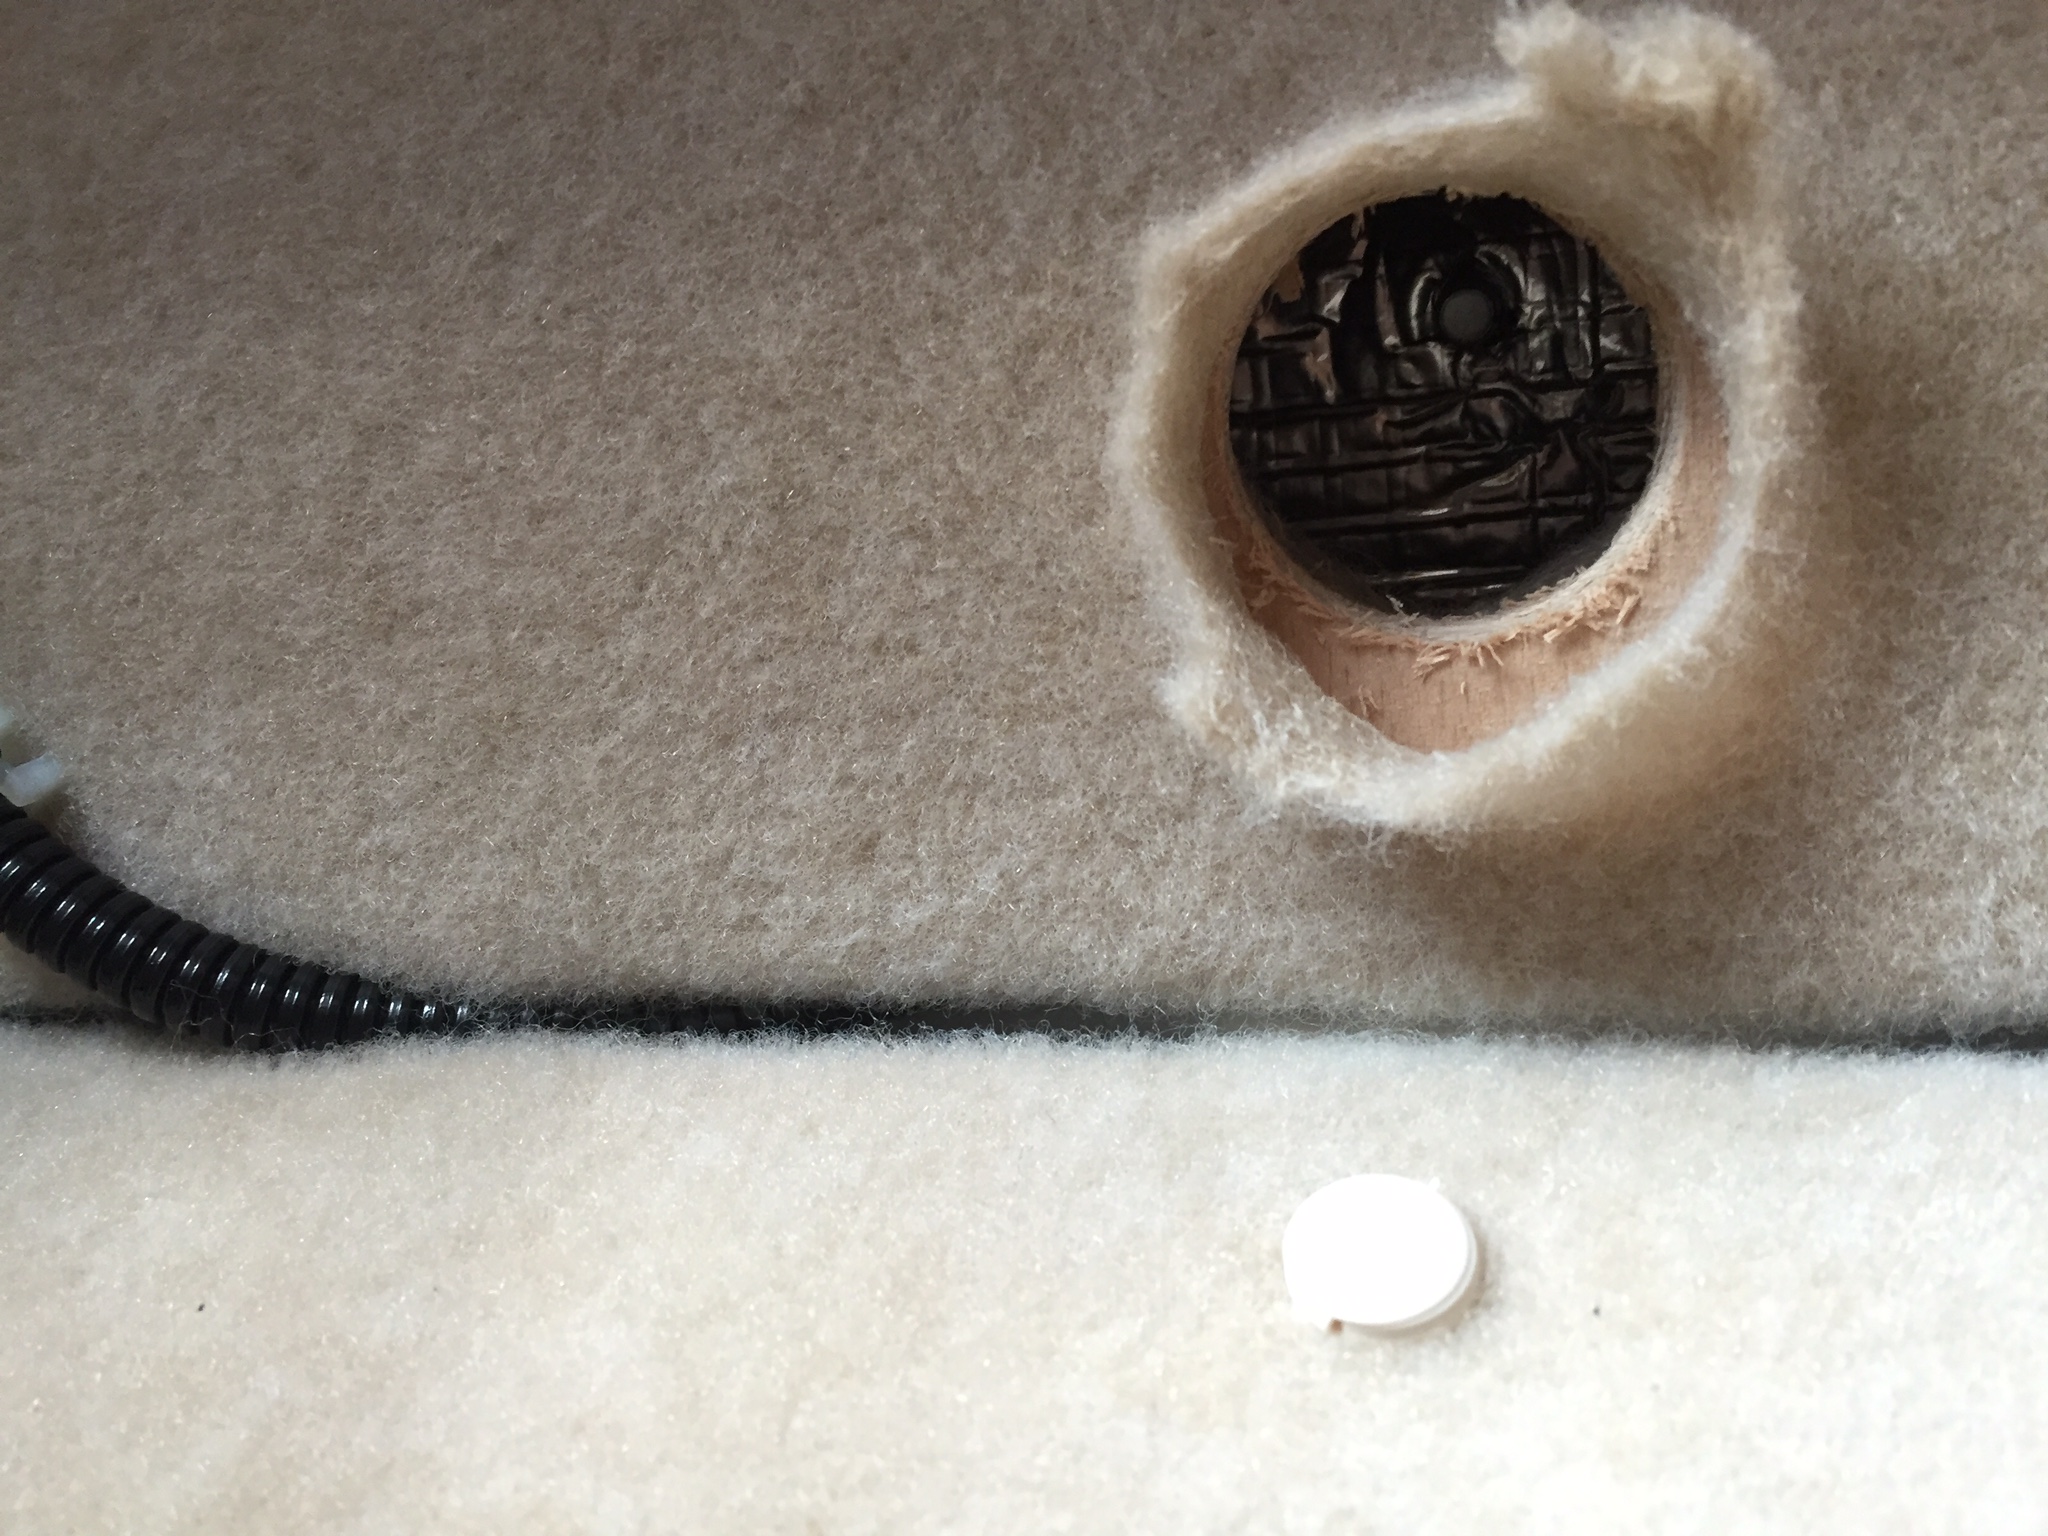
I then cut and peeled back the carpet around the centre of the hole and cut a 32mm hole with a holesaw to reach the bolt.
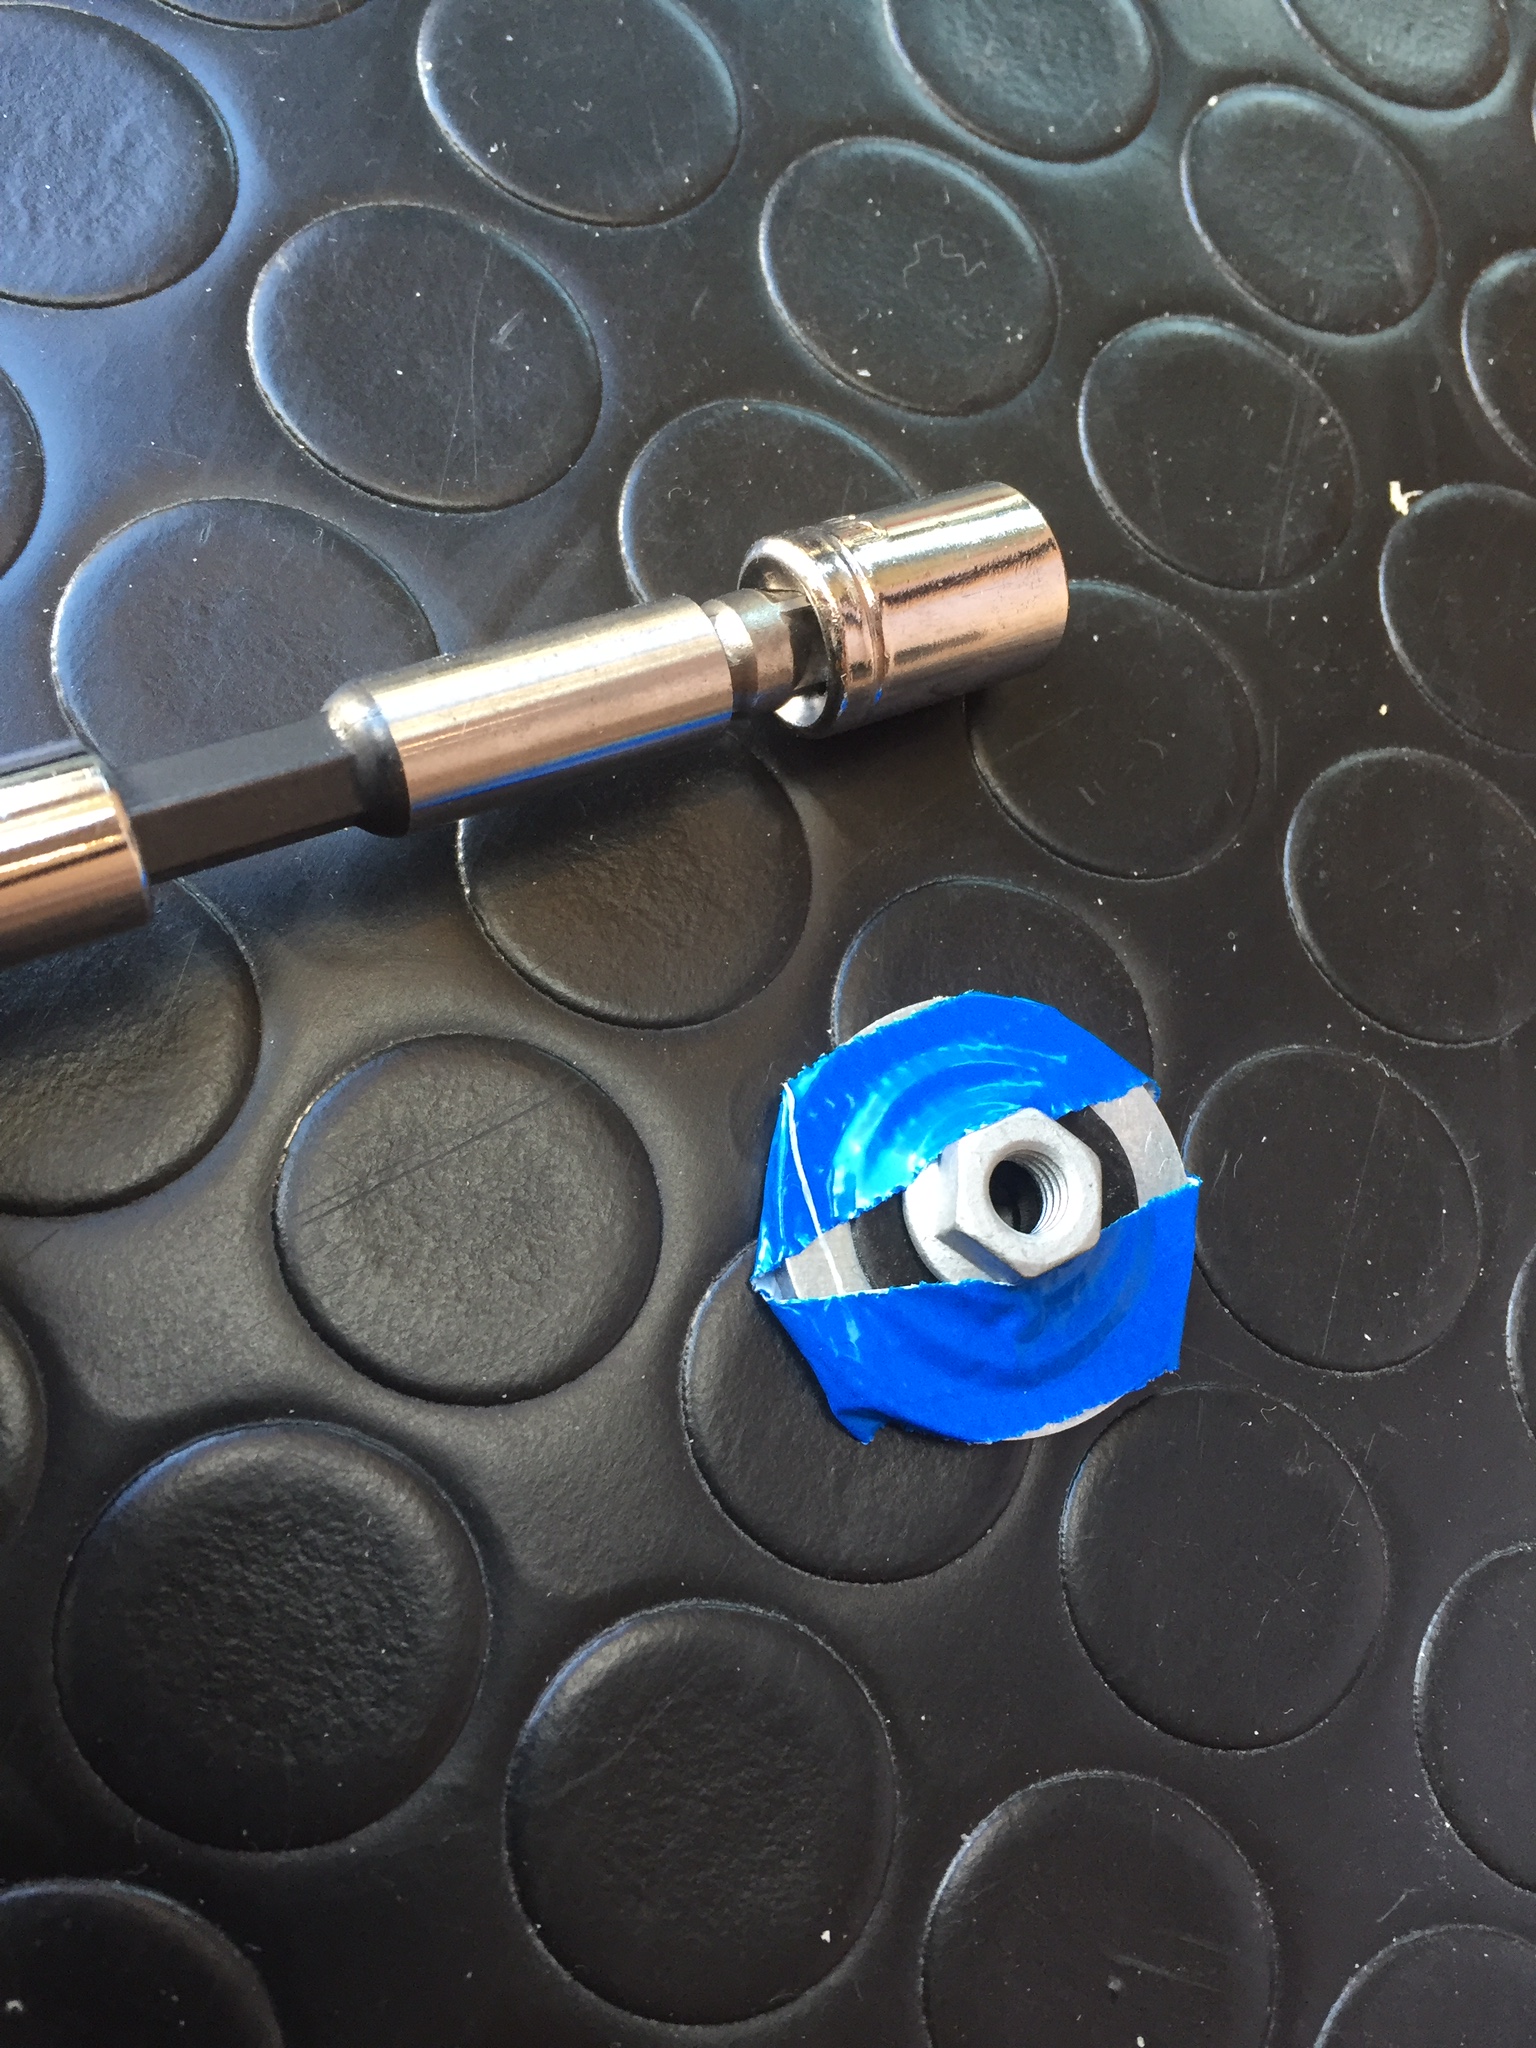
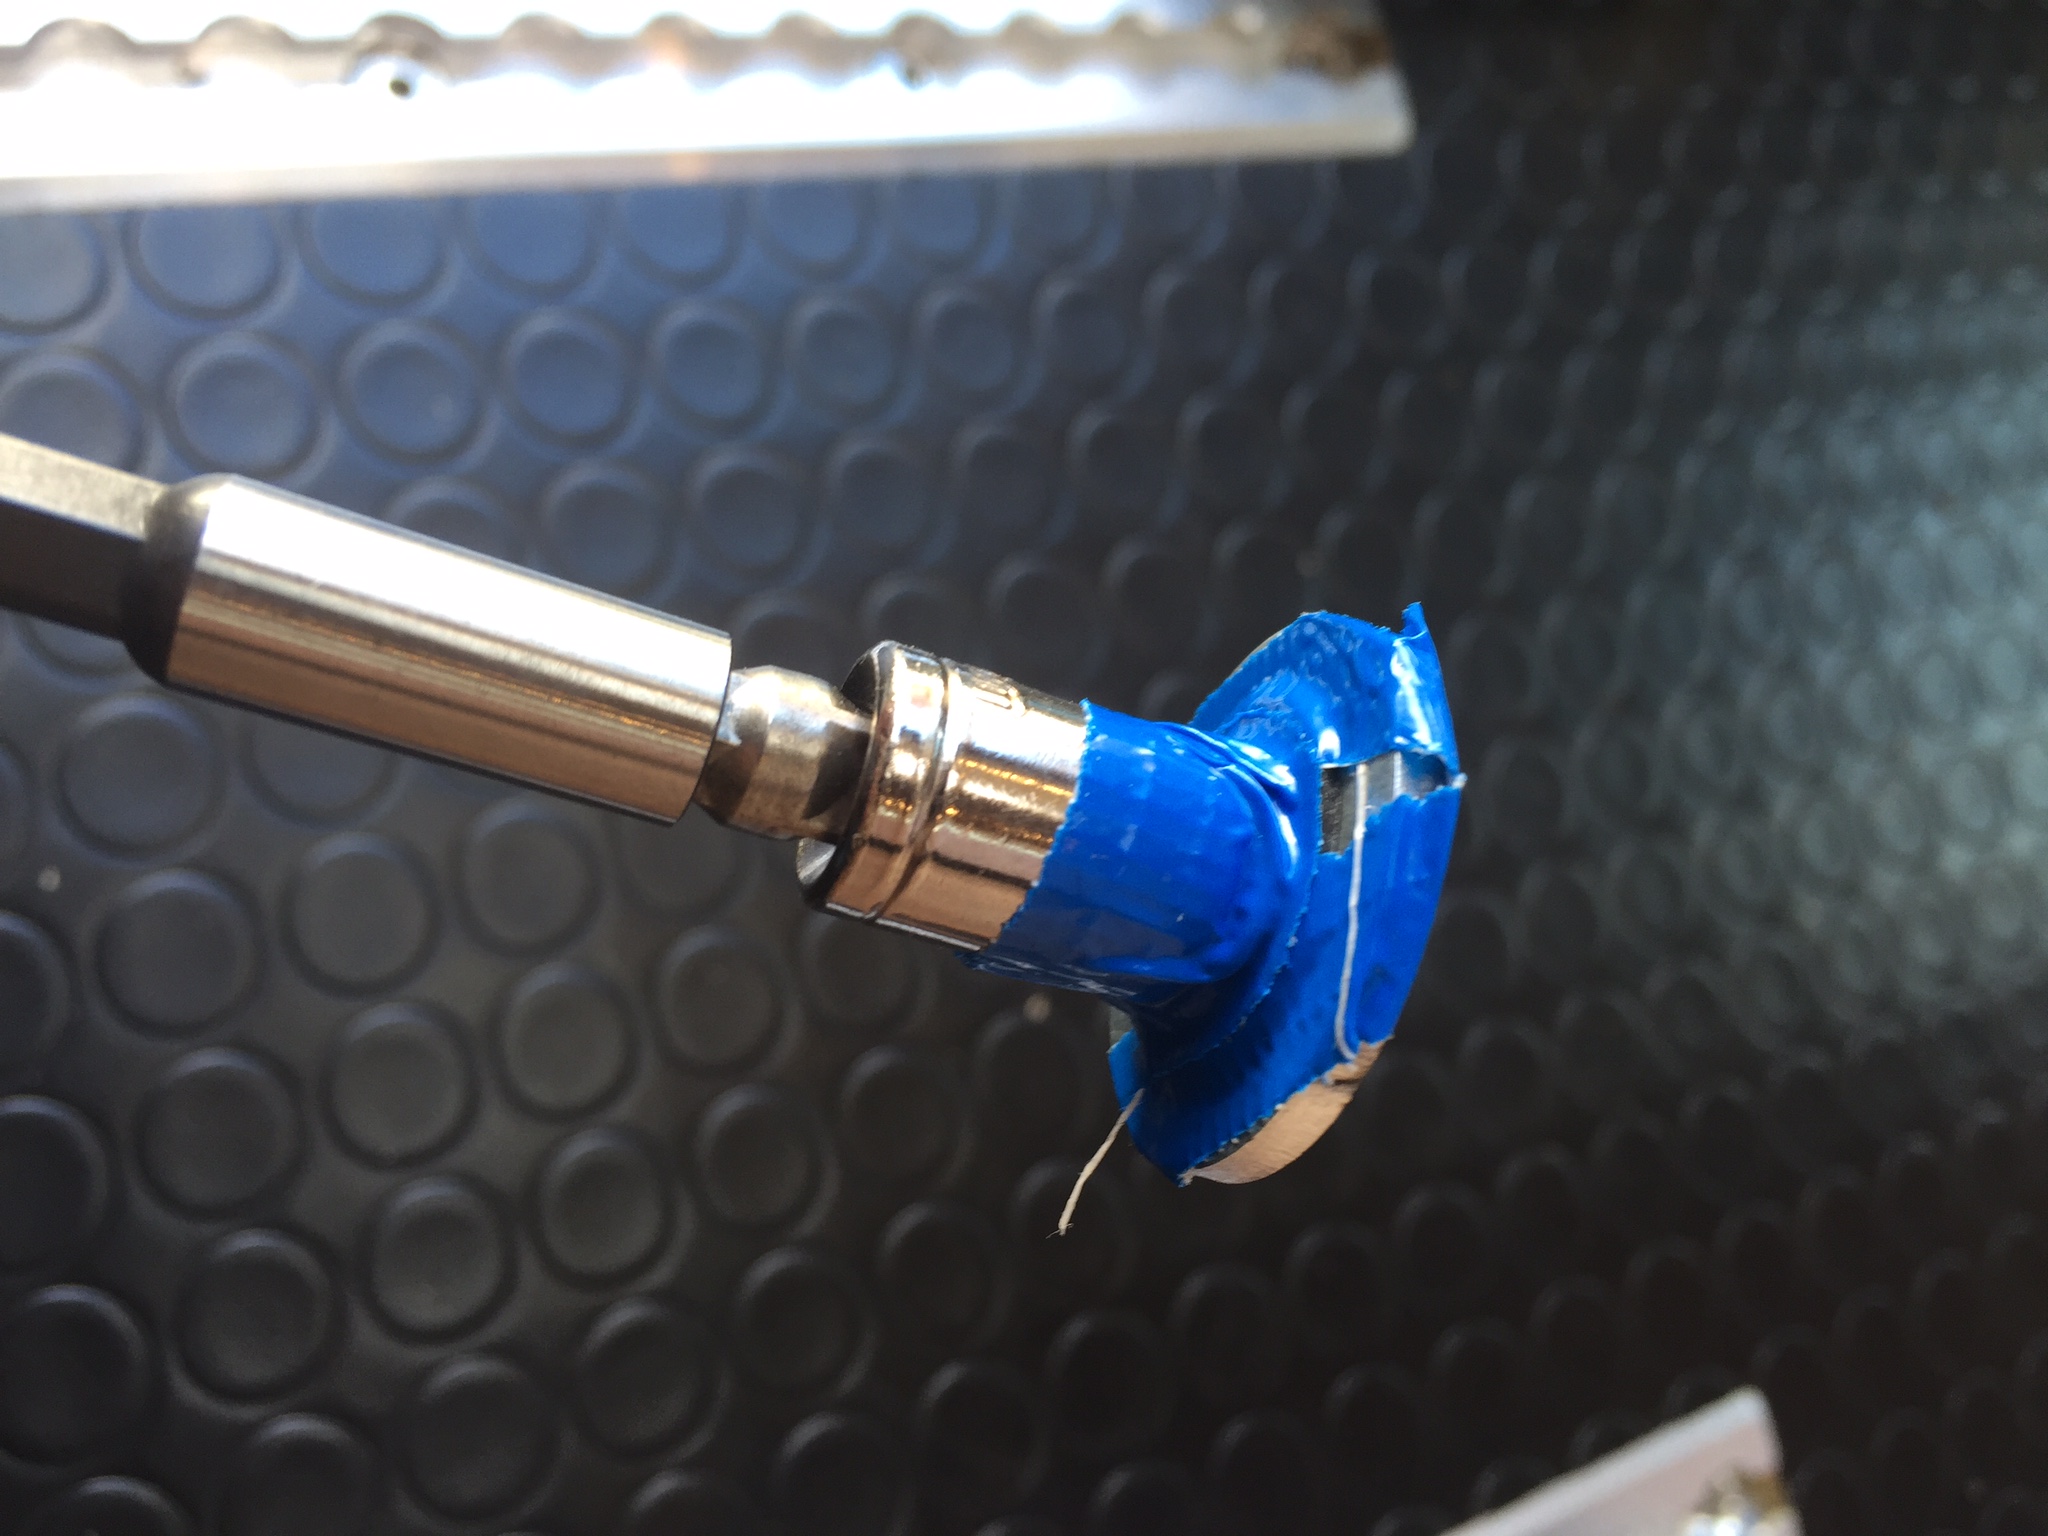
Finally, I used racing tape to assemble the nut and the washers on a socket driver, carefully fed it through the hole and got it onto the thread.
This seemed to work pretty well, so after a good few hours, I managed to get all of the brackets secured. The rest was pretty straight forward and eventually I had all four bars secured to the brackets.
Lastly, I pushed the carpet inside and covered the holes with 32mm plastic end caps from eBay.
And now we have roof bars..
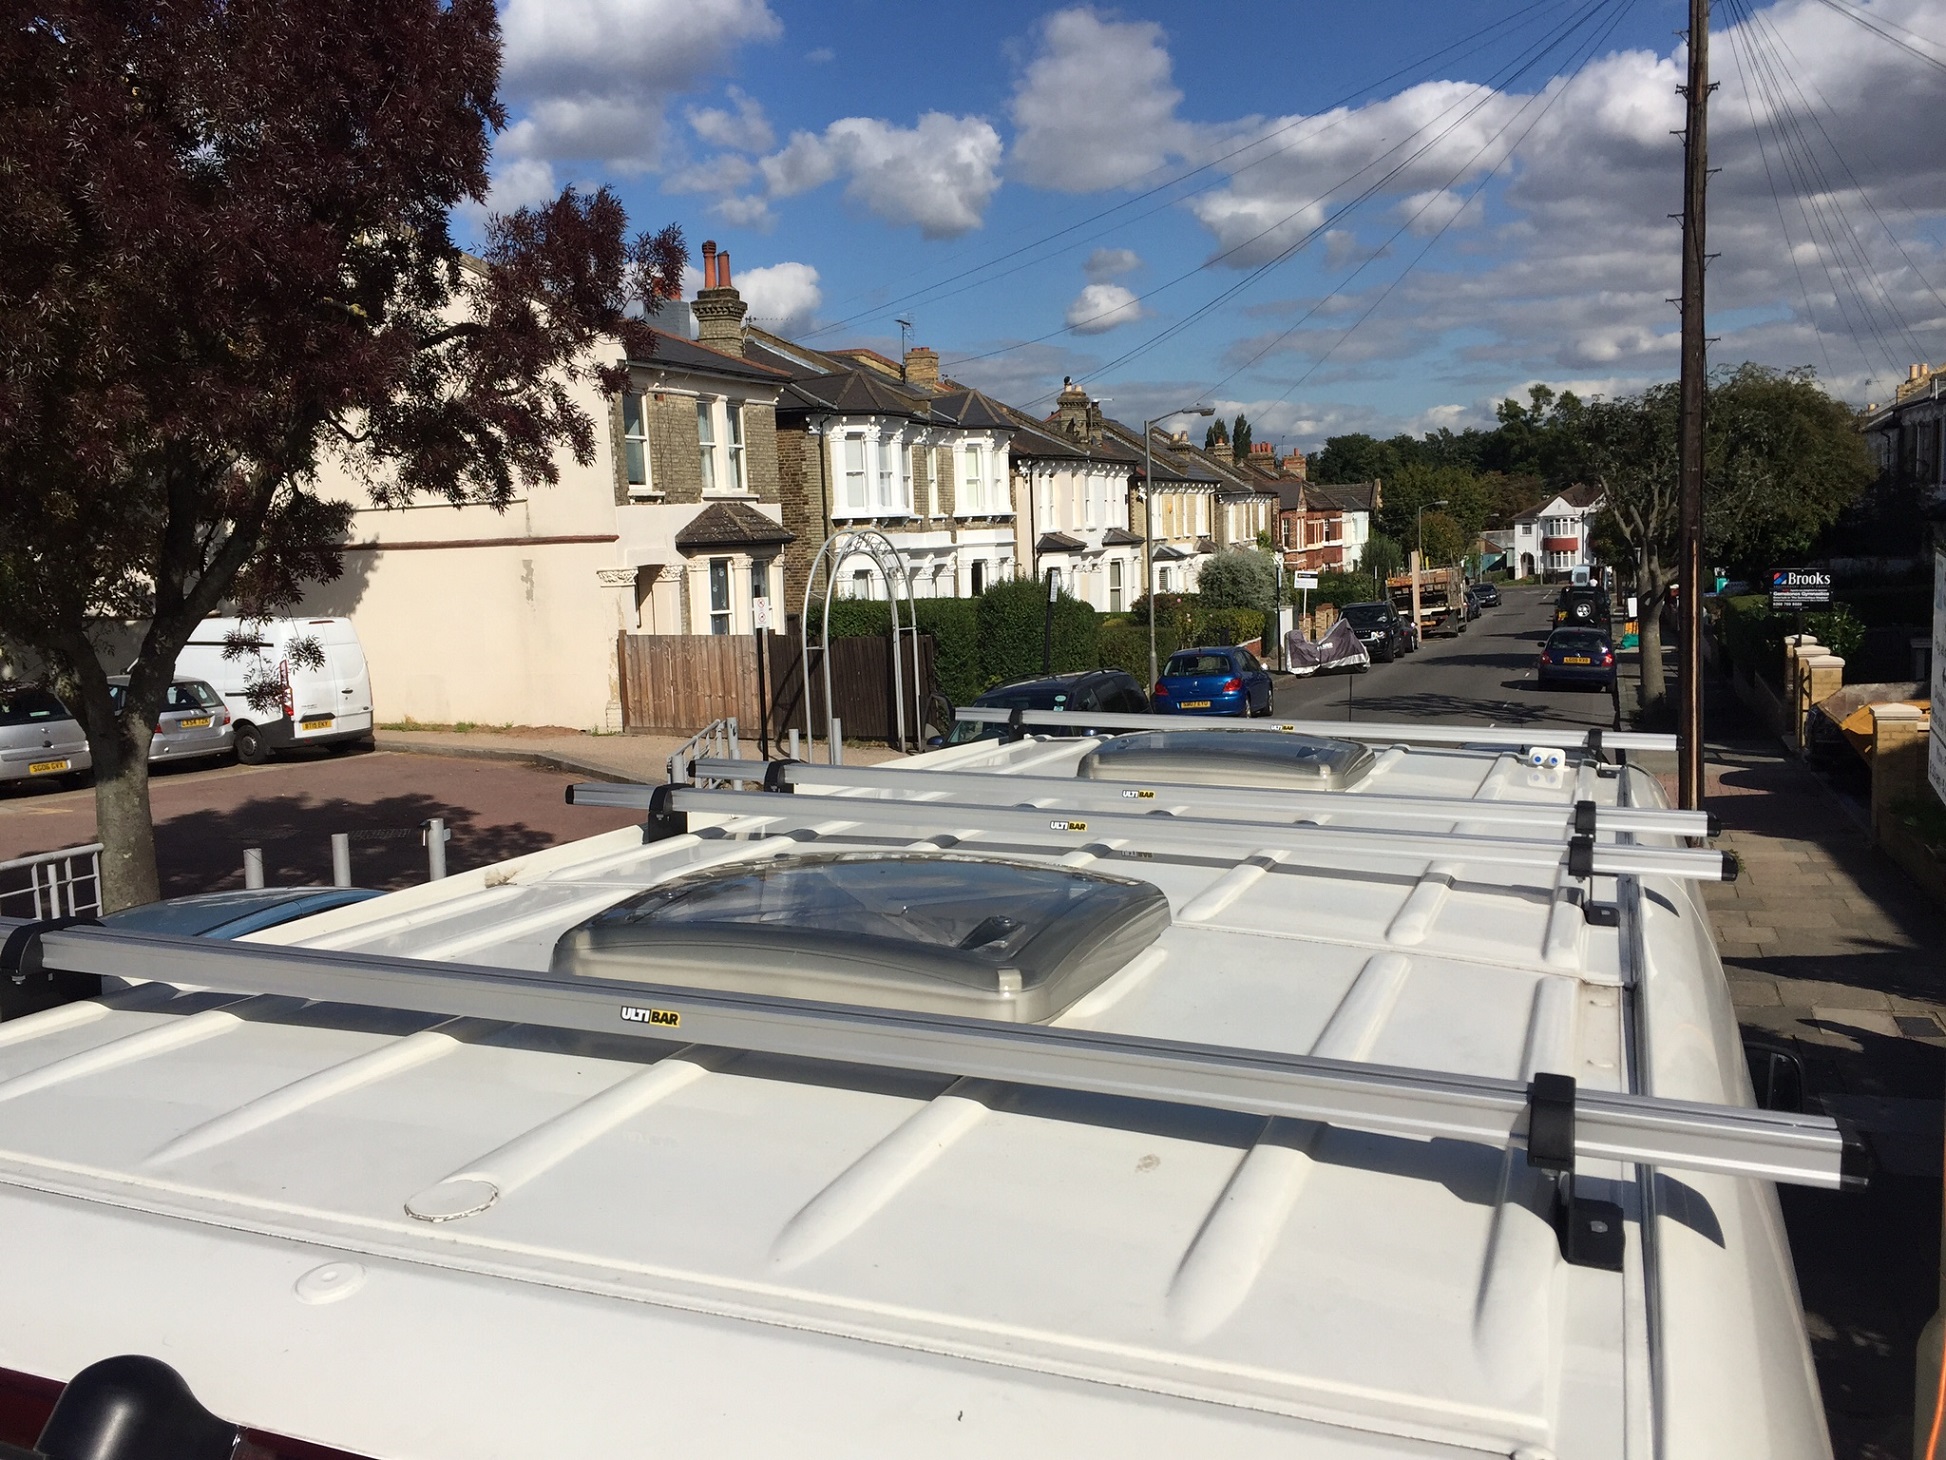
In our van, there is a black plastic cover running above the sliding door on the N/S, which I've had to remove to reach bolts for the first and second bars. Naturally, all the plastic clips broke off in the process, but the cover is held with plastic nuts as well as supported by the ceiling panels, so it still fits and doesn't move.
Awning and Brackets
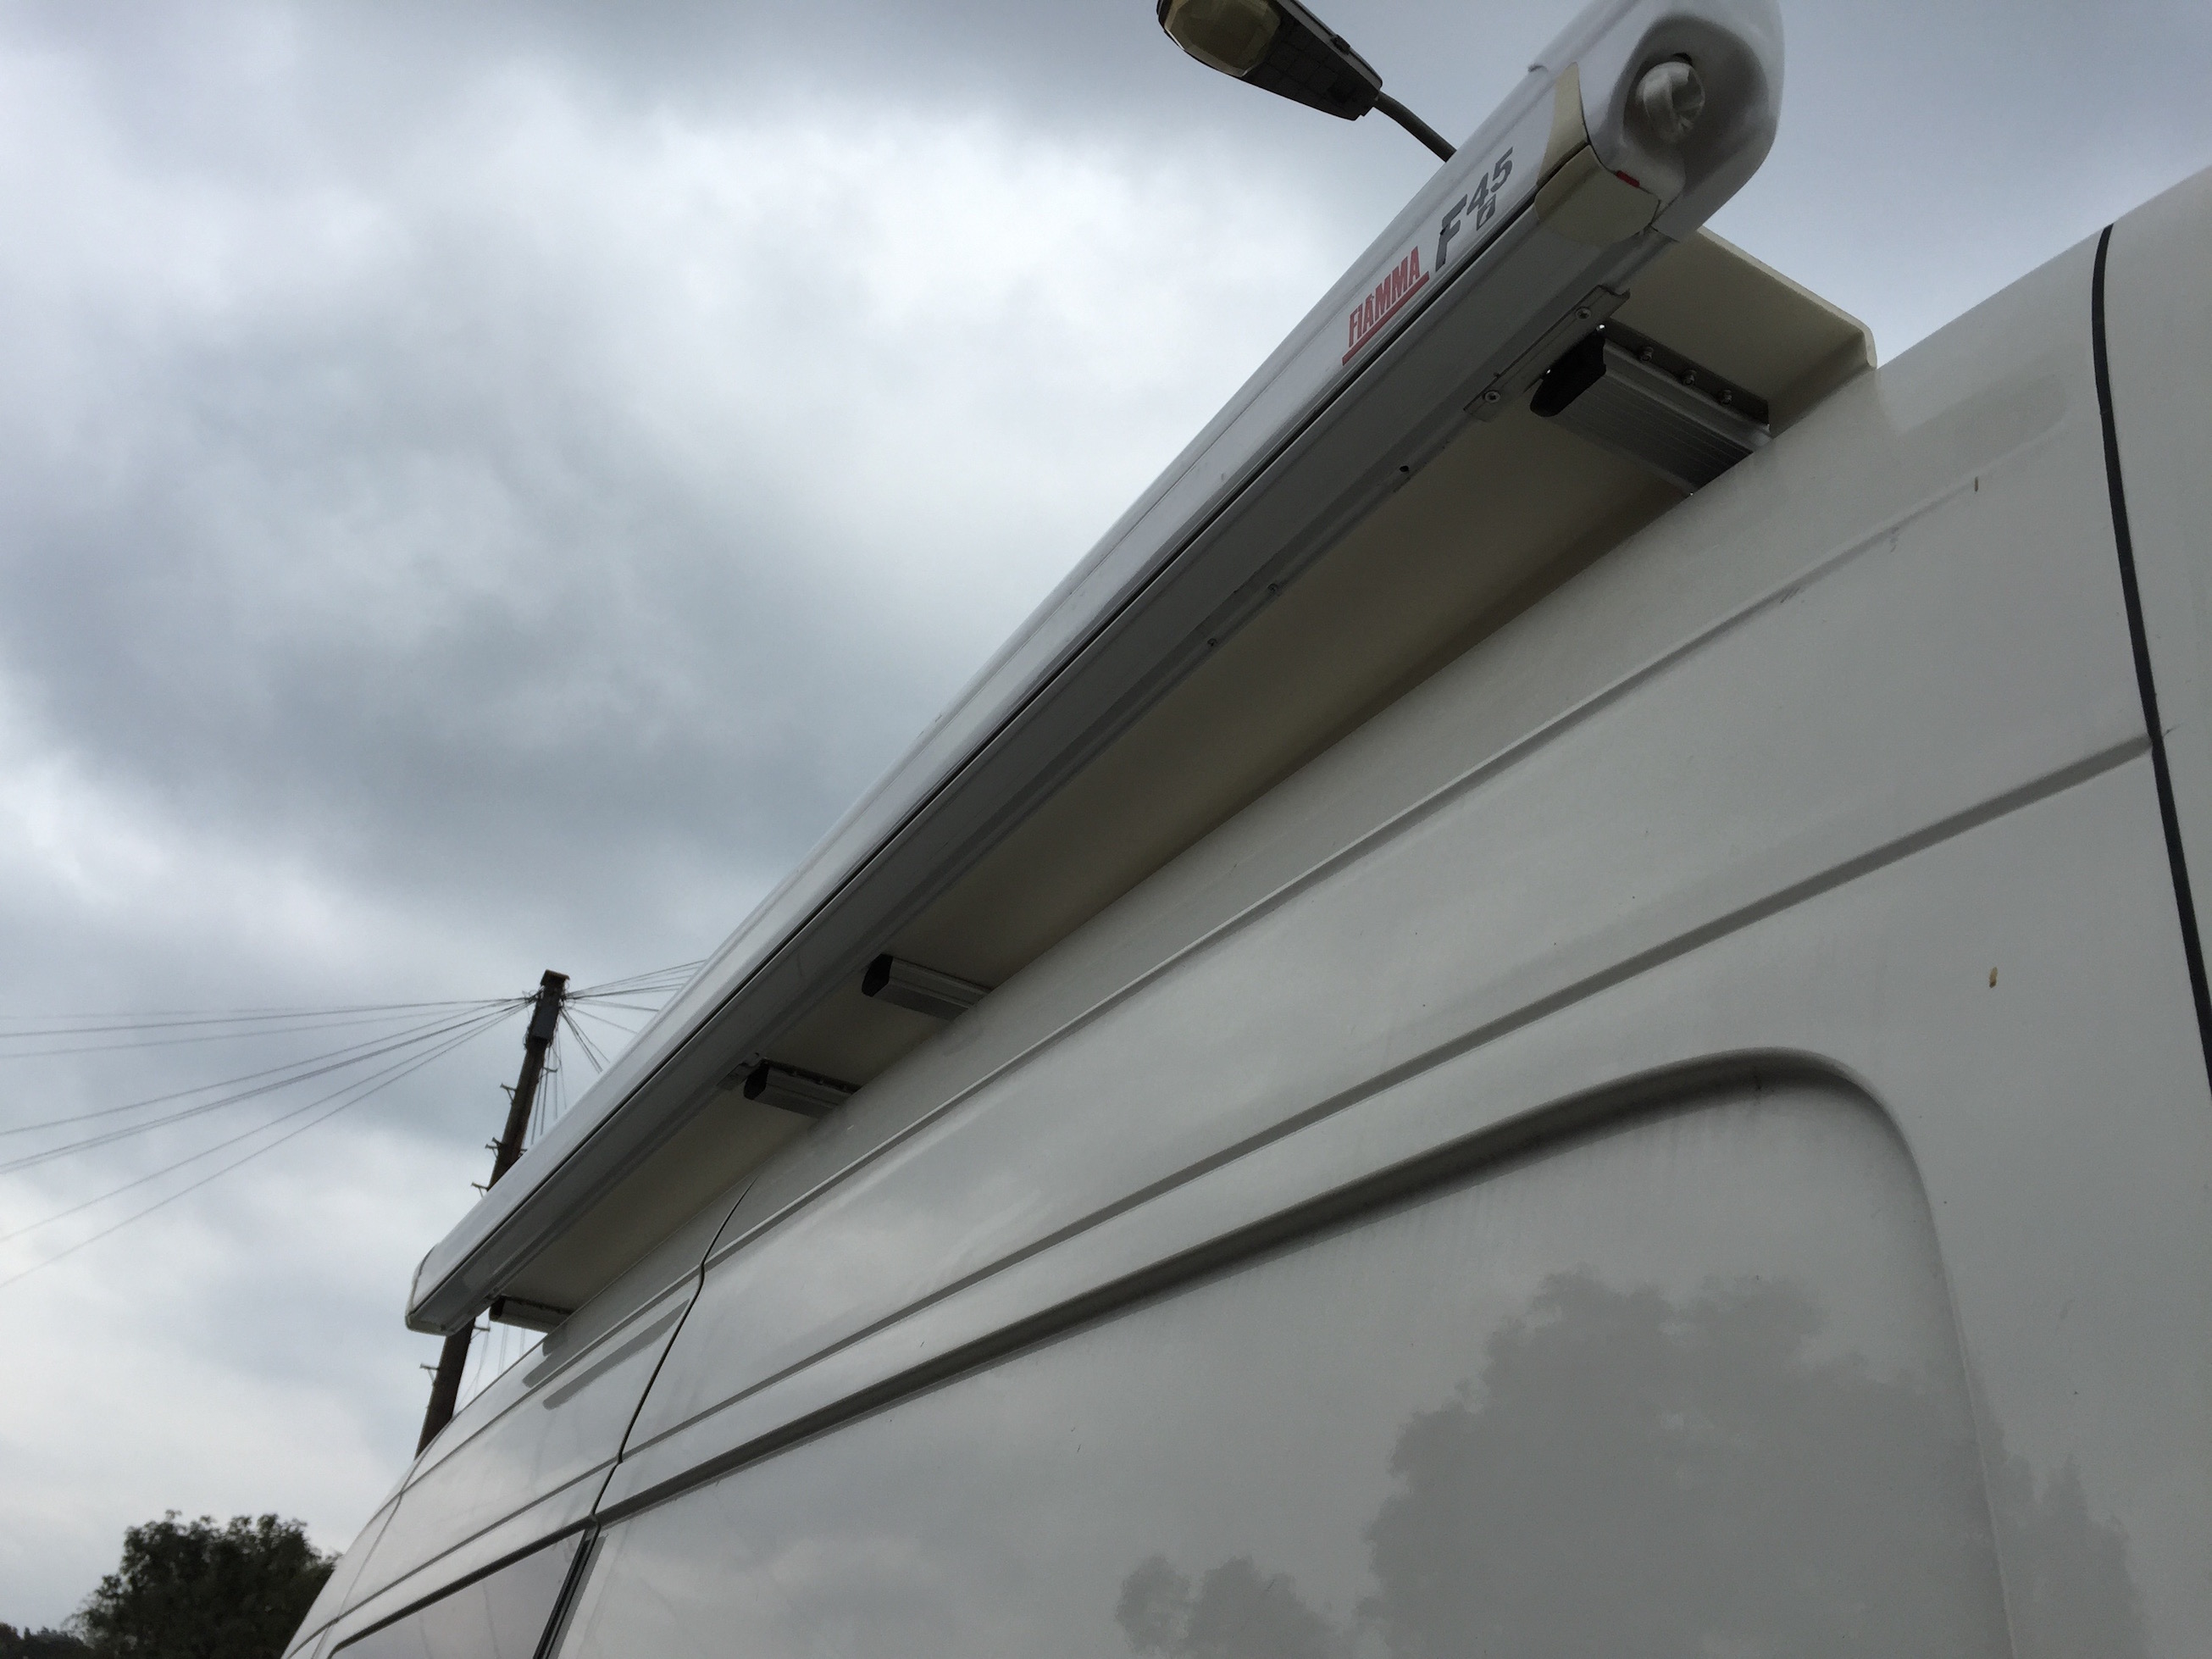
Having put the roof bars up, the next piece of kit to go up there was the awning. The awning is a Fiamma F45i, which I found on eBay. I just had to get a couple of plastic cap ends for it, which were about £4 each. Now, I always knew the awning was going to be fixed to the roof bars, but didn't realise how much Fiamma charged for this kit.
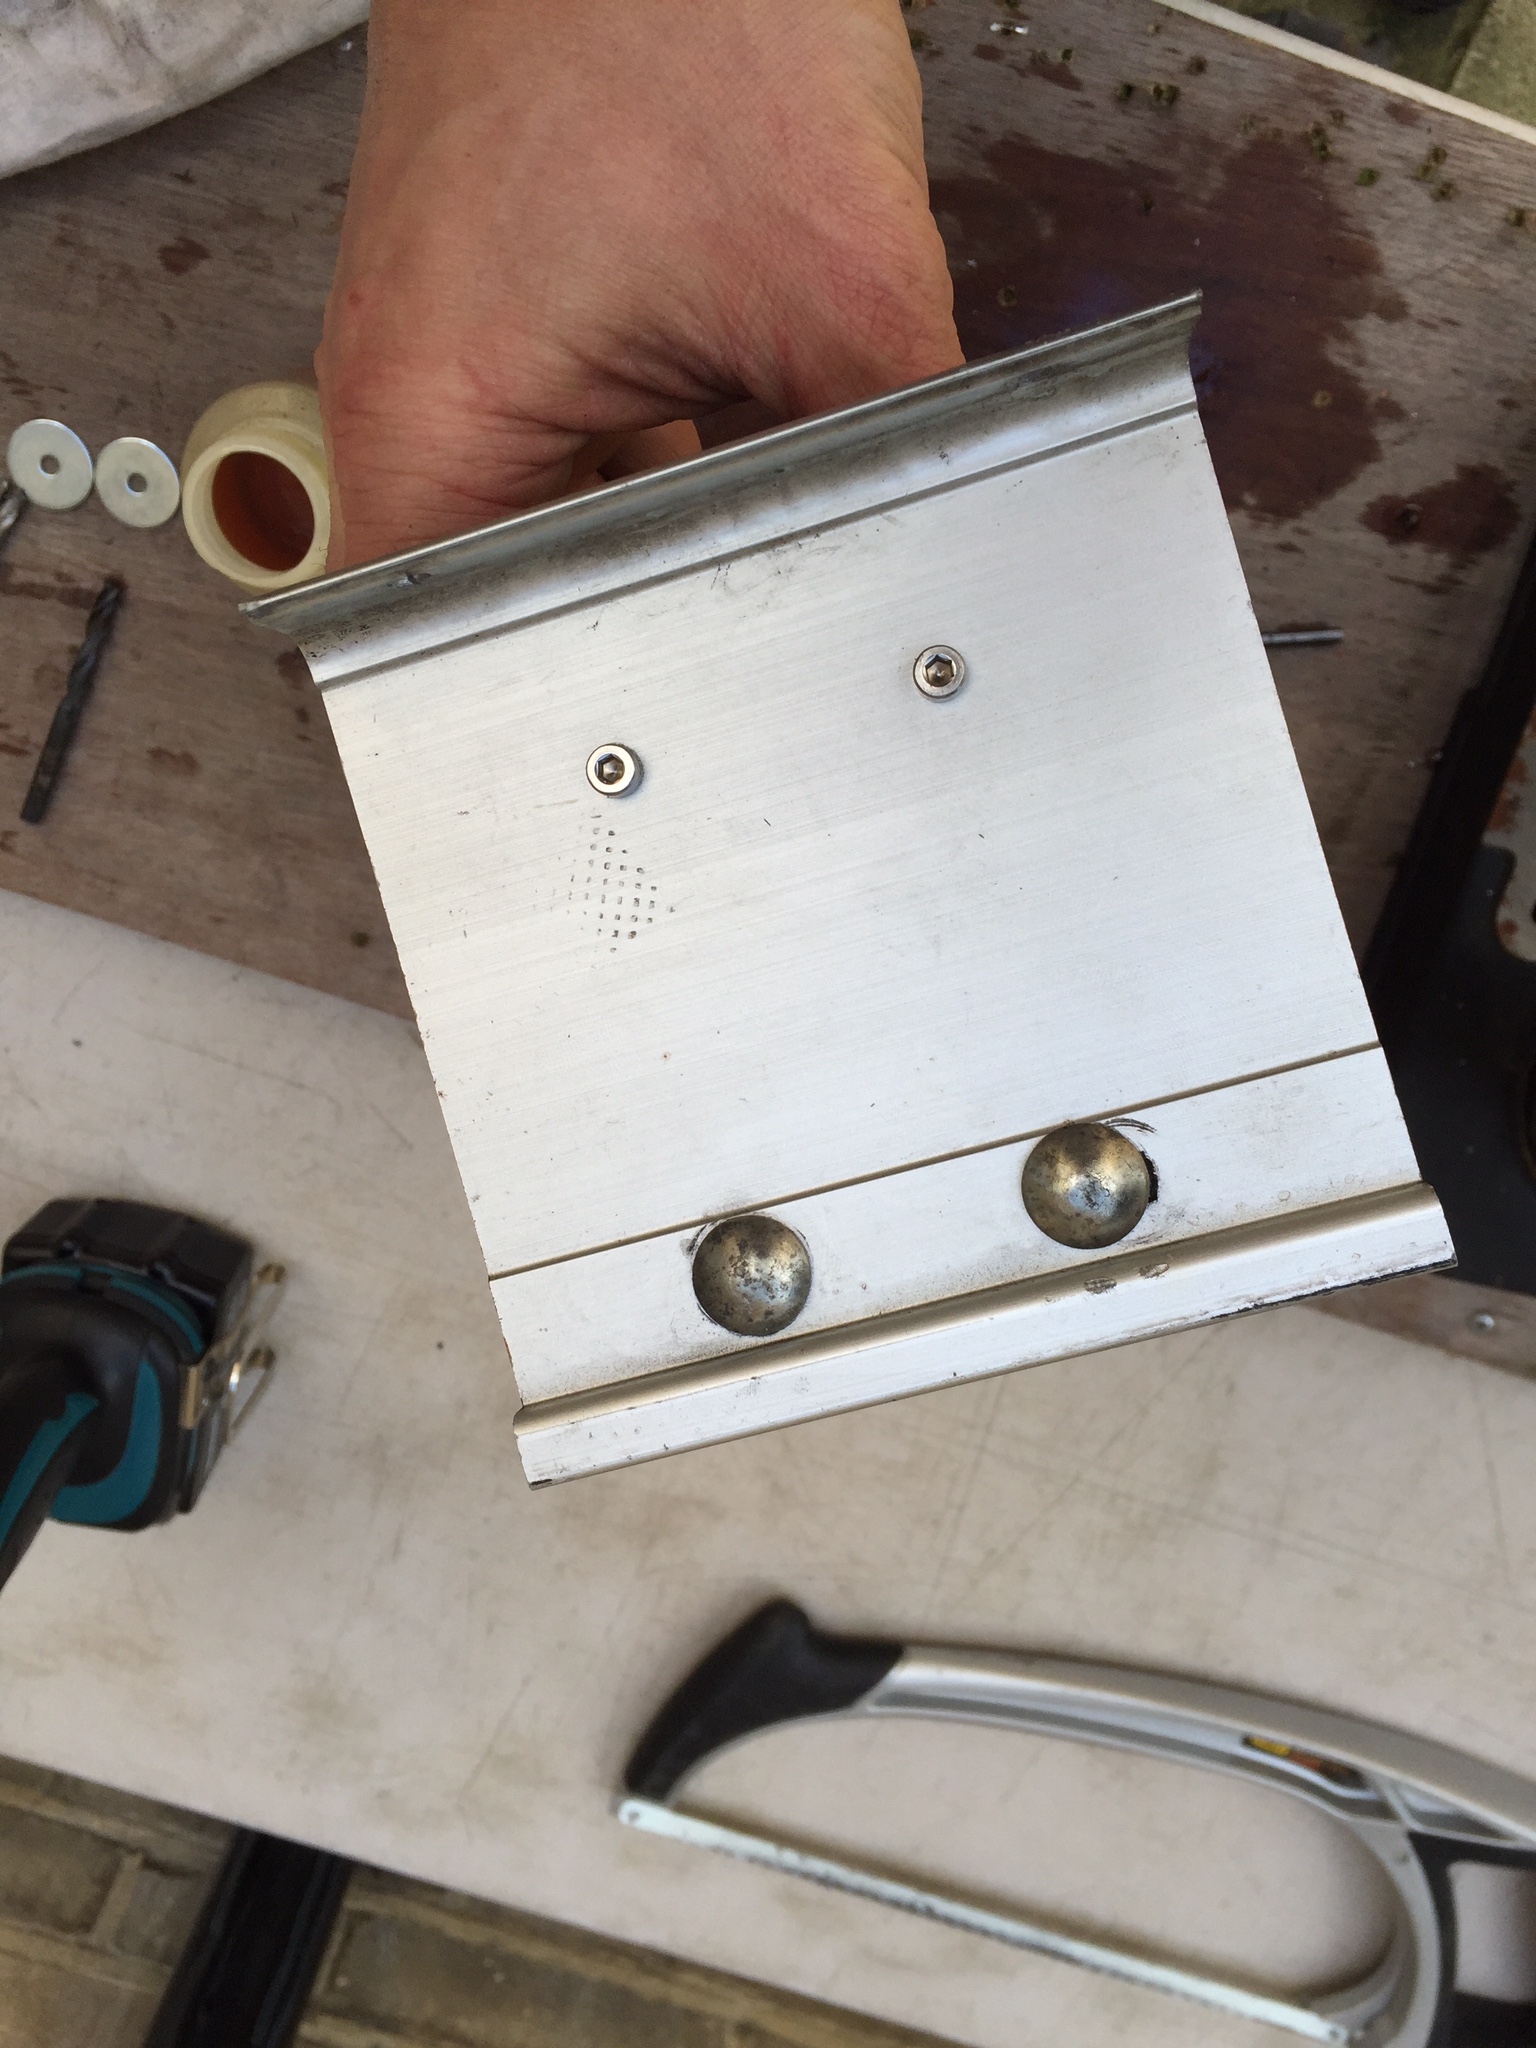
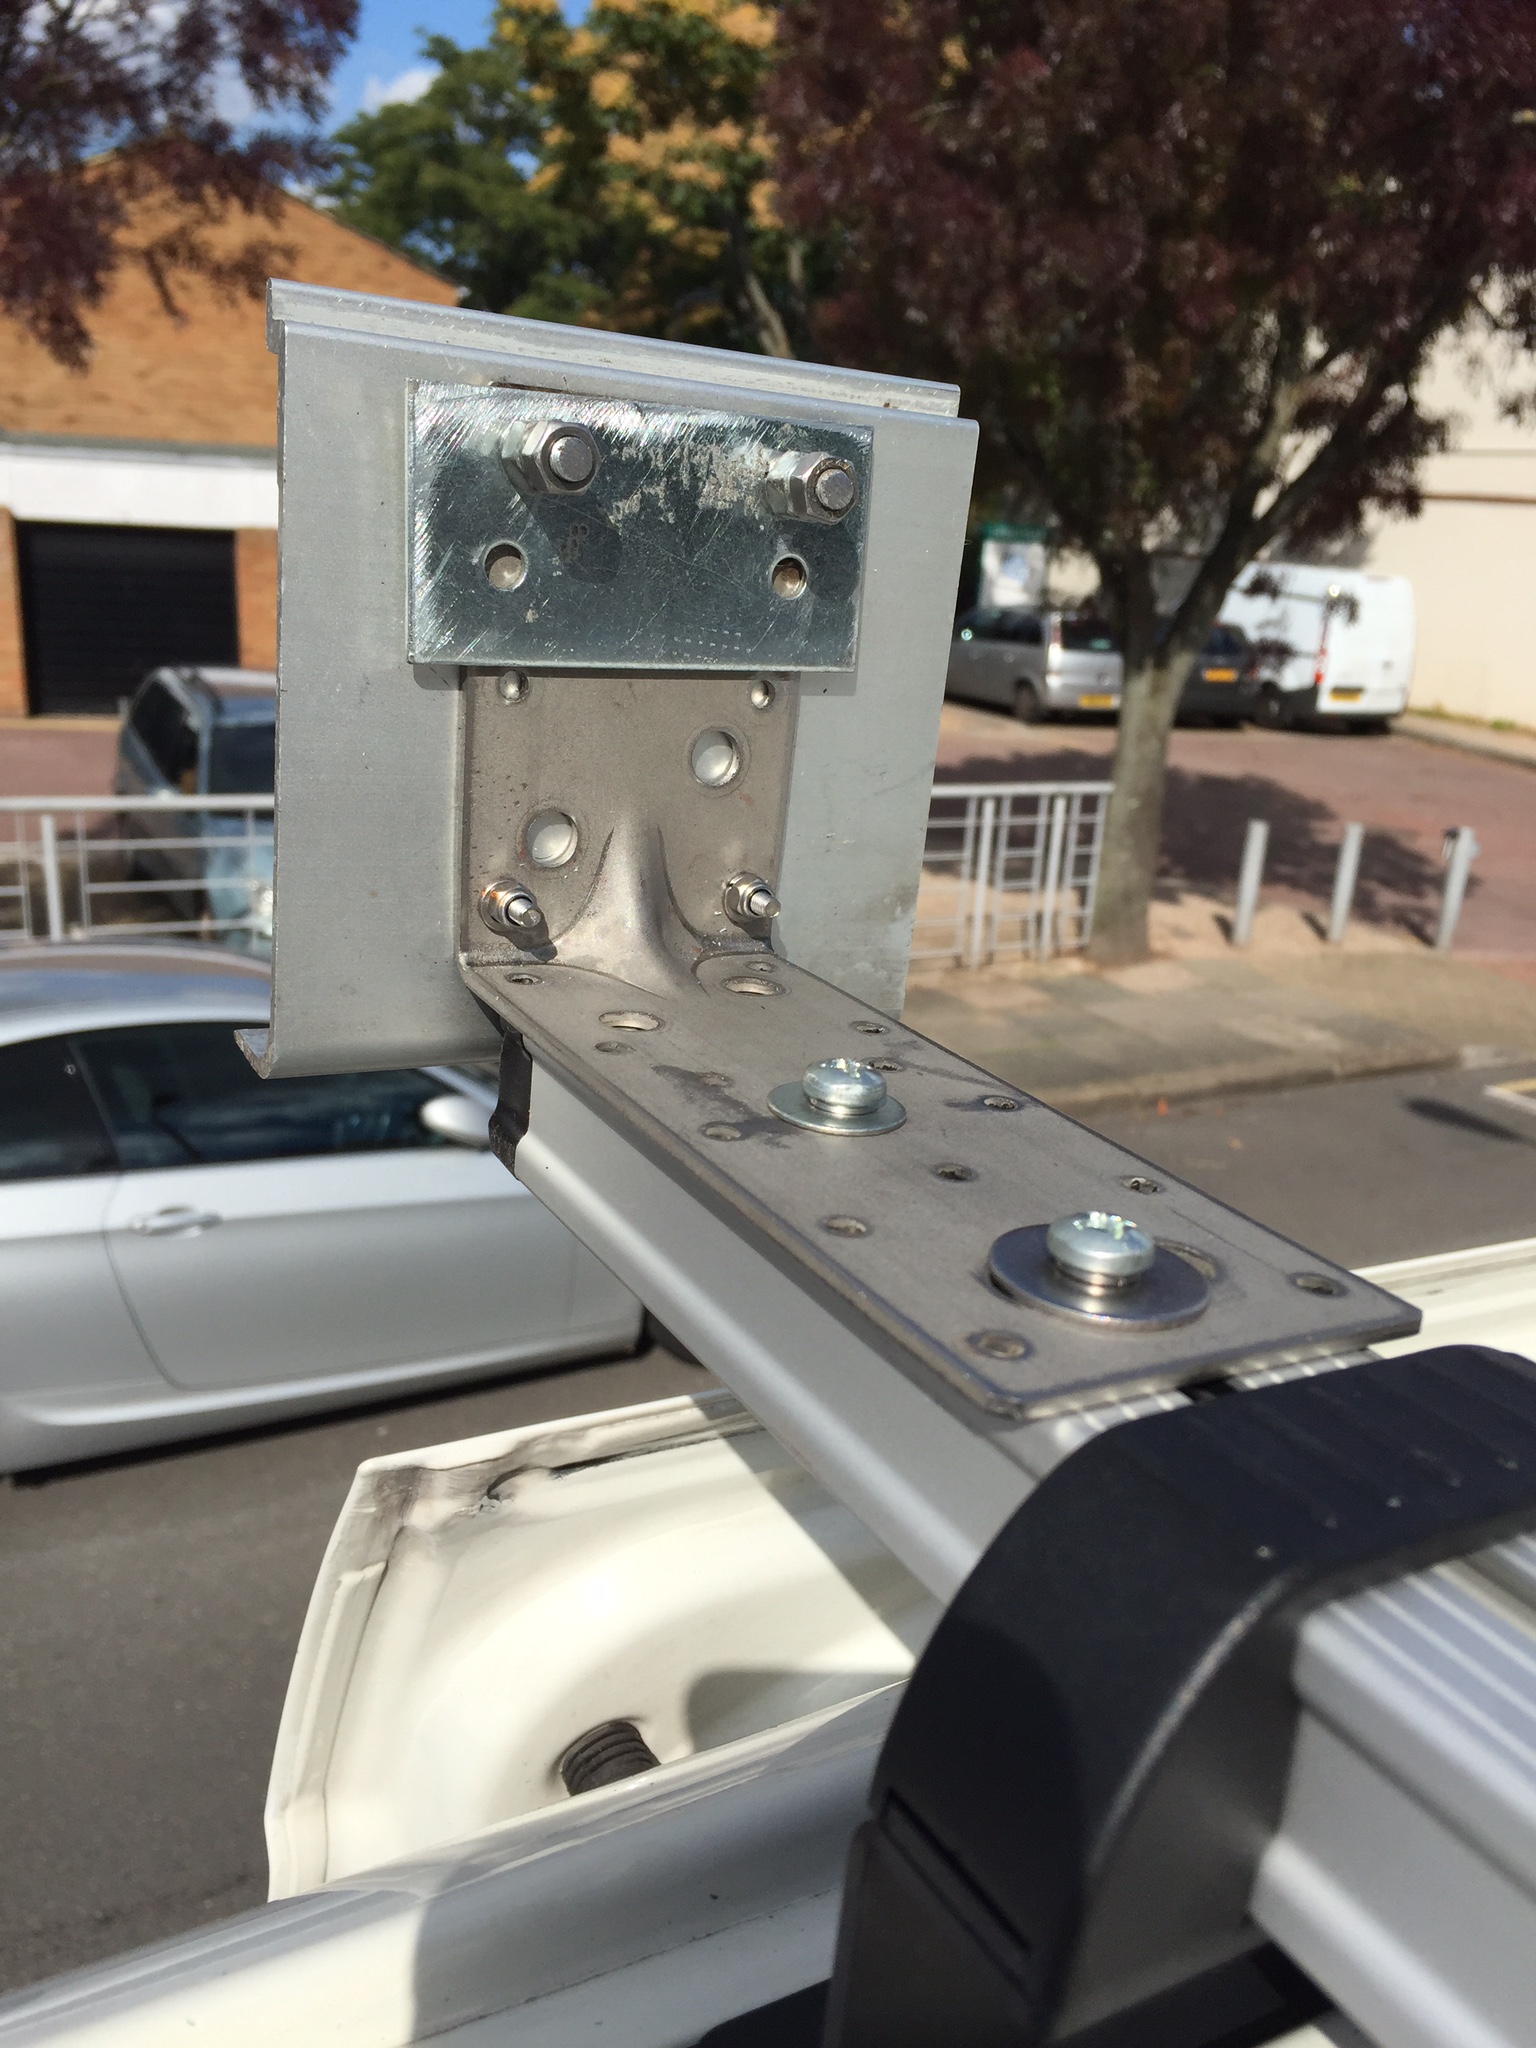
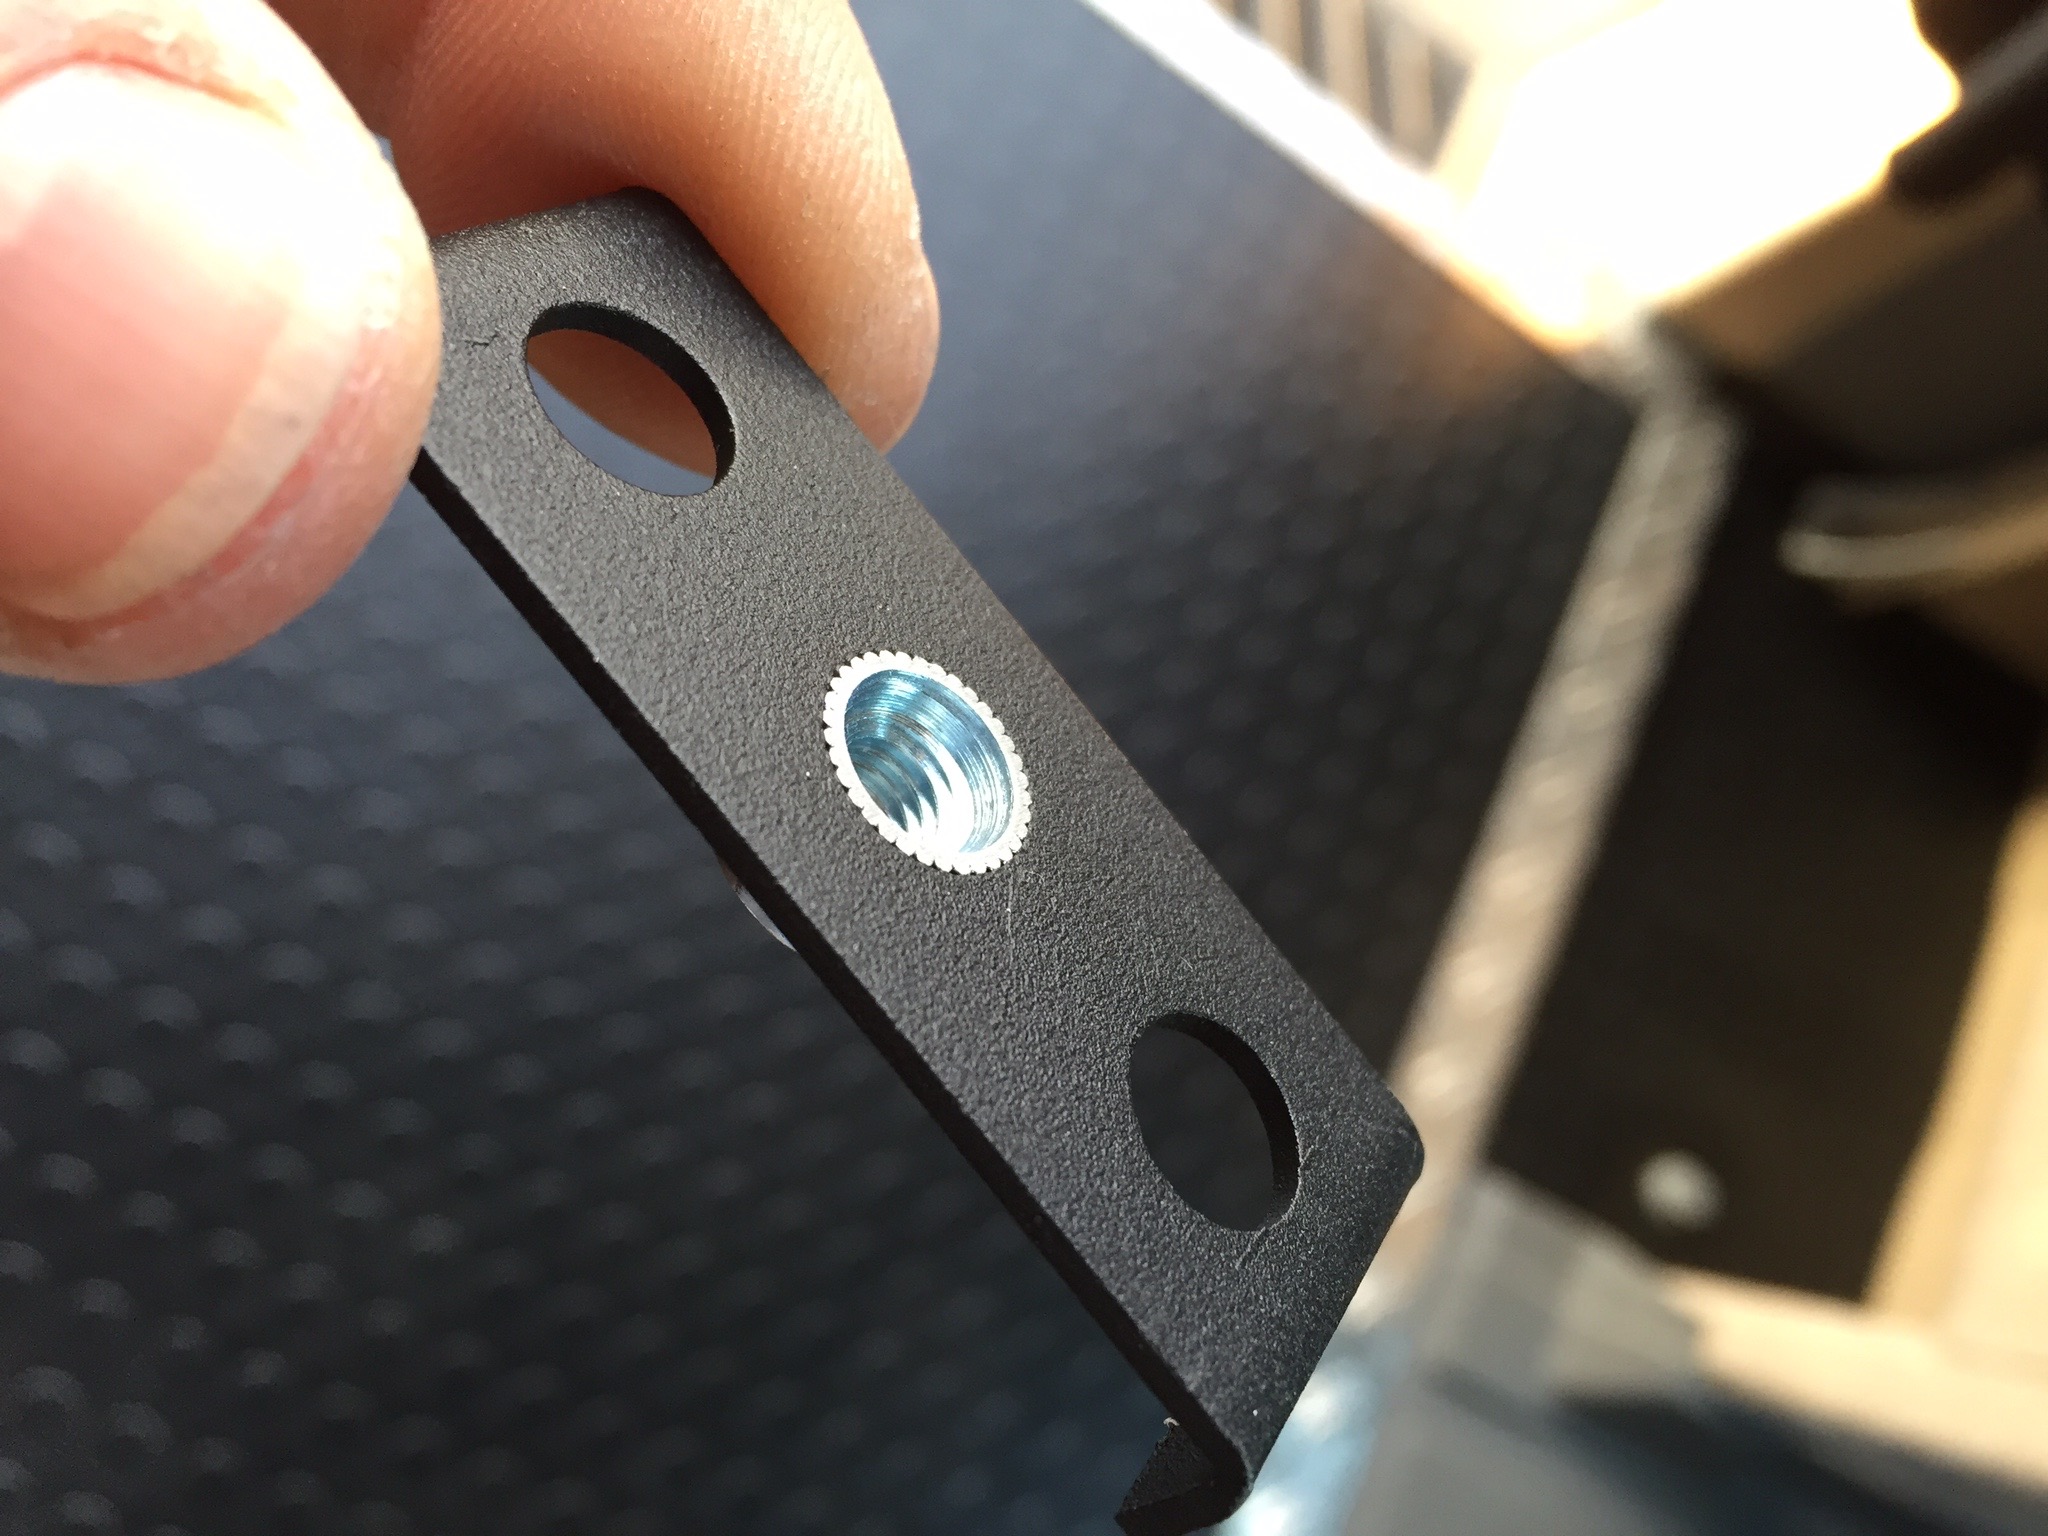
Since the awning already came with standard flat wall mounting brackets, I ended up manufacturing my own roof bar adapters using Saberfix stainless steel angle brackets 150 x 90 x 60mm from Toolstation.
I pulled out my drill press for this, which I've bought in Australia and which has been sitting in the shed for about 8 years. Being very optimistic, I decided I would make some holes exactly where I wanted them, rather than using the existing ones.
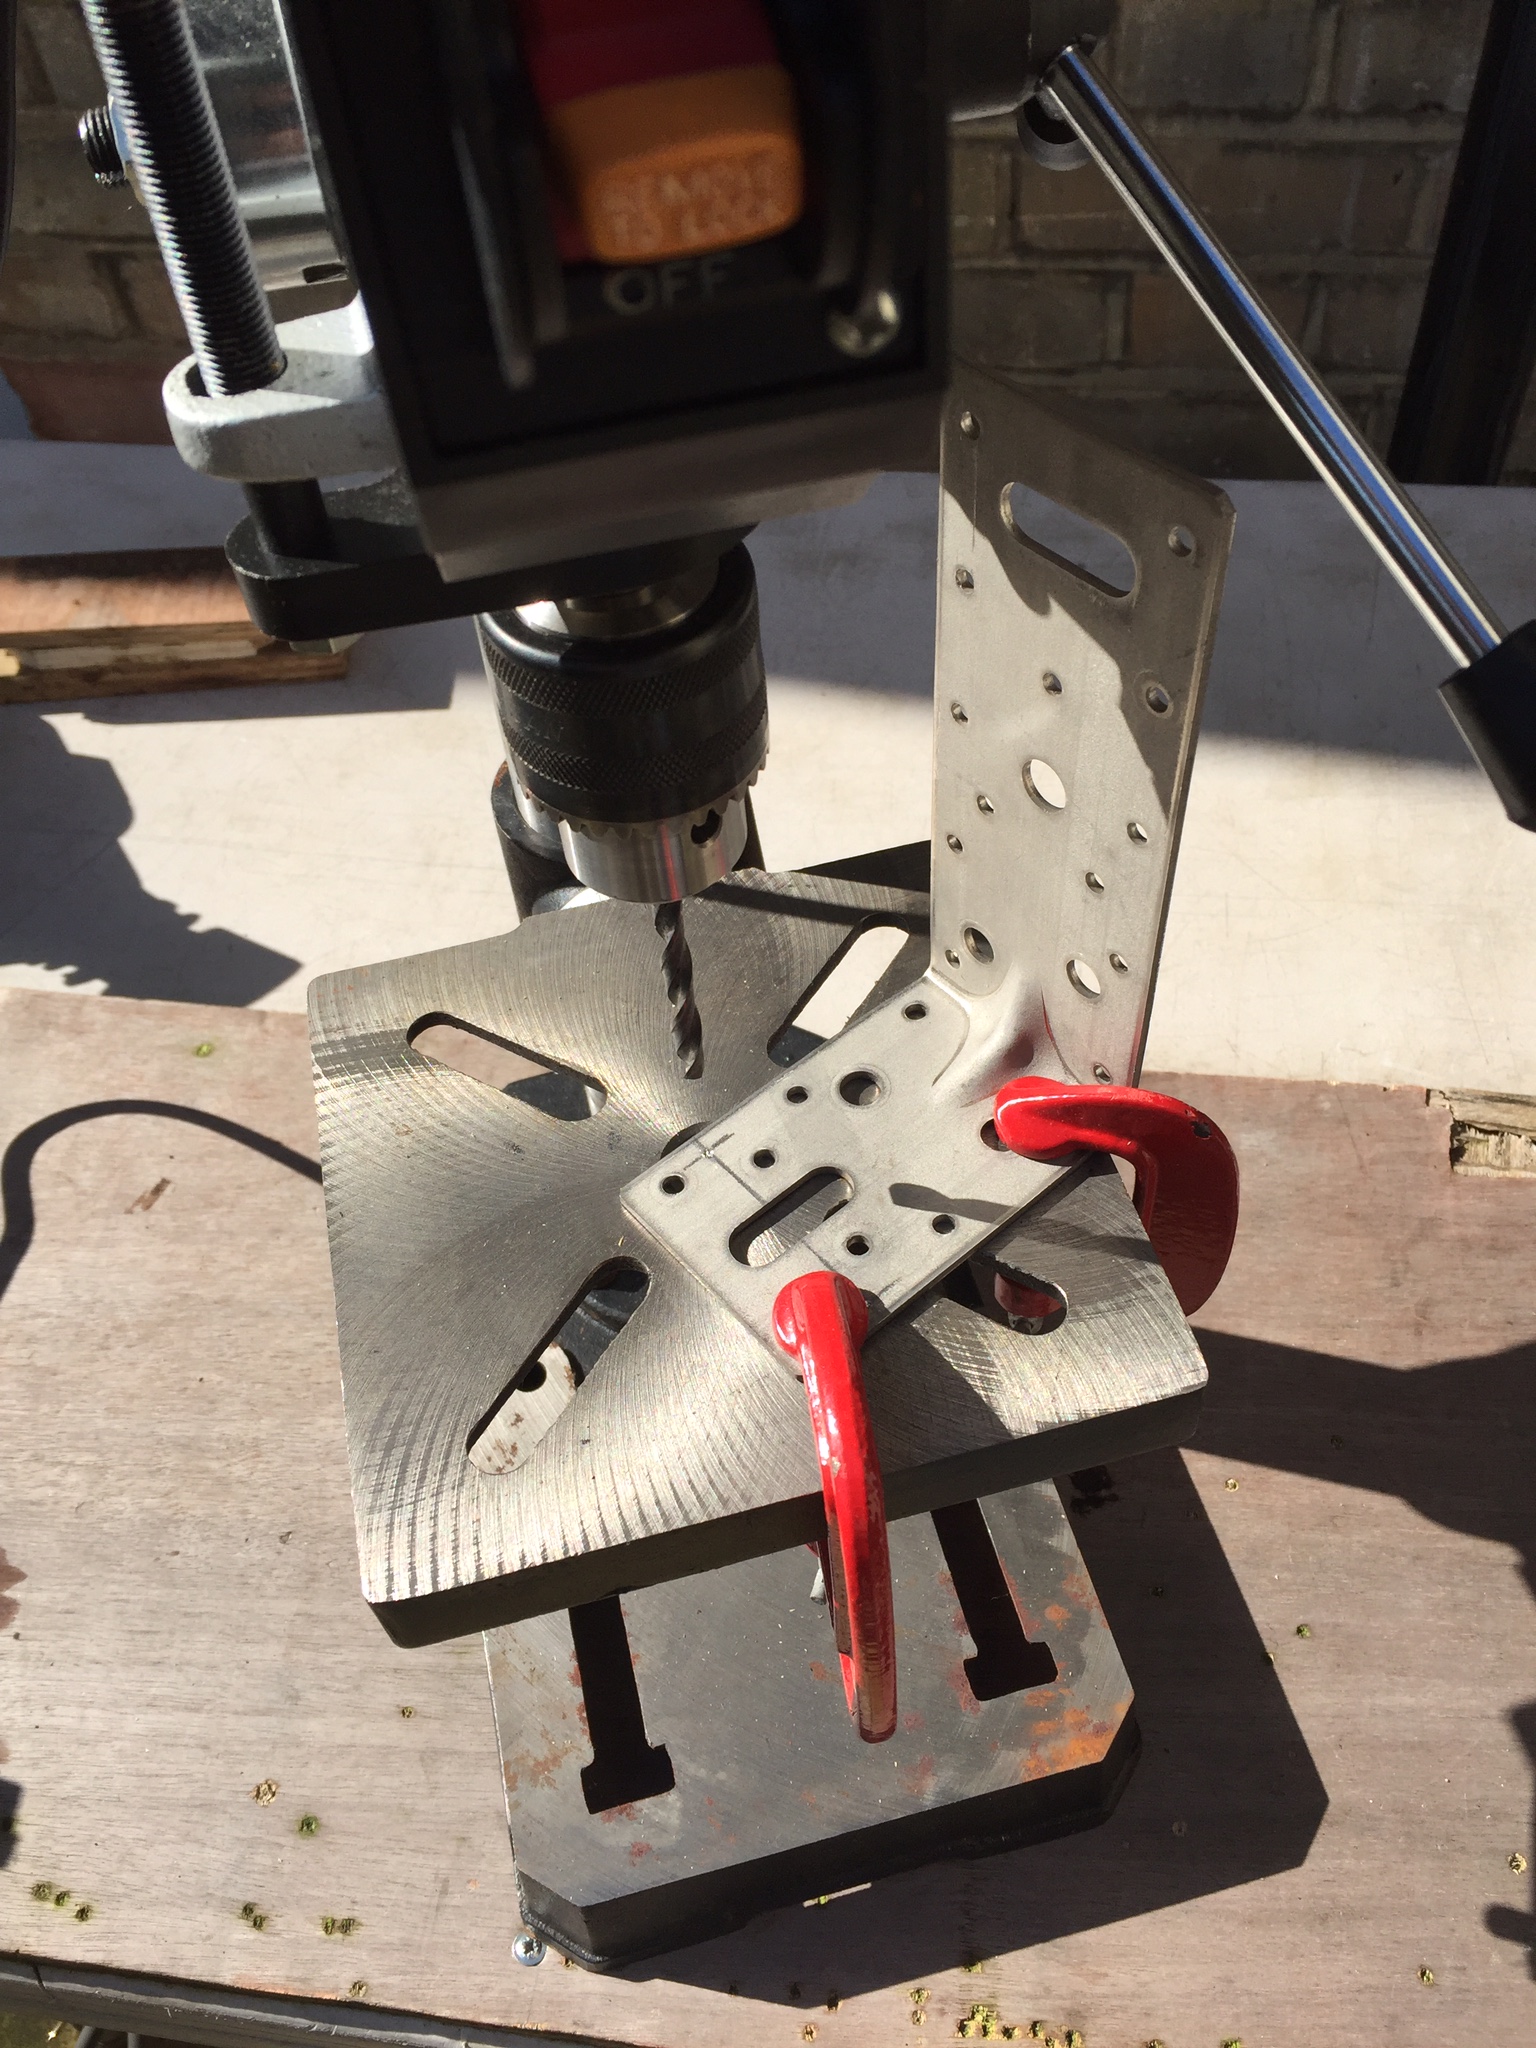
After about 45 minutes cooking drill bits and the bracket, I gave up and just drilled out the existing holes to allow the supplied M6 bolts to fit through.
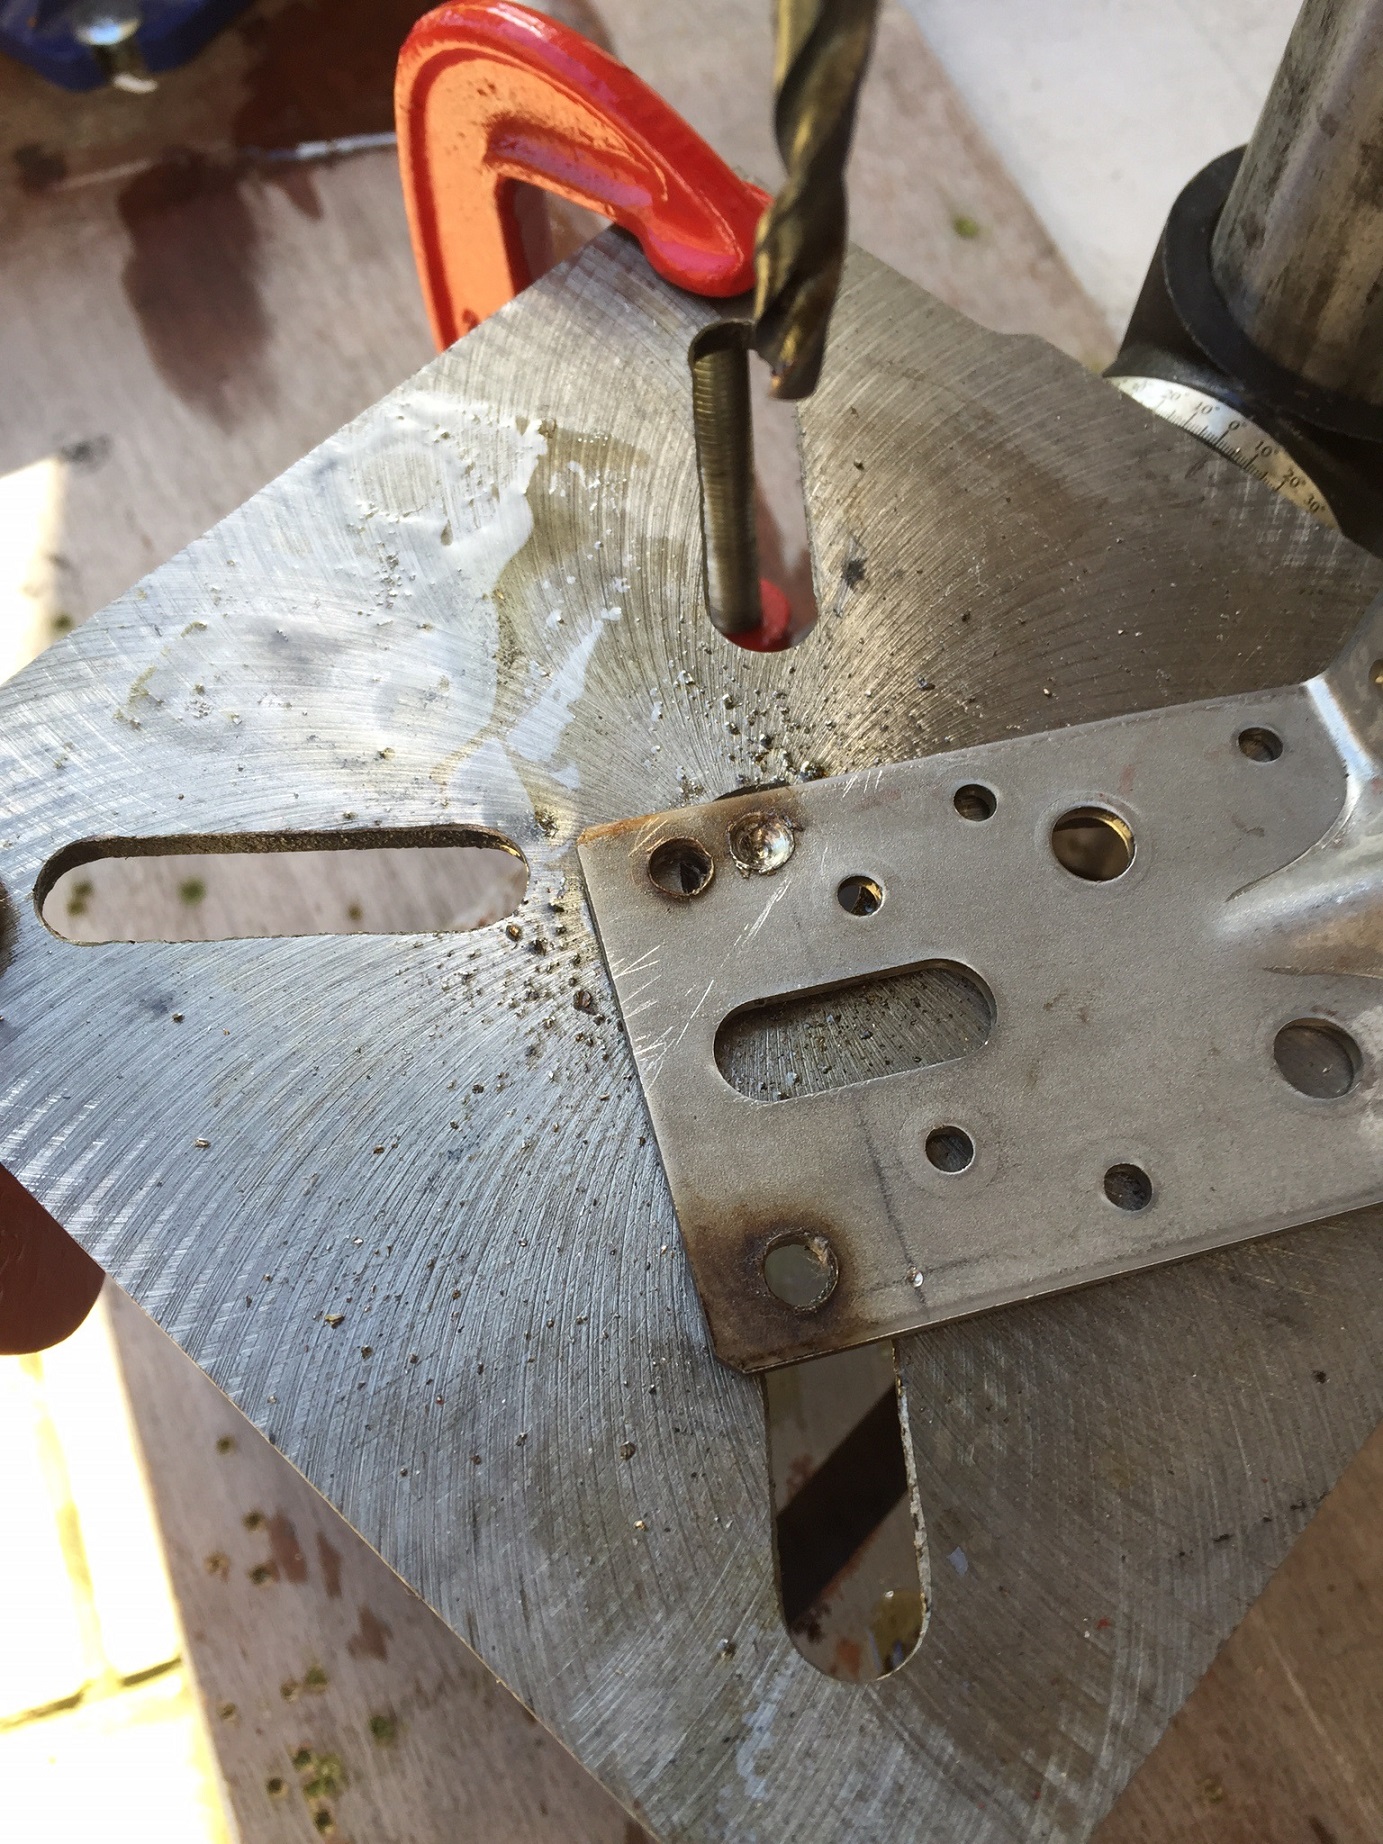
Once I sharpened the drill bits and used smaller ones to progressively widen the holes, the remaining two brackets took much less time.
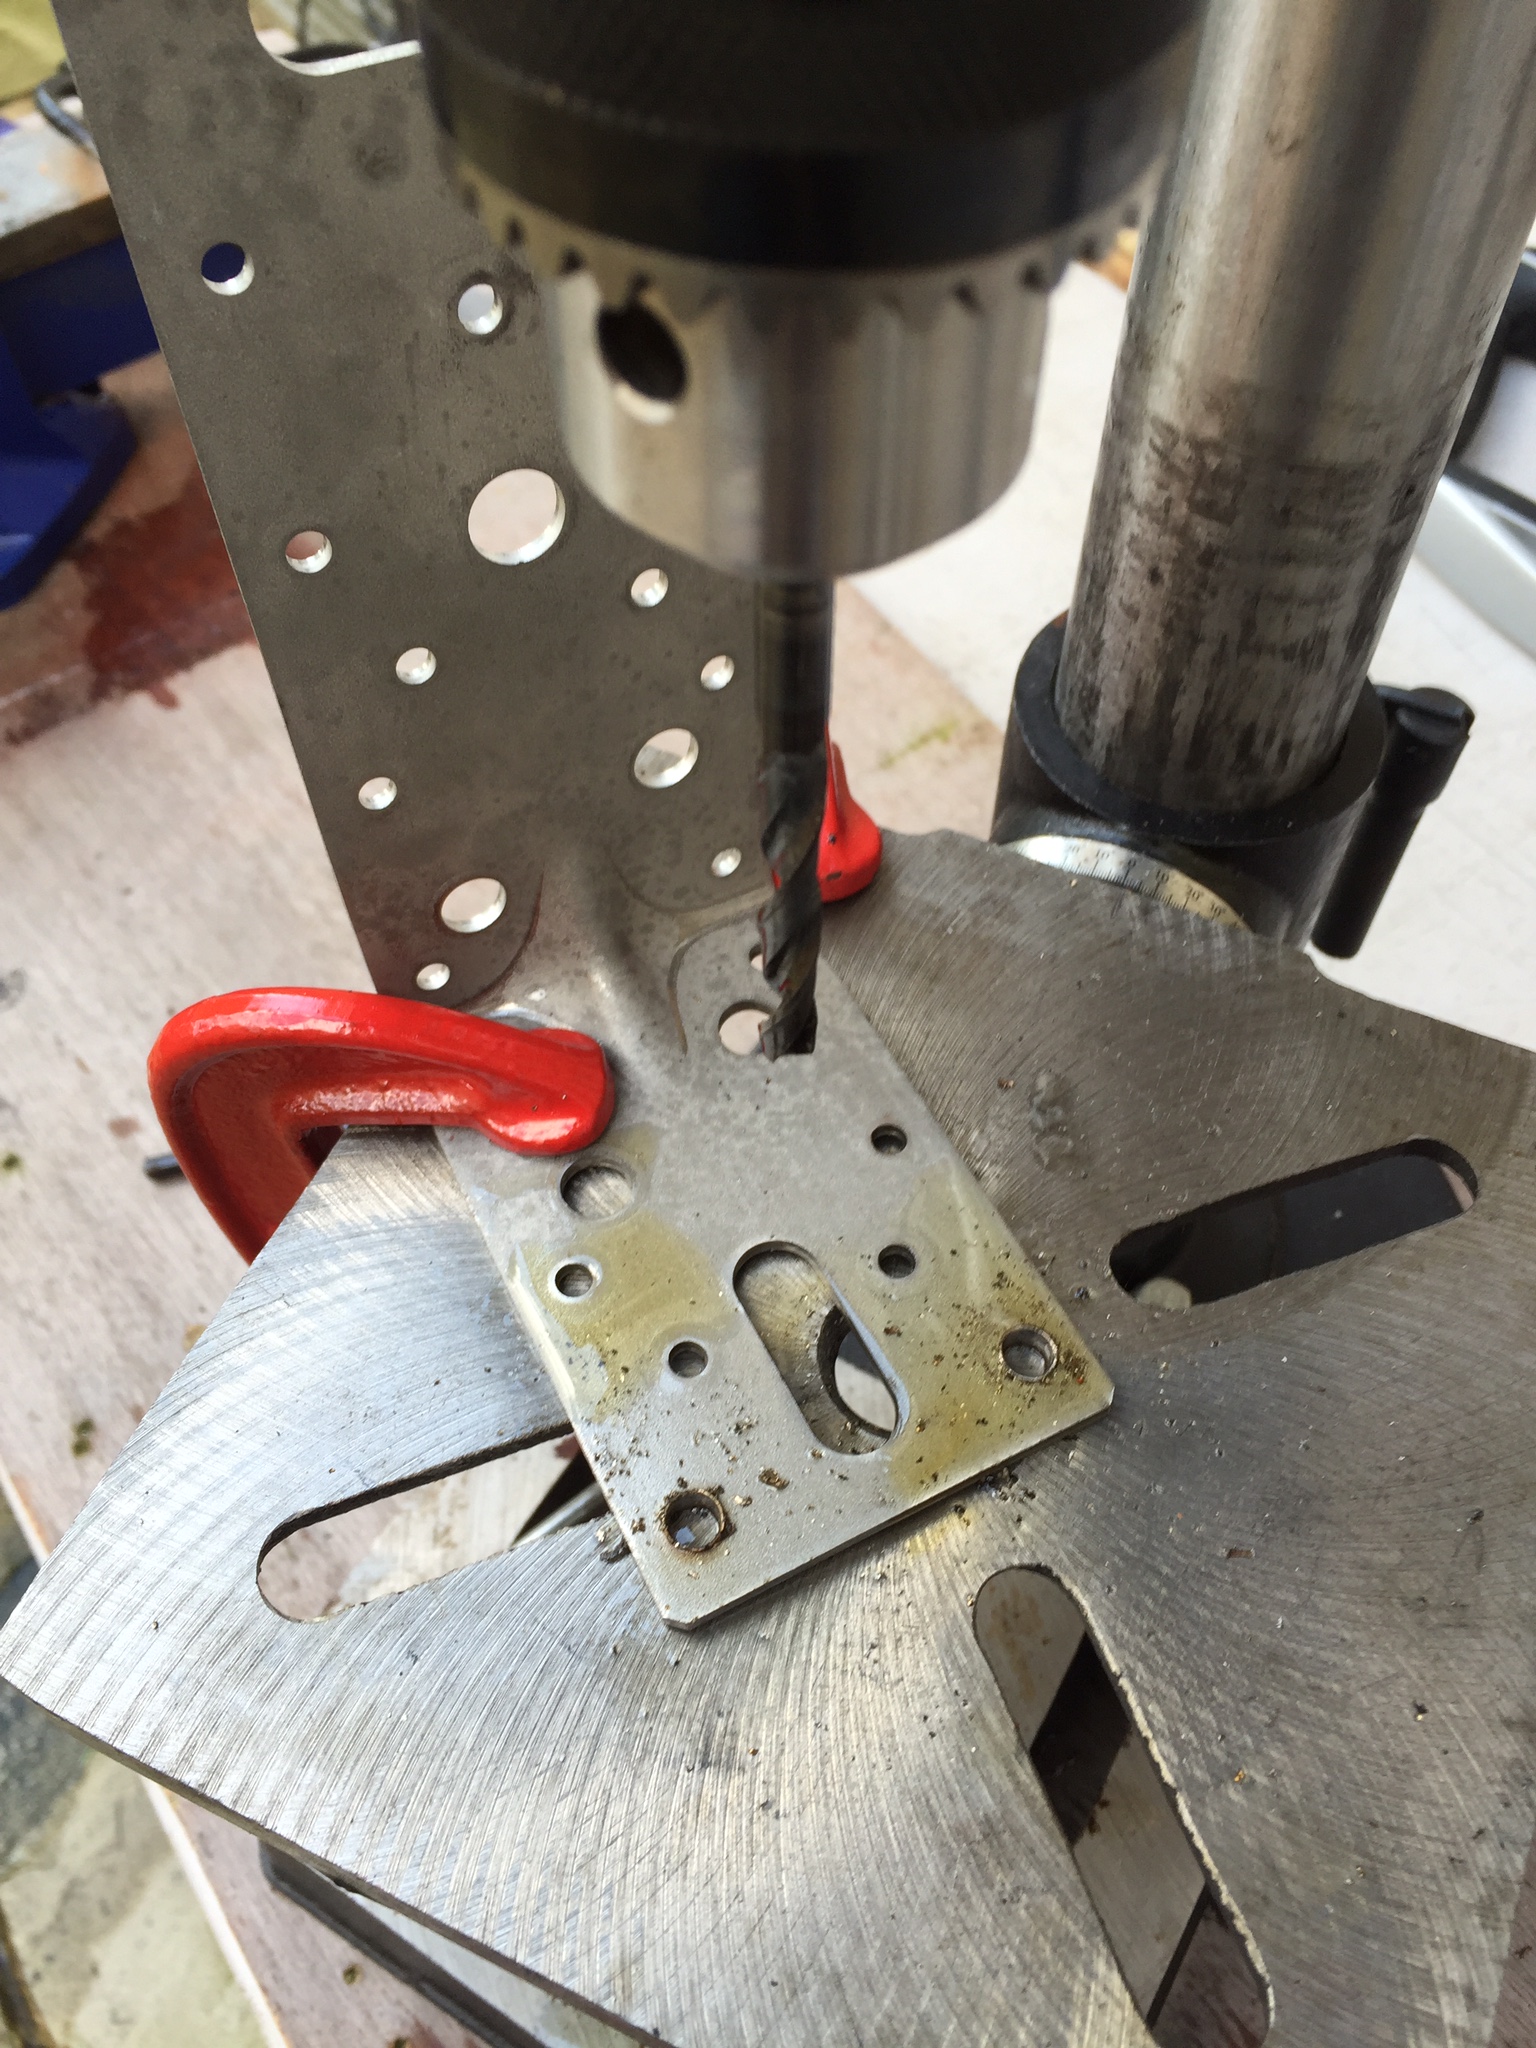
Adding machine oil while cutting helps quite a bit..
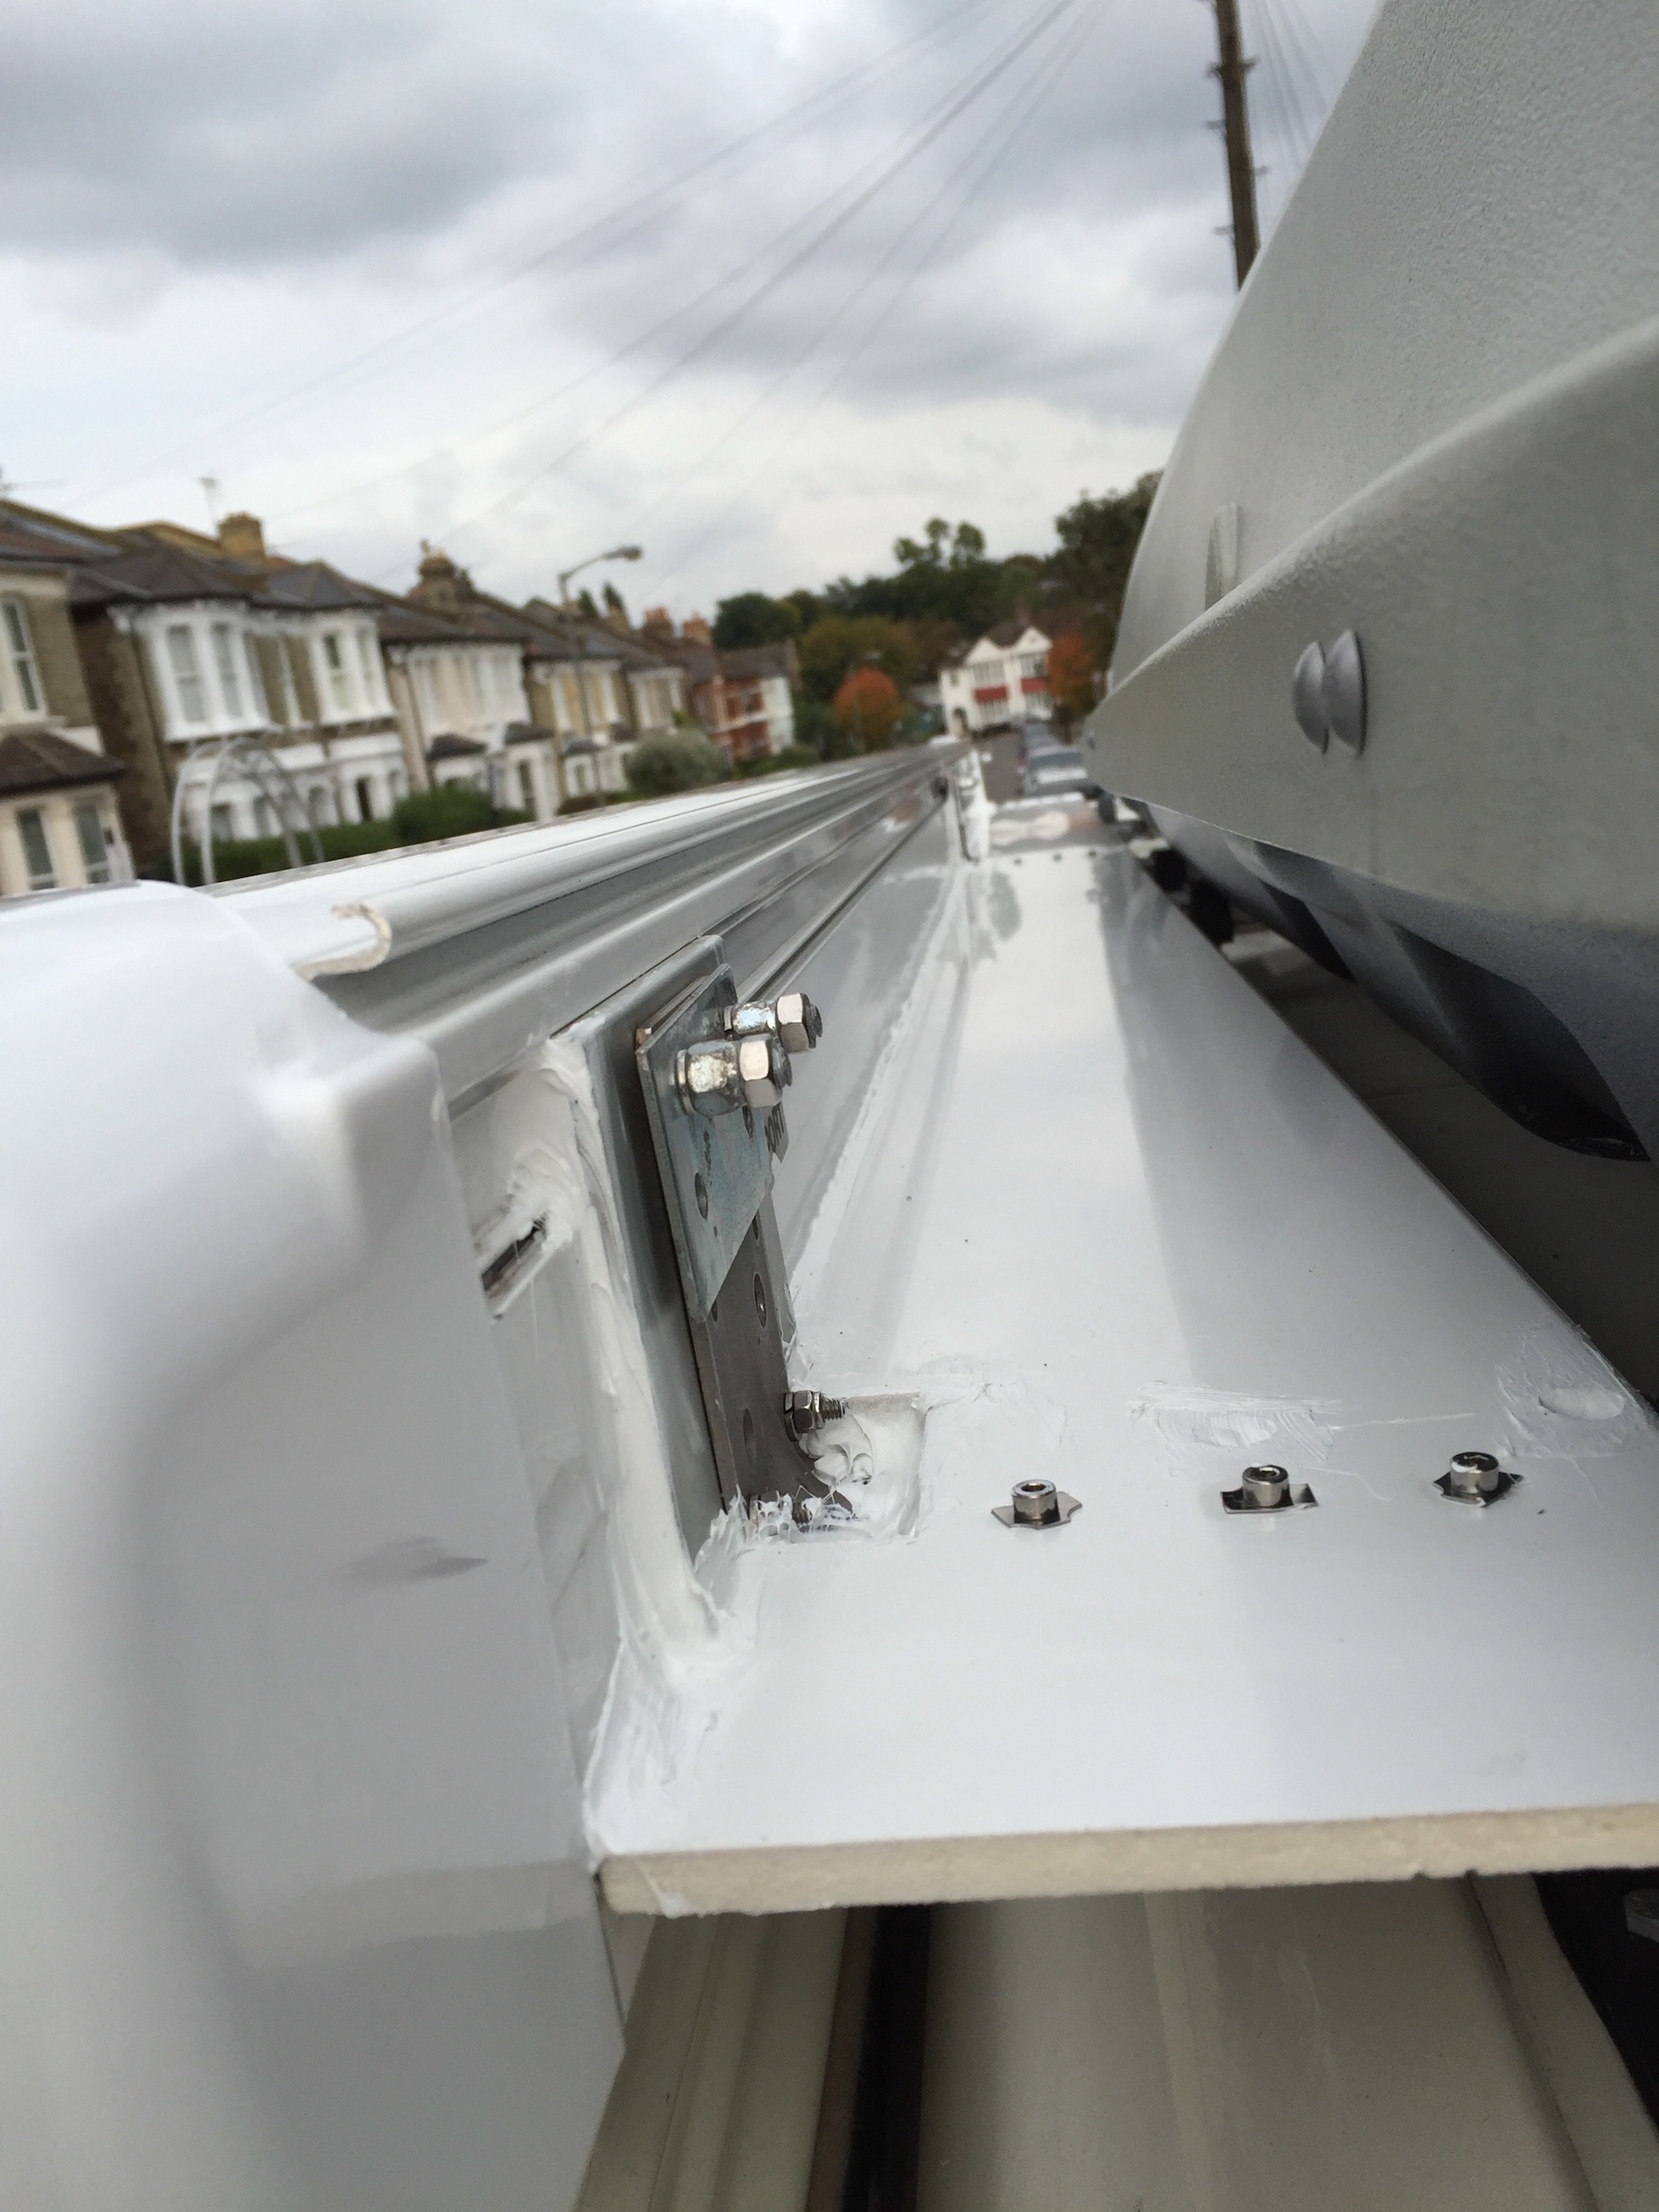
I secured the main bolts with nuts and spring washers and also added a couple of M4 bolts at the bottom to stop the assembly from flexing too much.

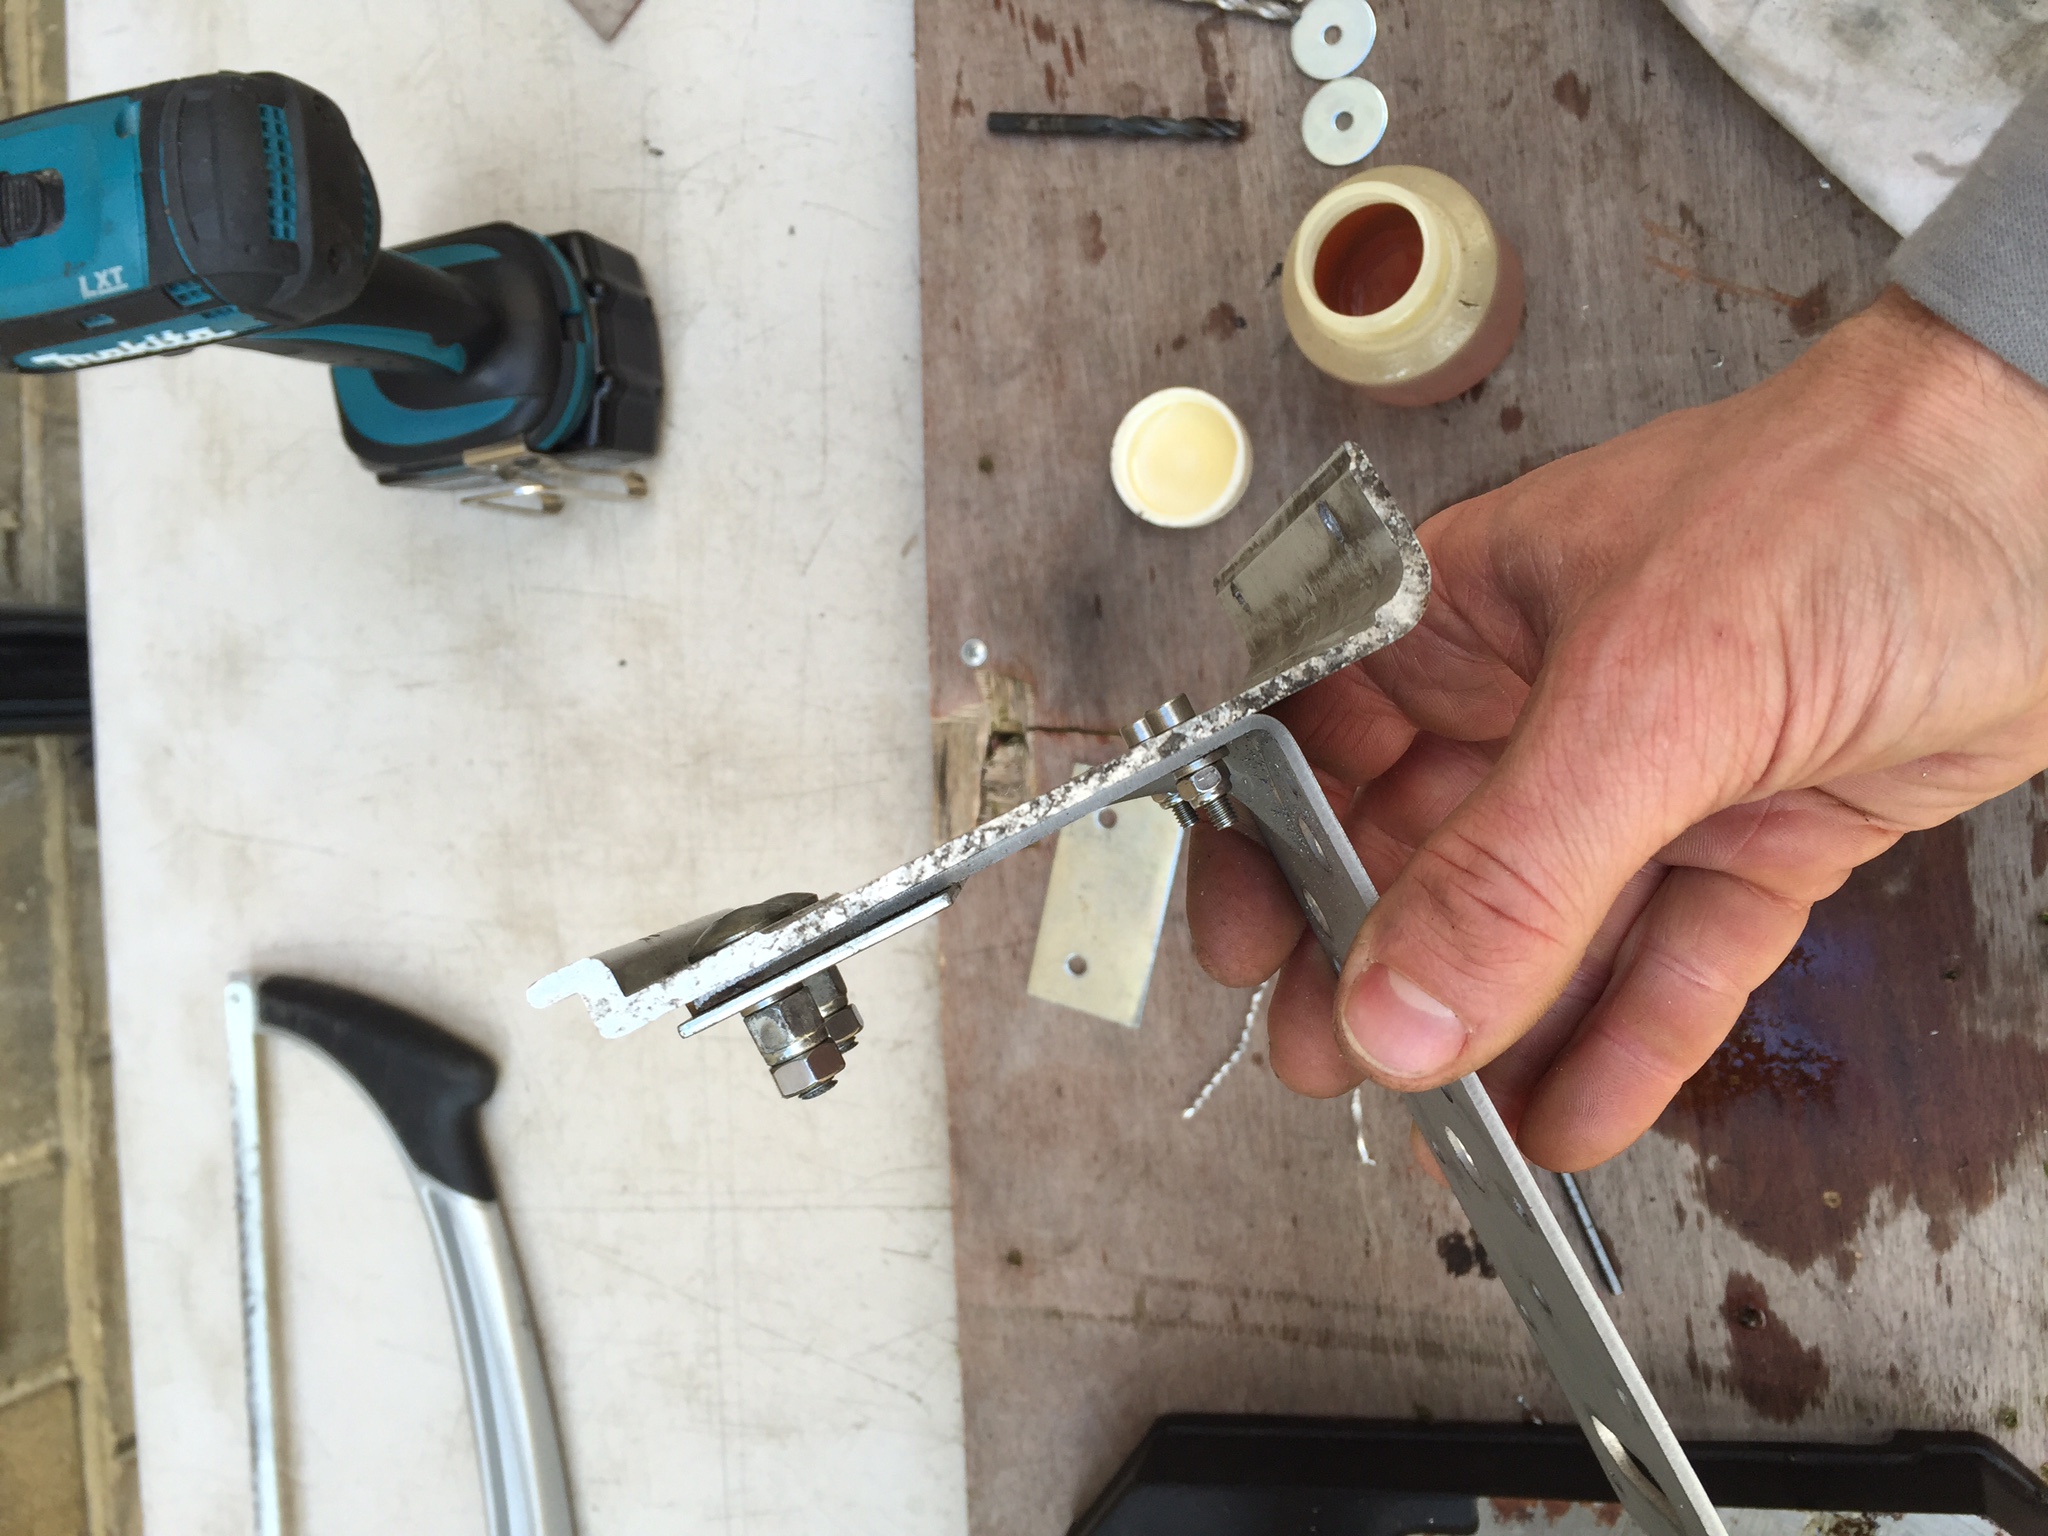
I secured the adapted brackets to the roof bars using M6 computer rack bolts, penny and spring washers. The bolts conveniently screw into the runners inside the ULTI bar T-tracks. I thought about adding a C-bolt per bracket for additional security, but I don't think I'll bother, since it seems pretty solid as it is.
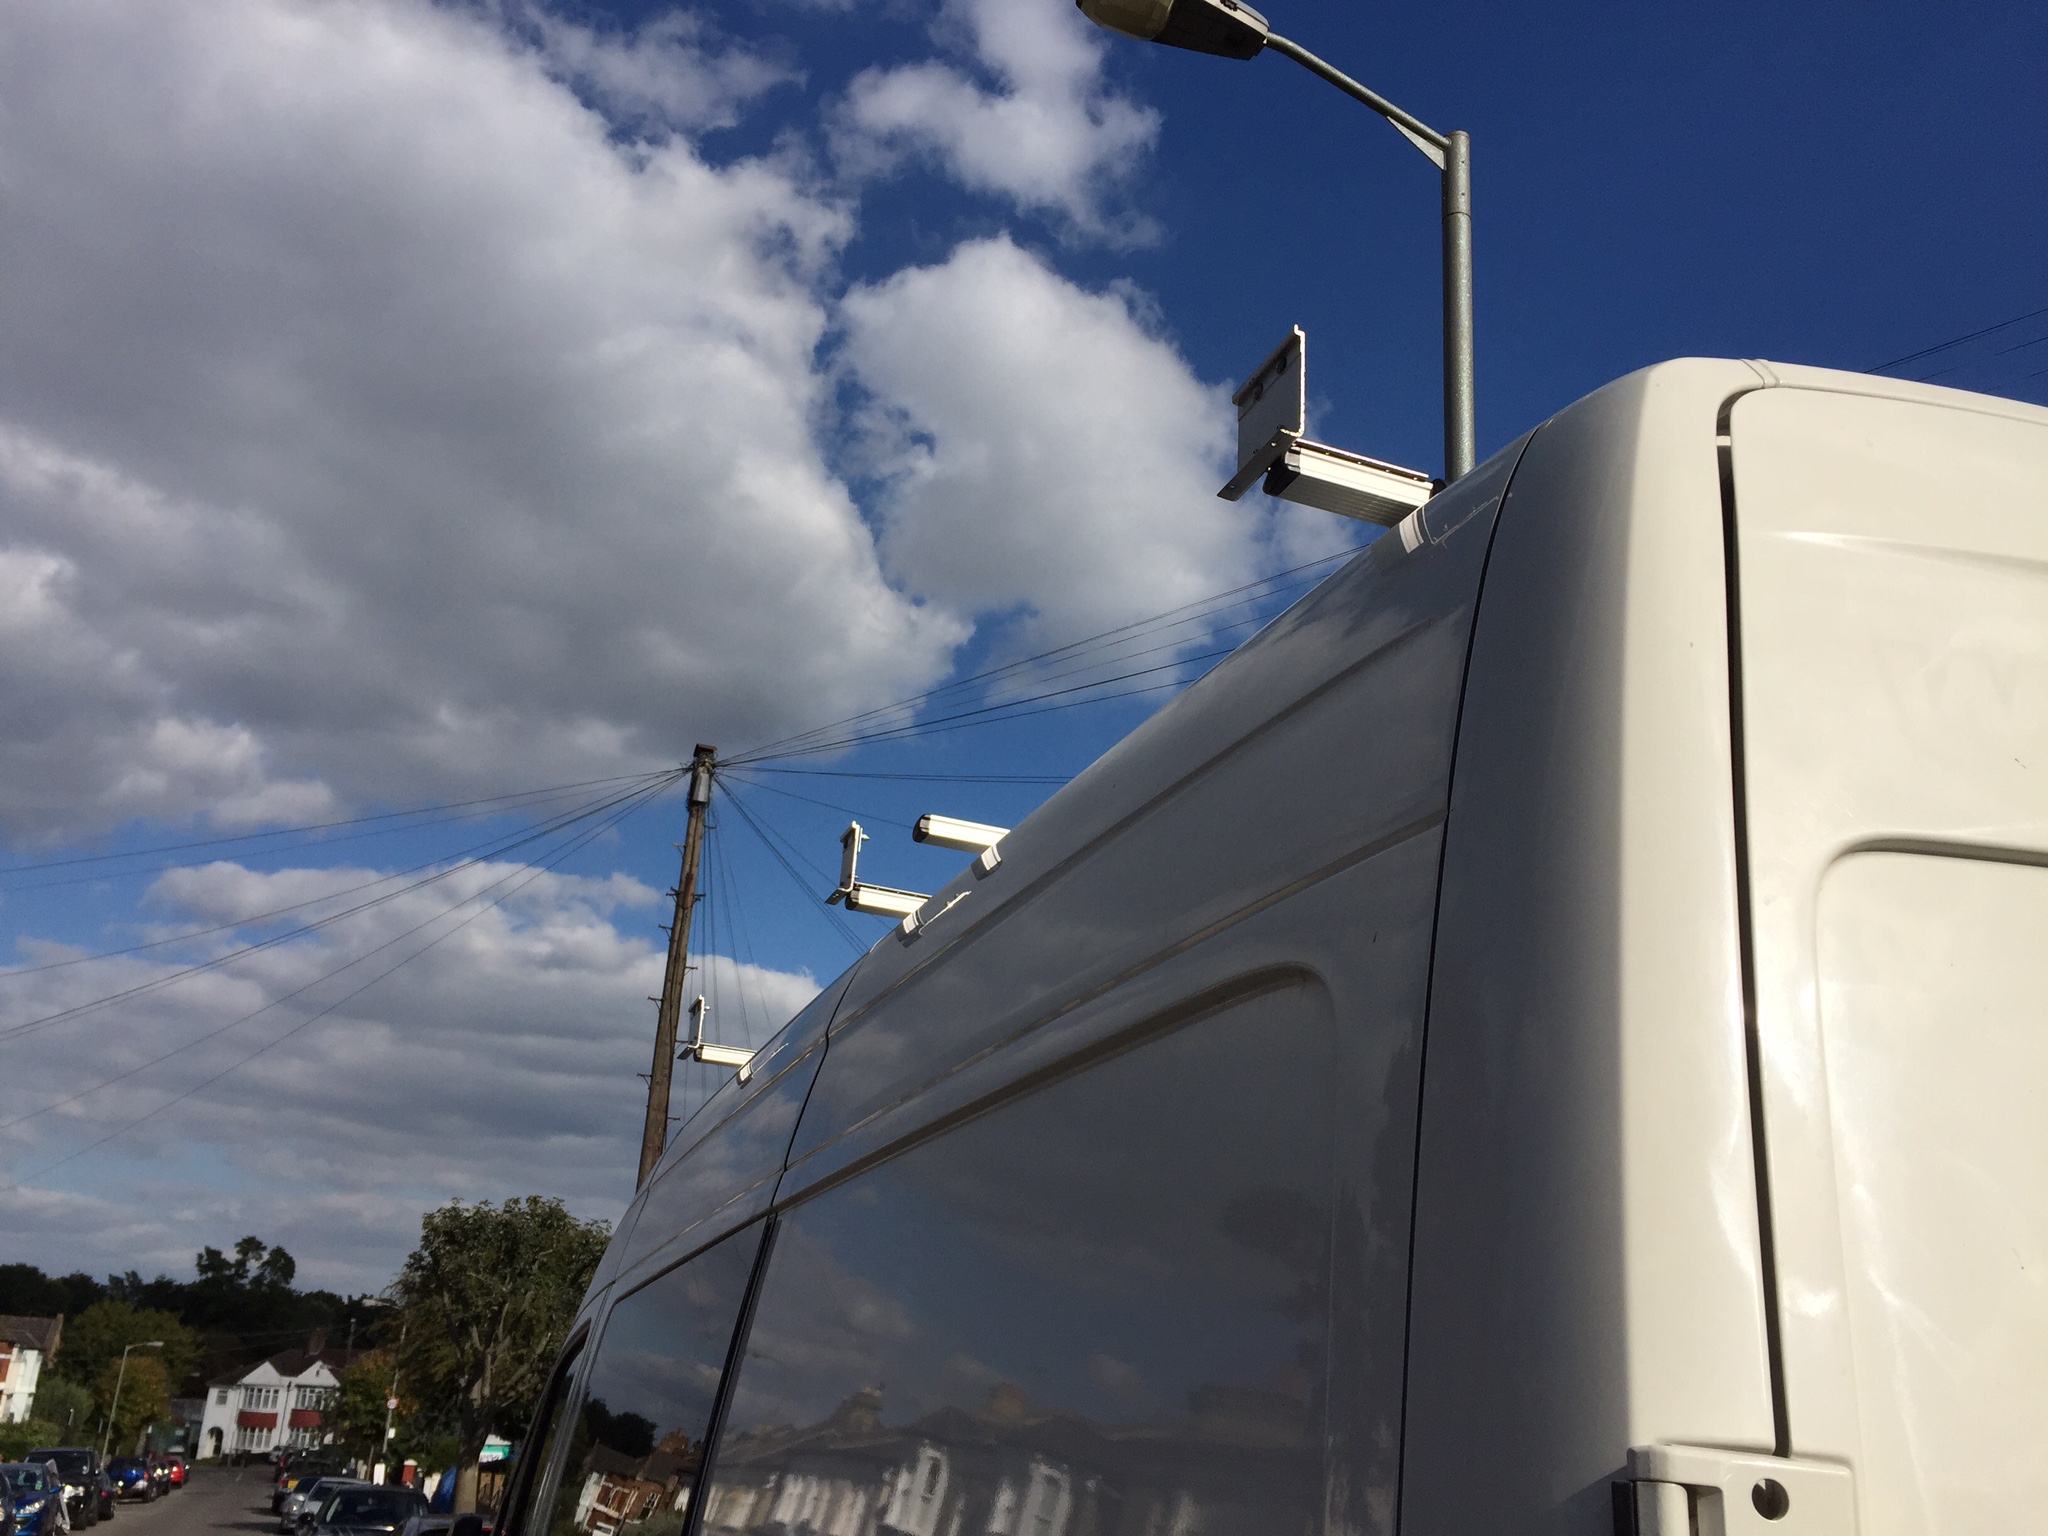
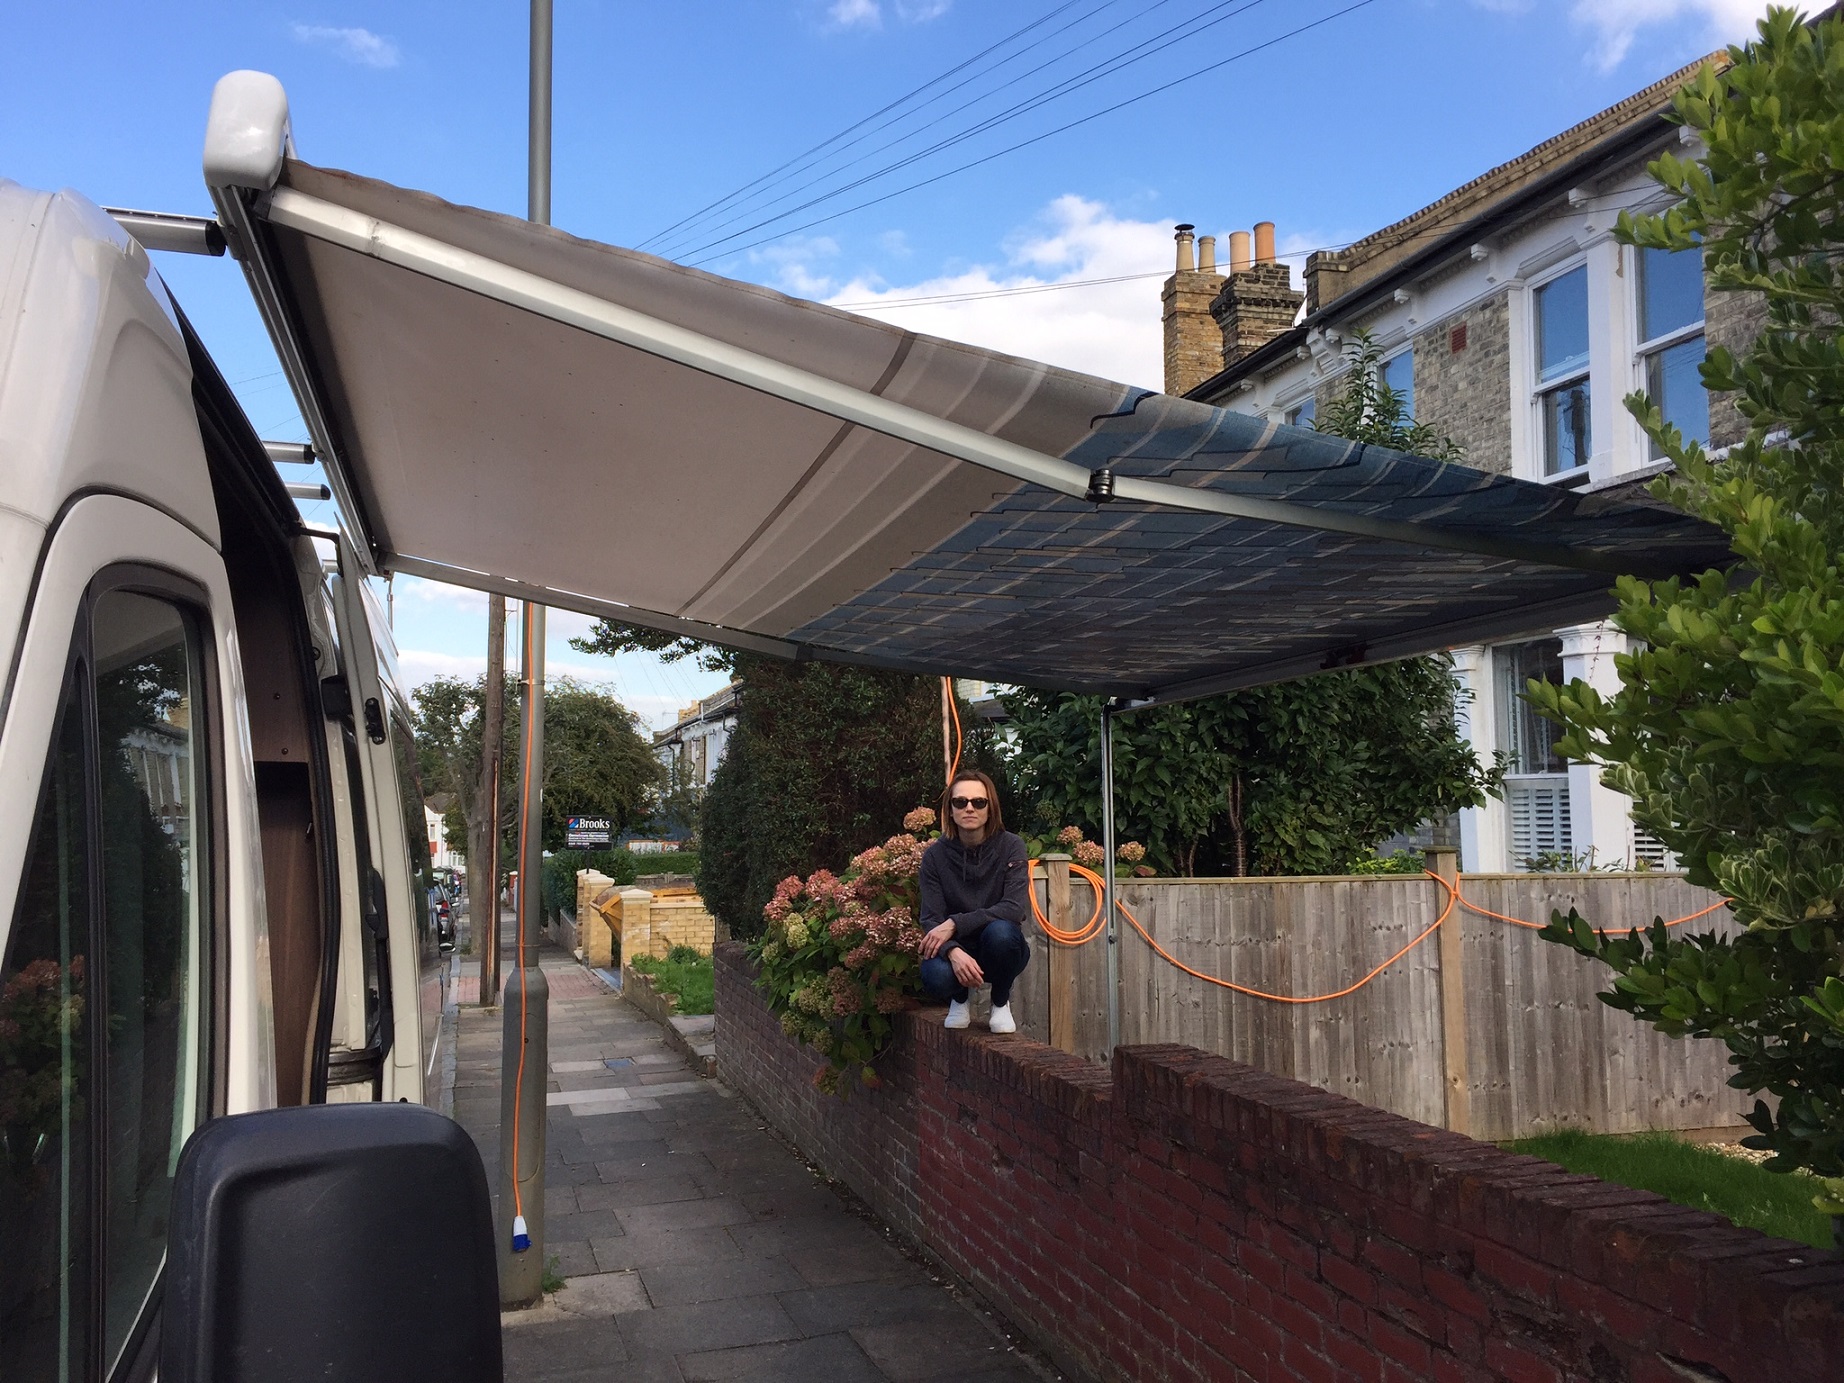
Once the brackets were up, we hauled the awning up onto the bars and hung it on the brackets and secured with screws from underneath.
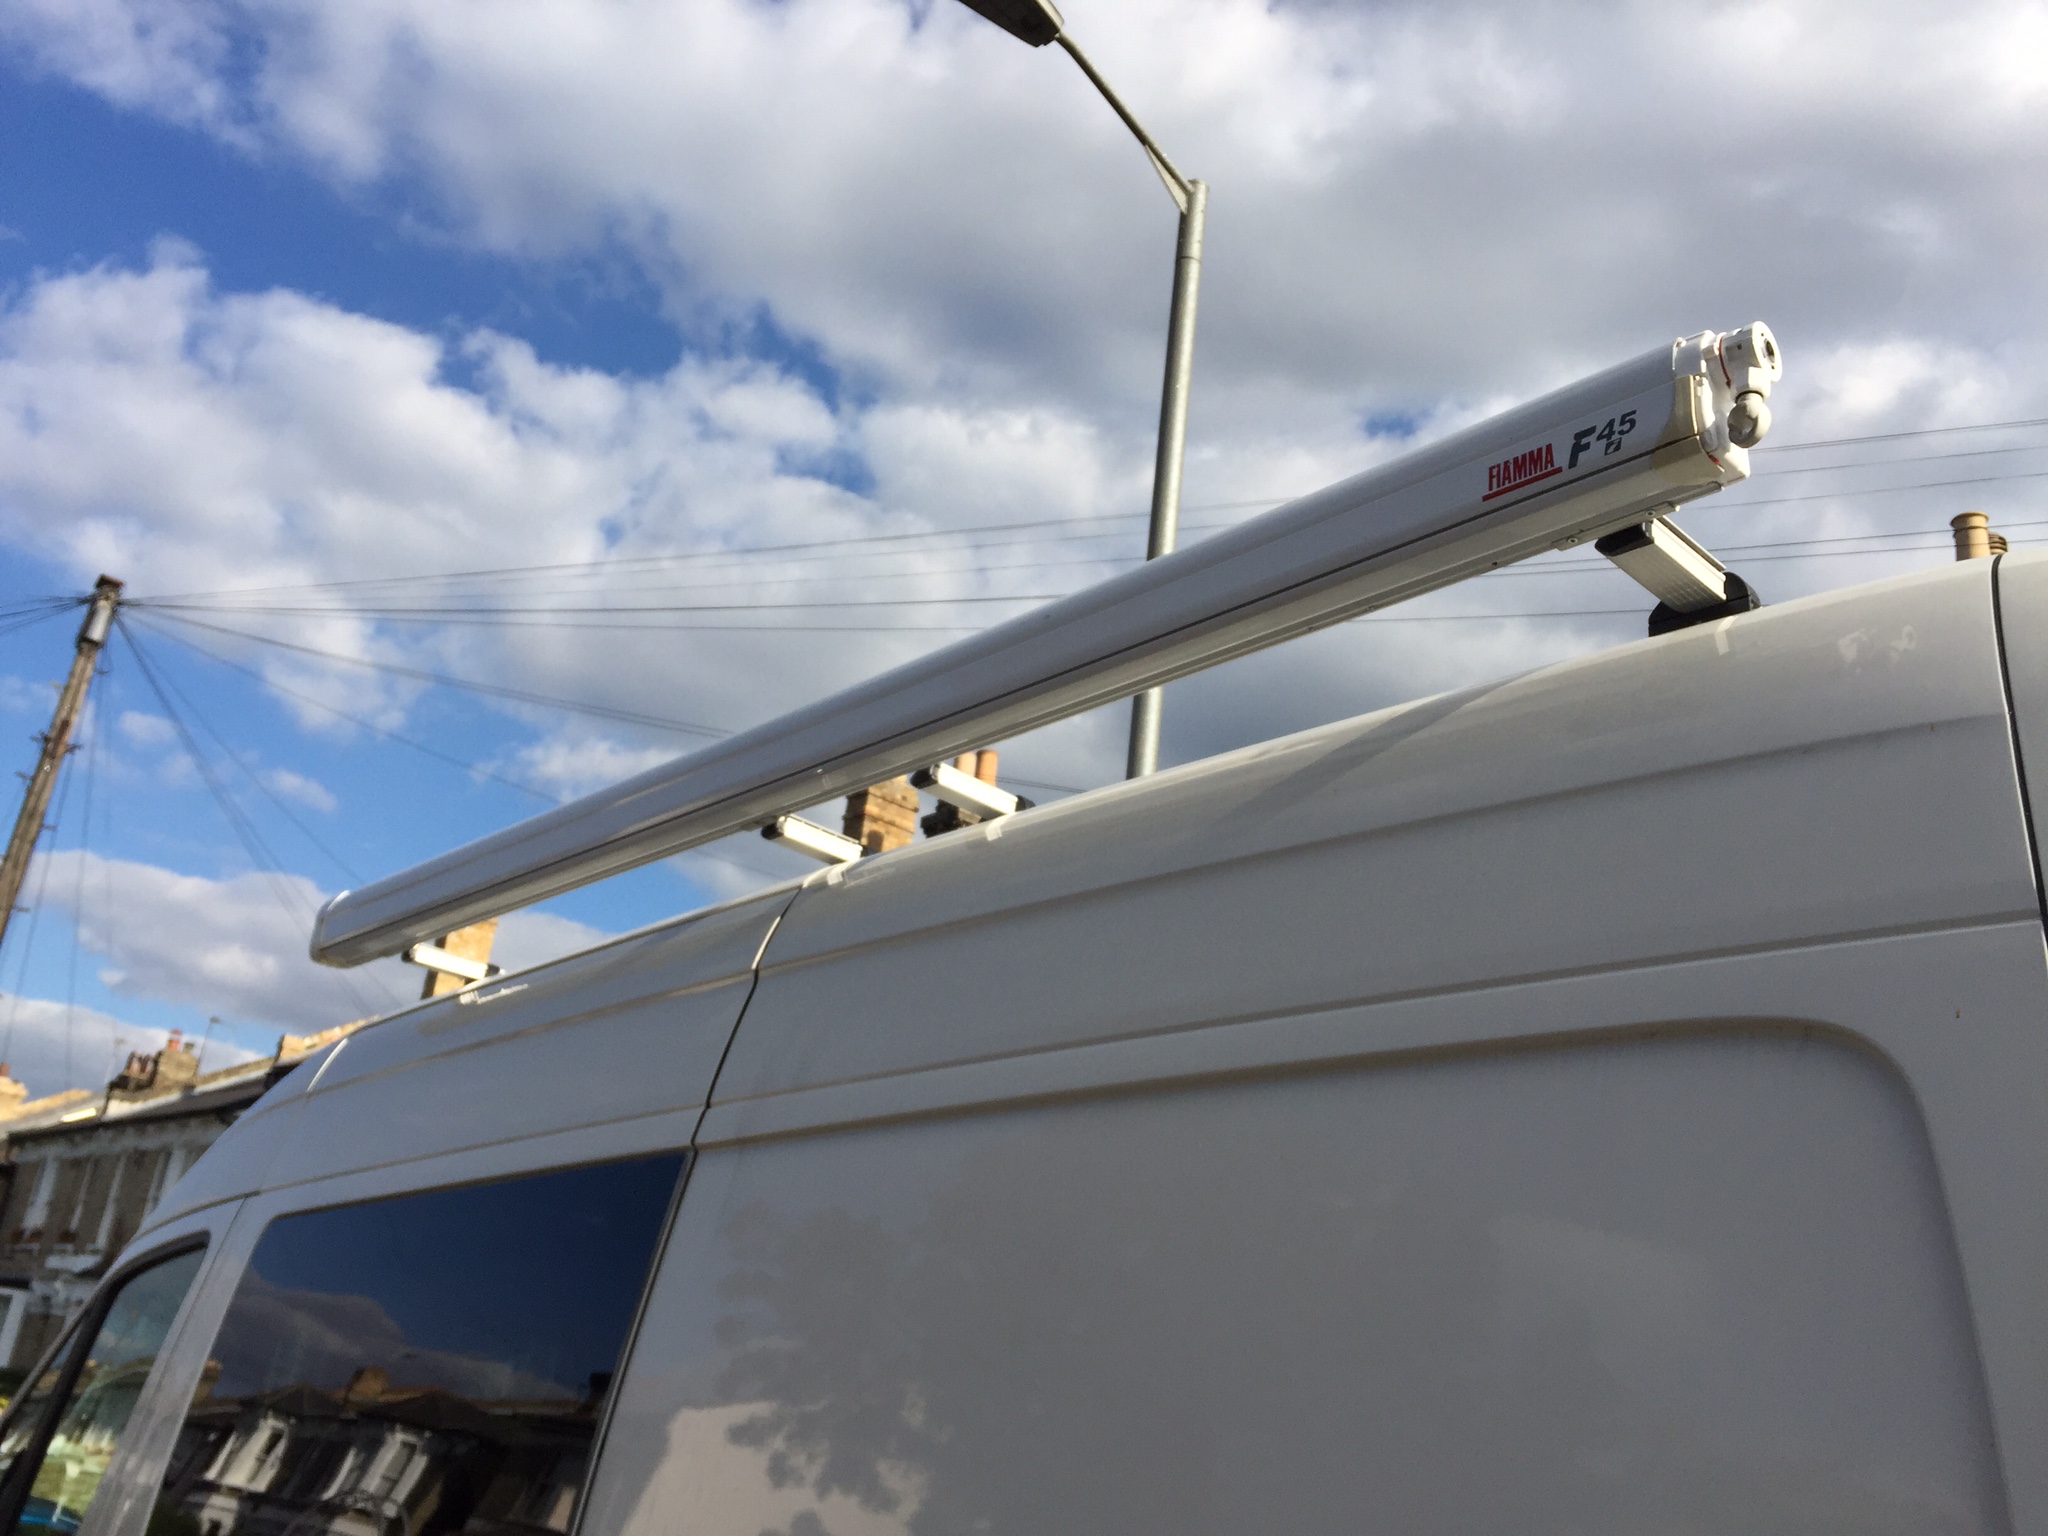
As the wind out test proved successful, we now have a working awning, sporting the outdoor colour motif circa 1980..
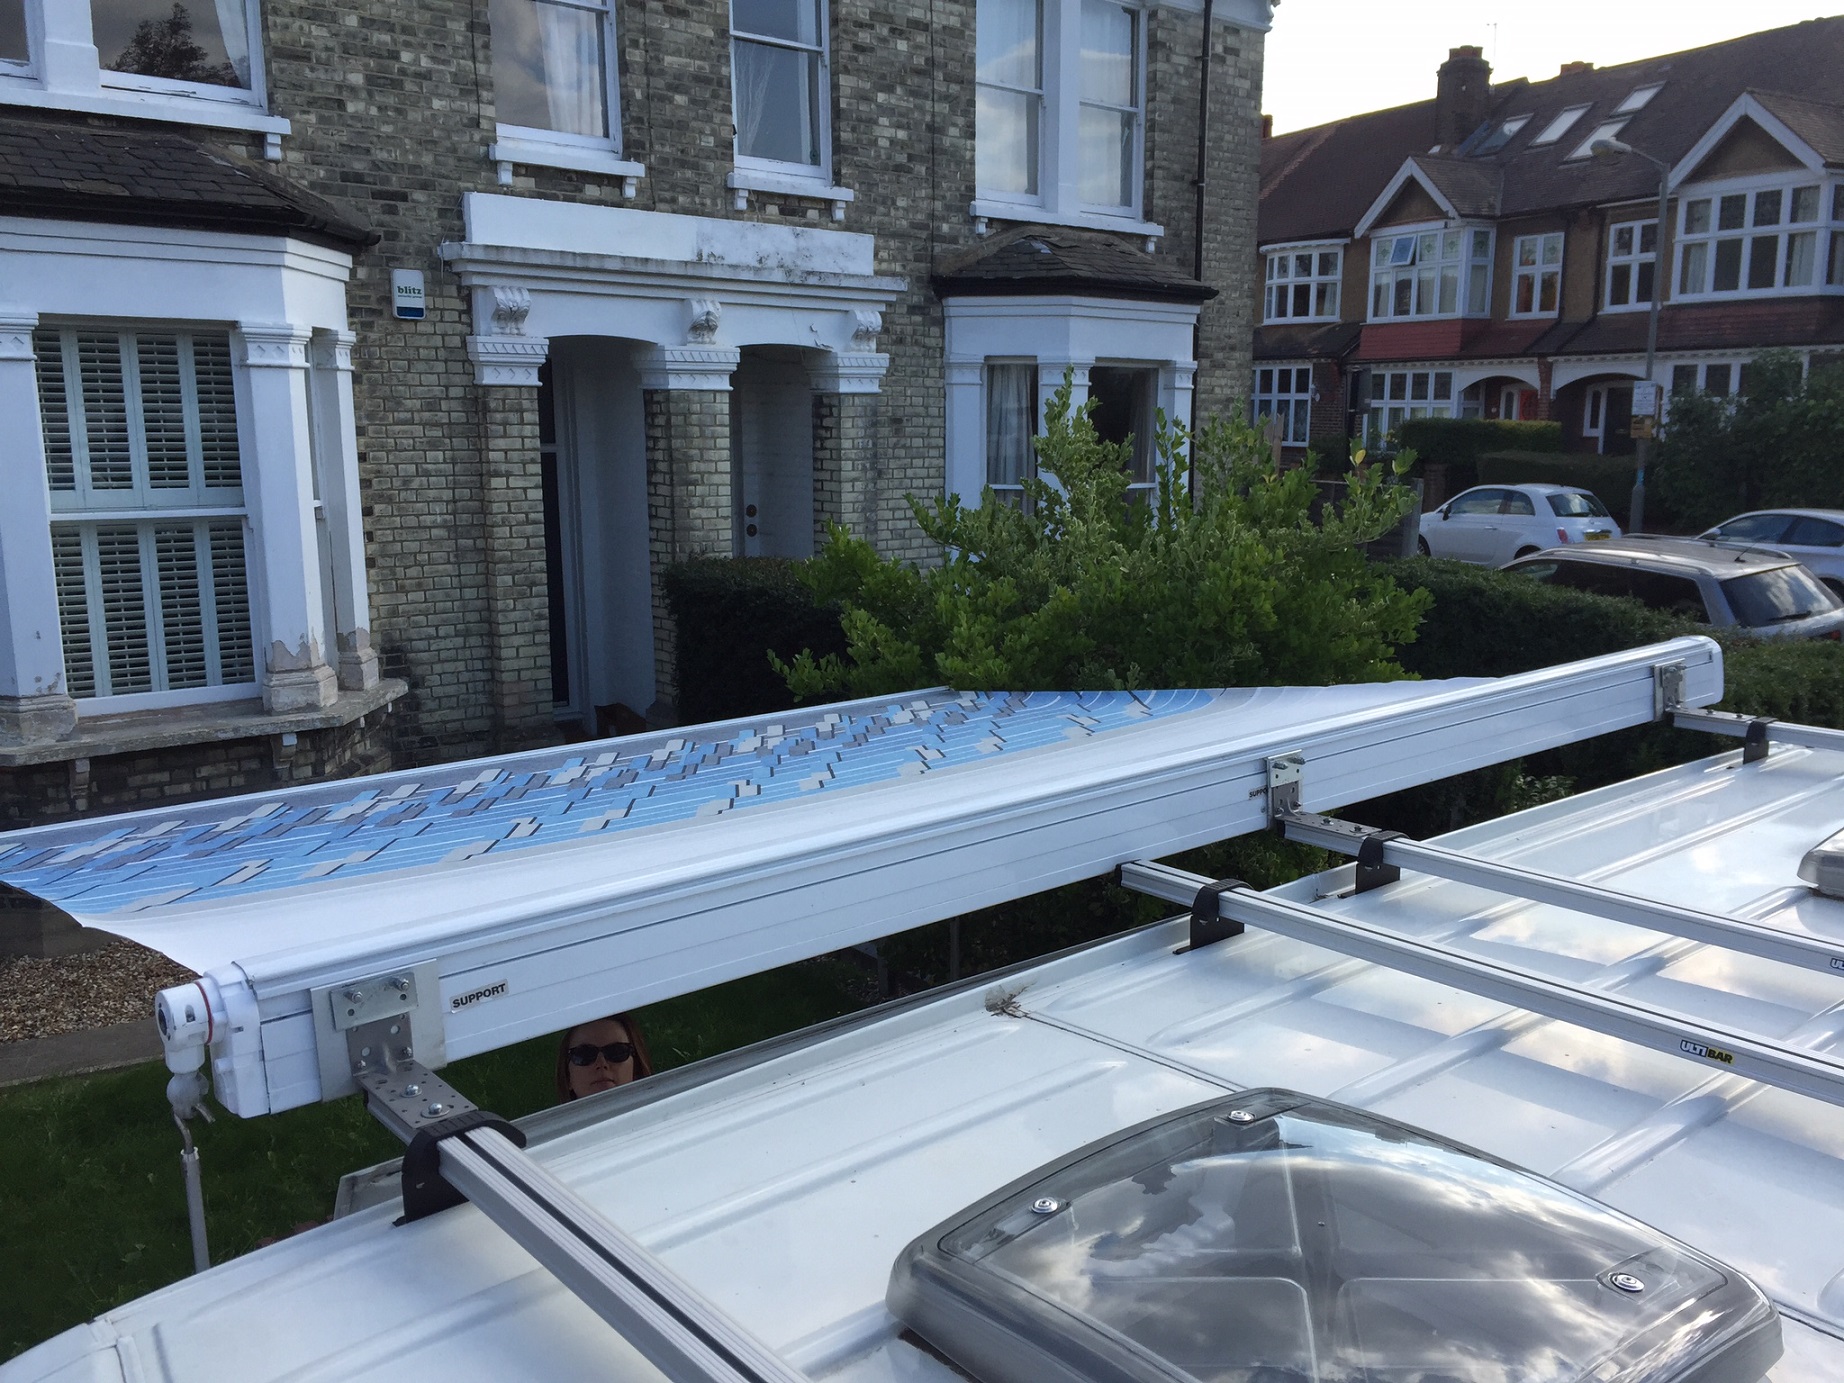
The gap between the awning and the van body was undesirable, since it would partially defeat the purpose of the awning, so after a few searches, a possible solution came in the form of uPVC facia capping boards. These come in 5m lengths, between 7mm to 9mm thick and come in a variety of widths. The roof bars overhang by about 160mm, so I ordered 150mm wide board, 7mm thick. They are made from semi-rigid foam, with a uPVC covering on one side.
I cut out templates from cardboard to help me shape the boards around the awning brackets.
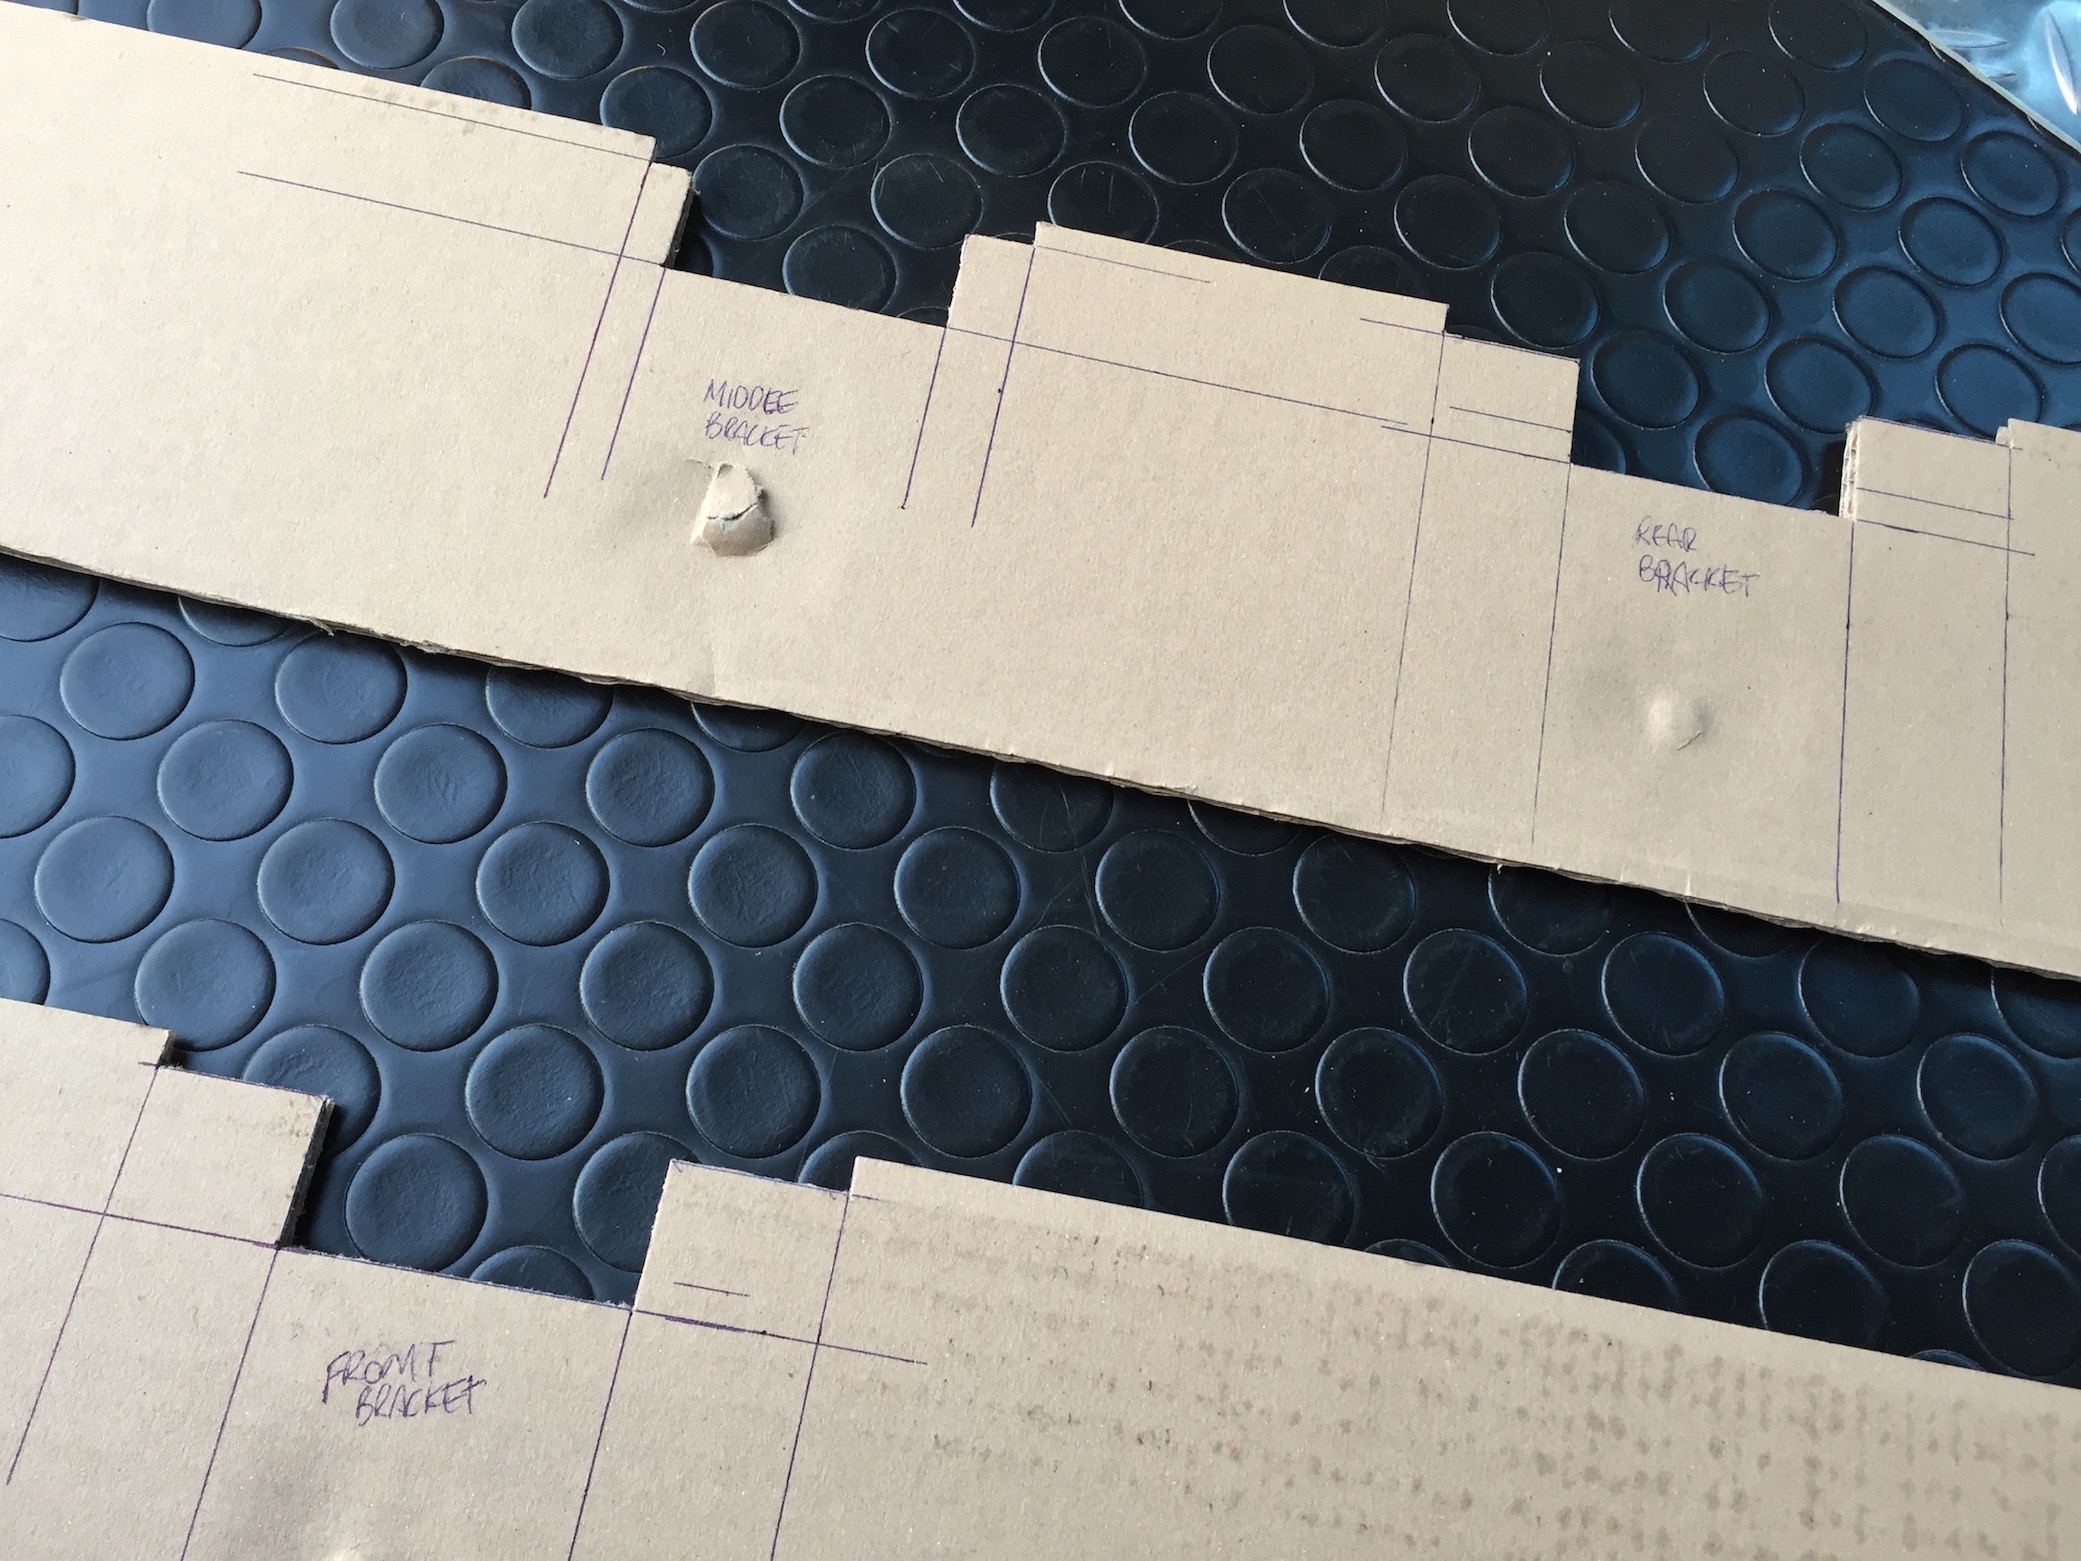
I then cut the bracket profiles in the boards using a hacksaw and a jigsaw. Finally, I fastened the boards to the brackets using left over M4 bolts and make-shift washers I cut from the stainless steel banding.
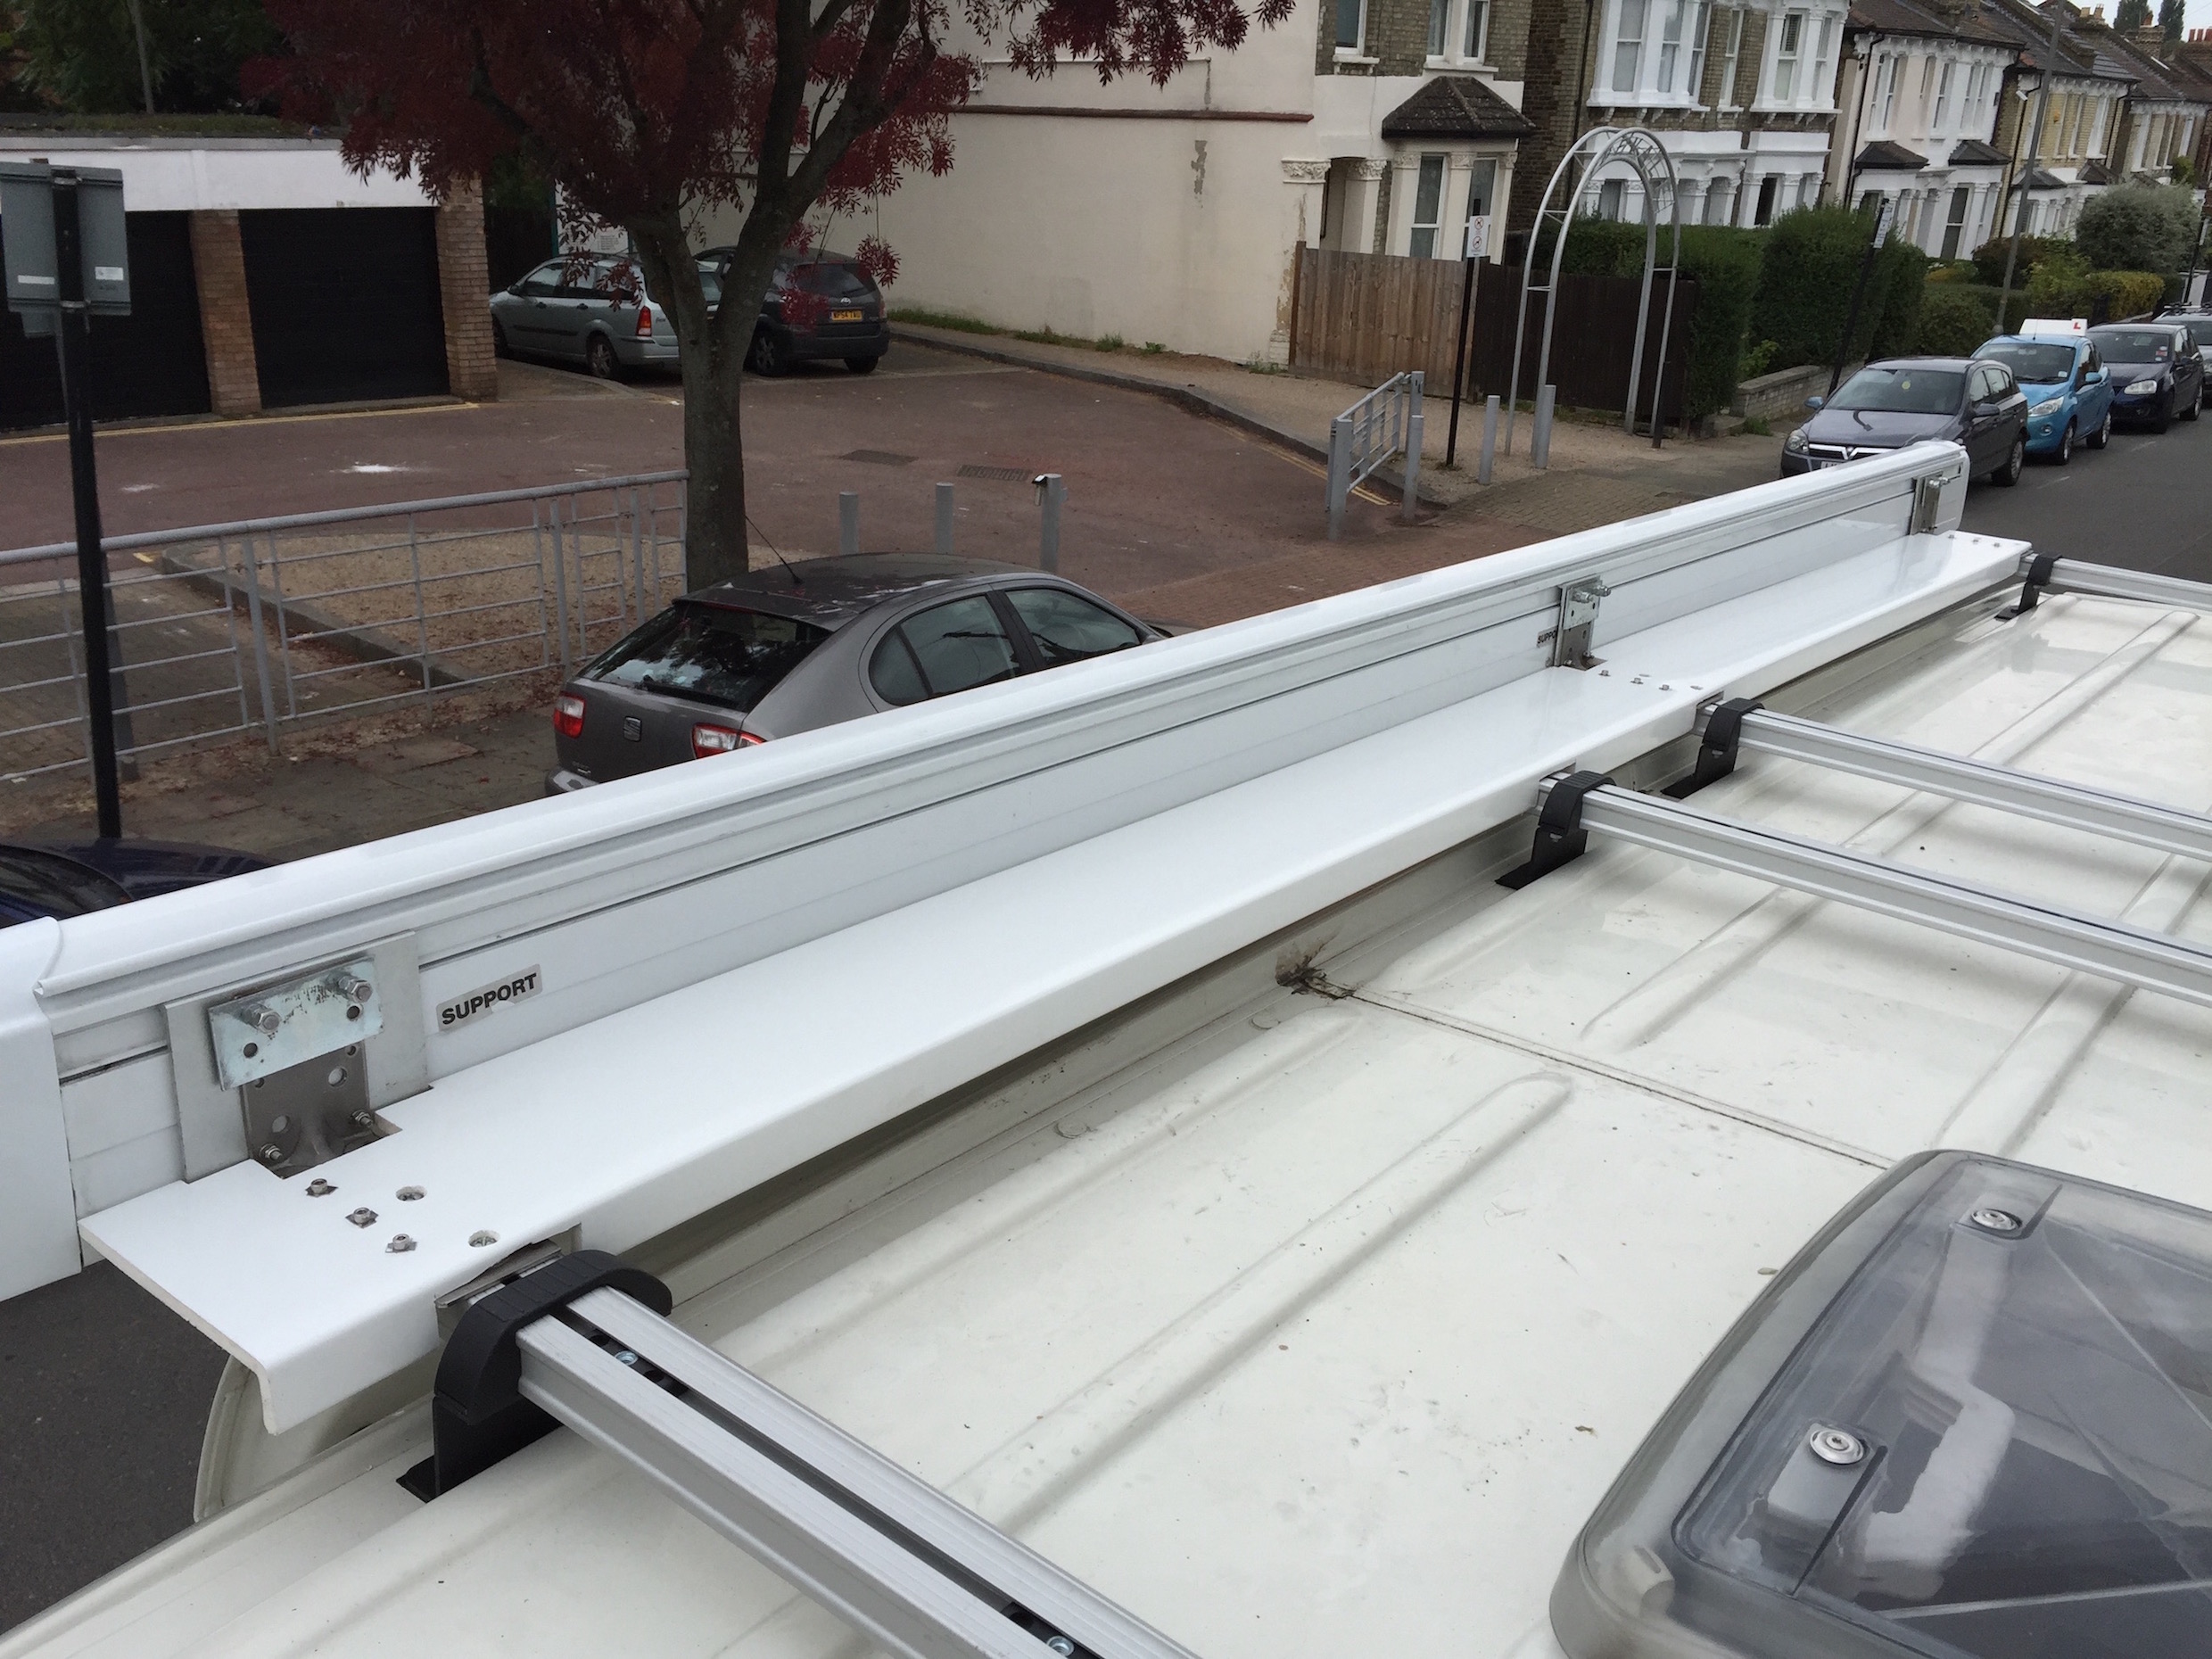
And lastly, I drowned all the gaps with white Sikaflex.
I am not completely satisfied this setup will hold, while travelling at speed on the motorways, so I'll definitely post an update if it flies off..
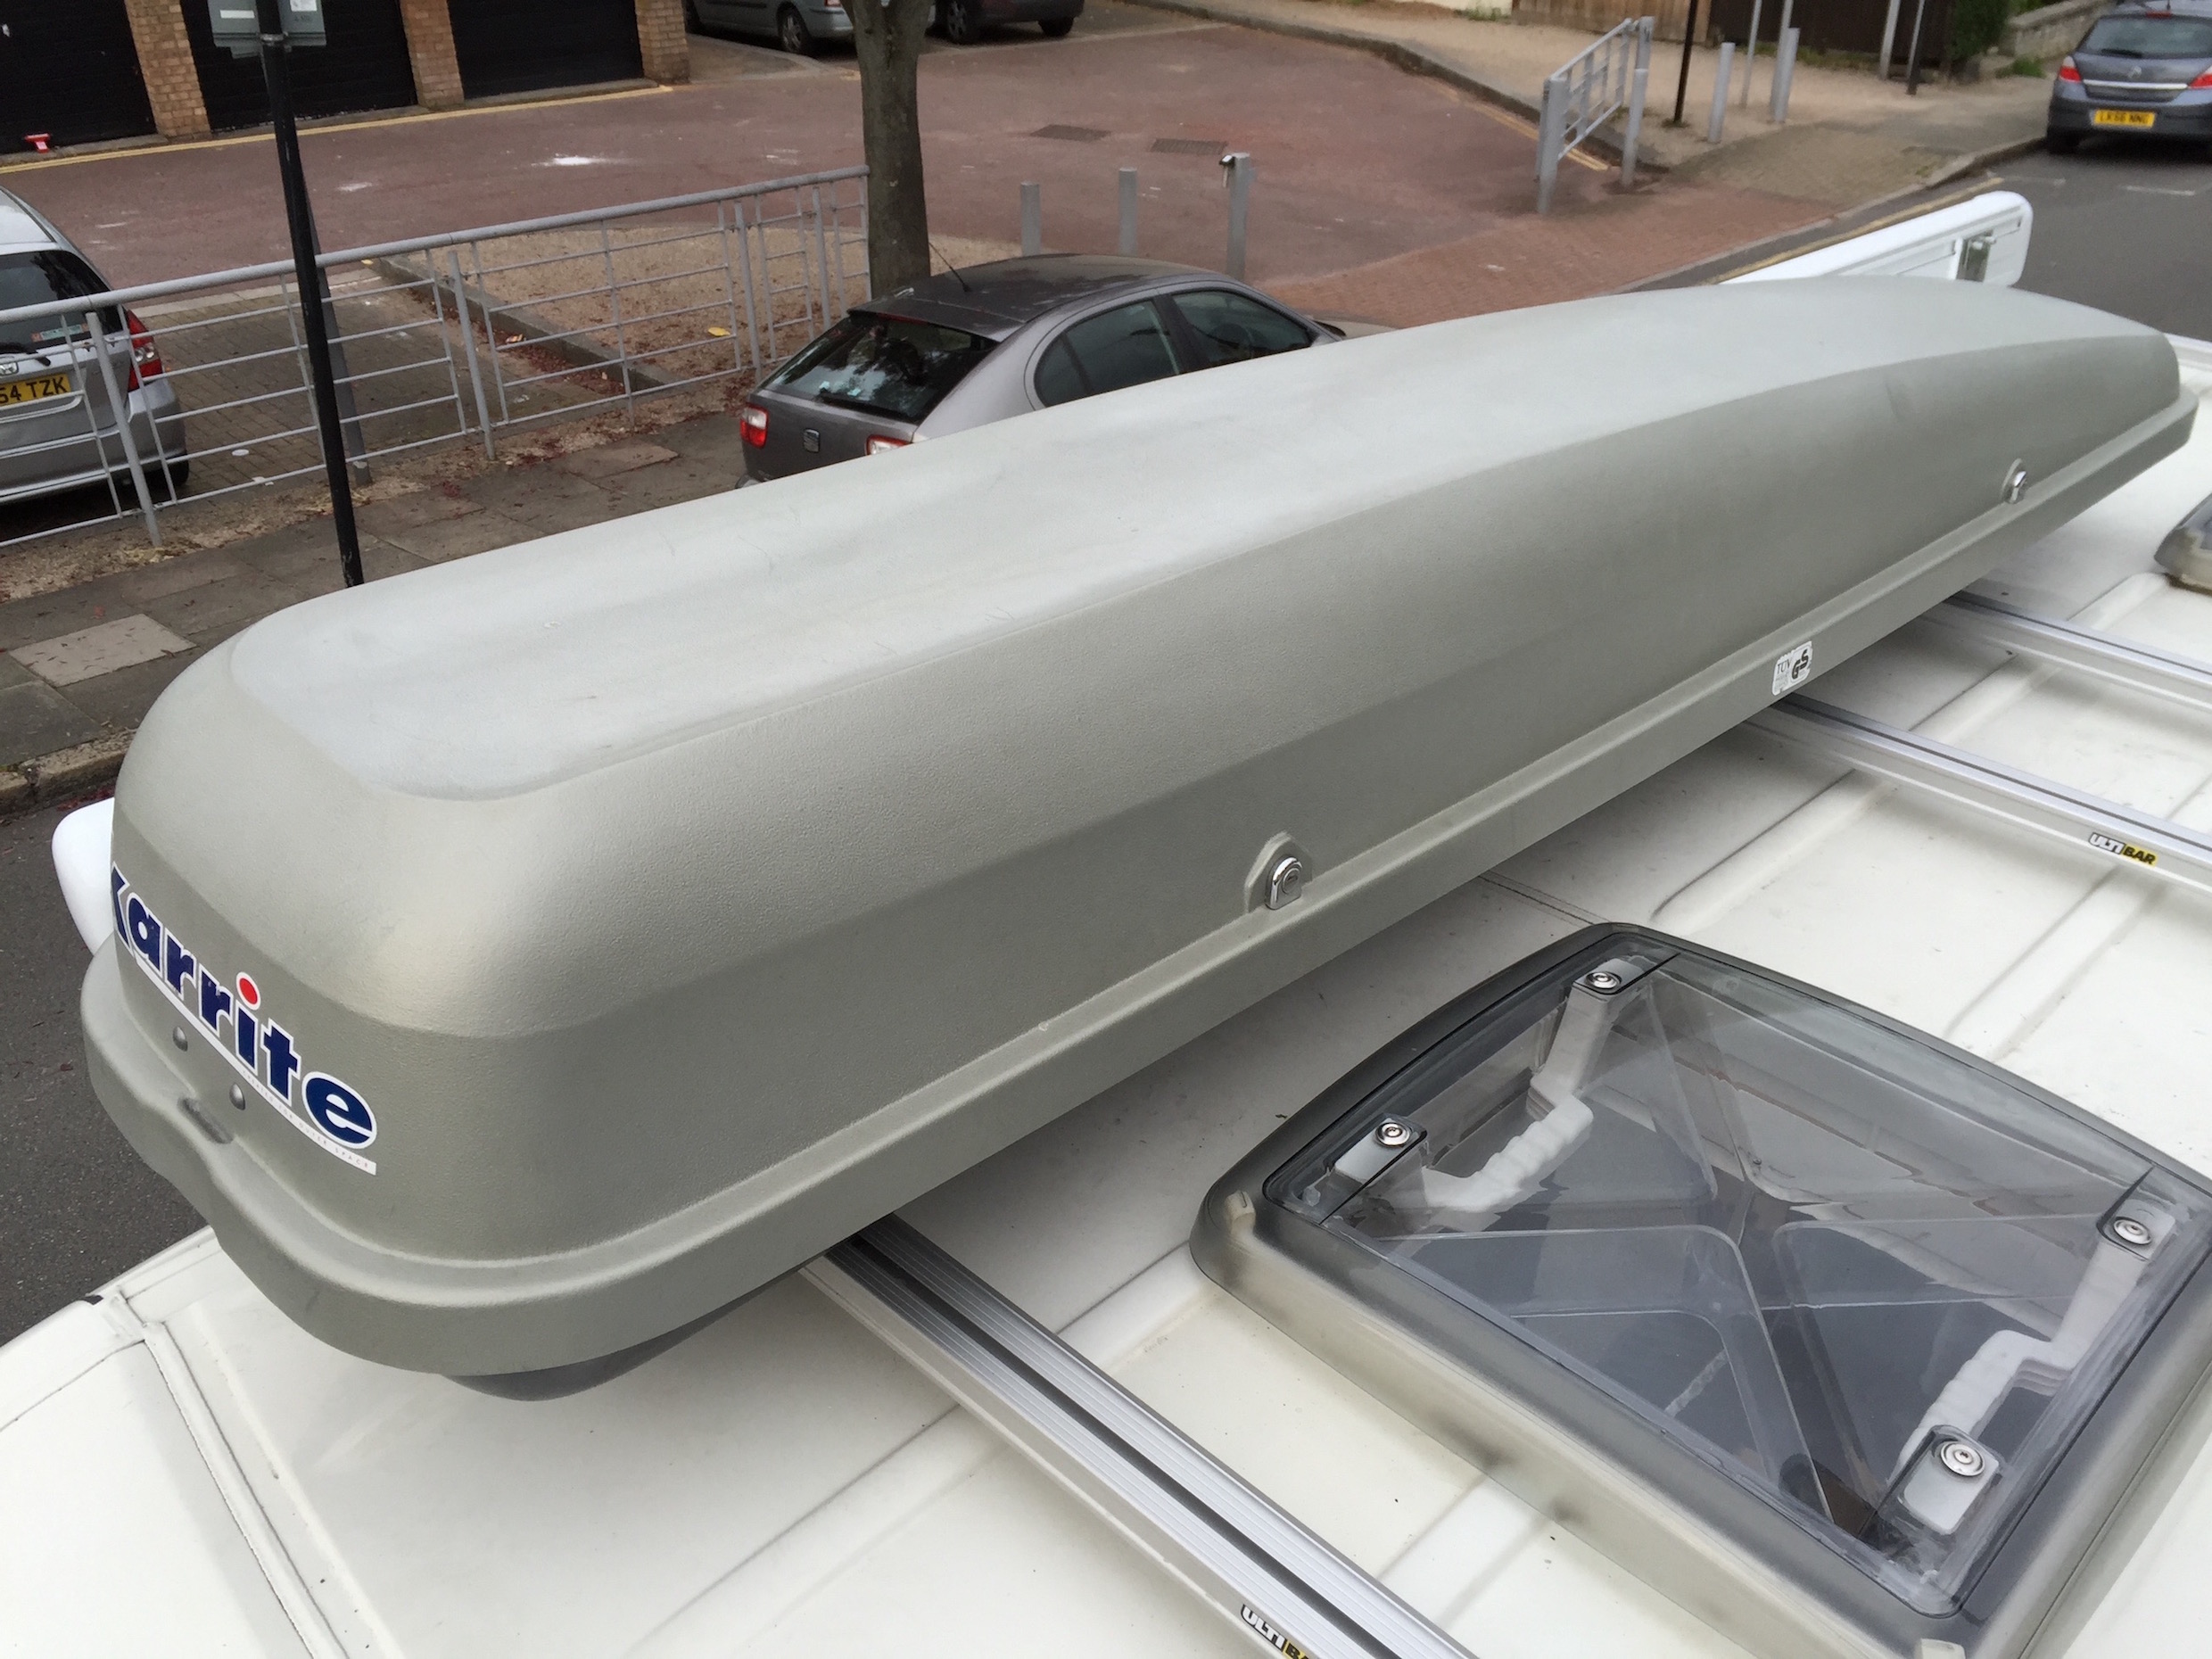
Roof Box
I picked up an old Karrite roof box from eBay. It is 2.4m long, 45cm wide and 35cm high. I wanted a long thin box and this one met all the requirements.
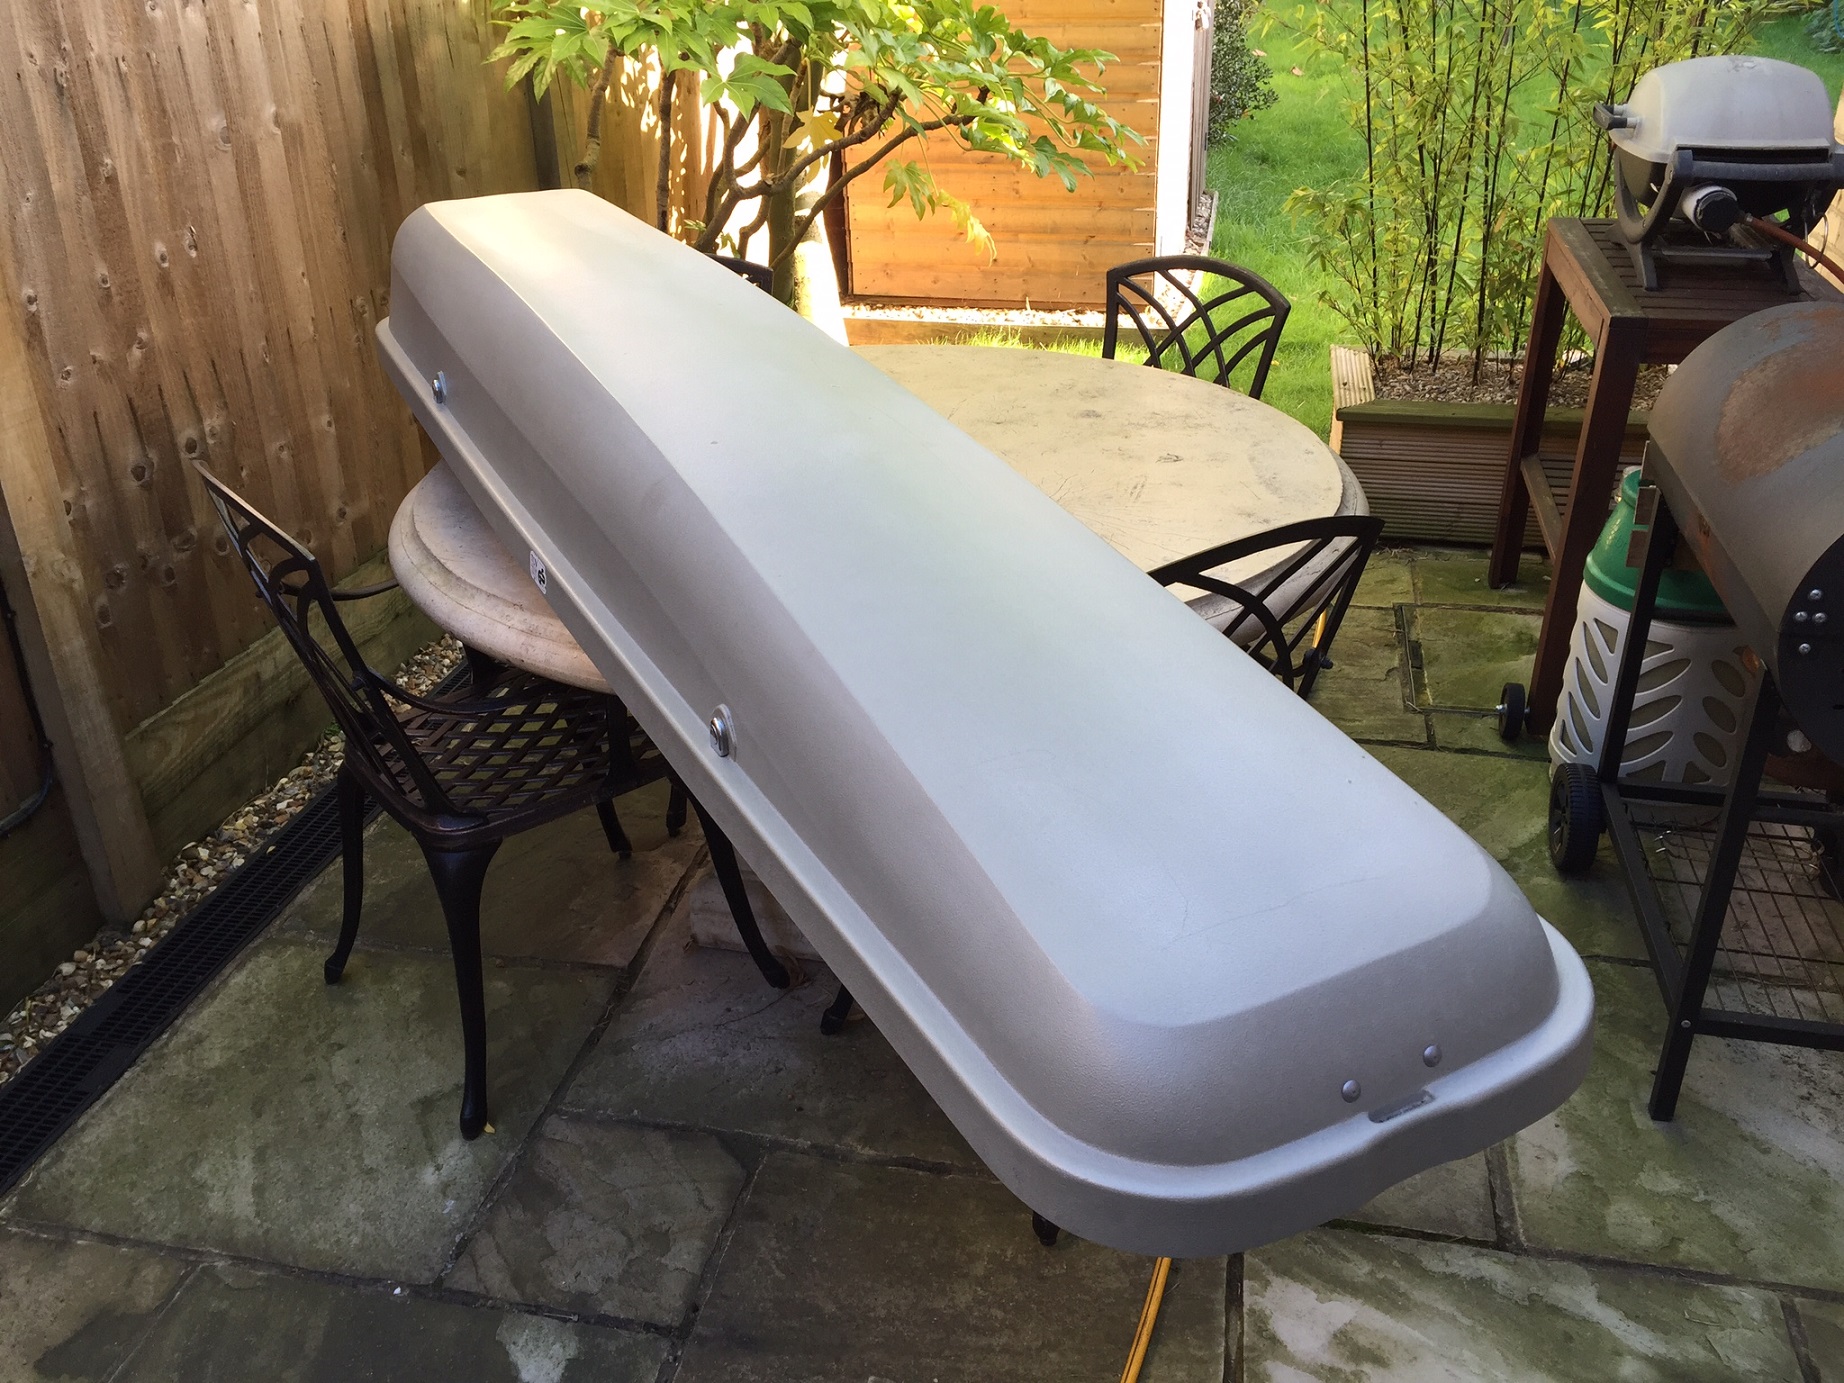
I gave it a good wash and a patched the previous mounting holes with Isopon P38.

I put racing tape on the inside and patched from the outside. After drying and peeling off the tape, no sanding inside the box is necessary. Just a quick sand on the underside, which won't be visible anyway.
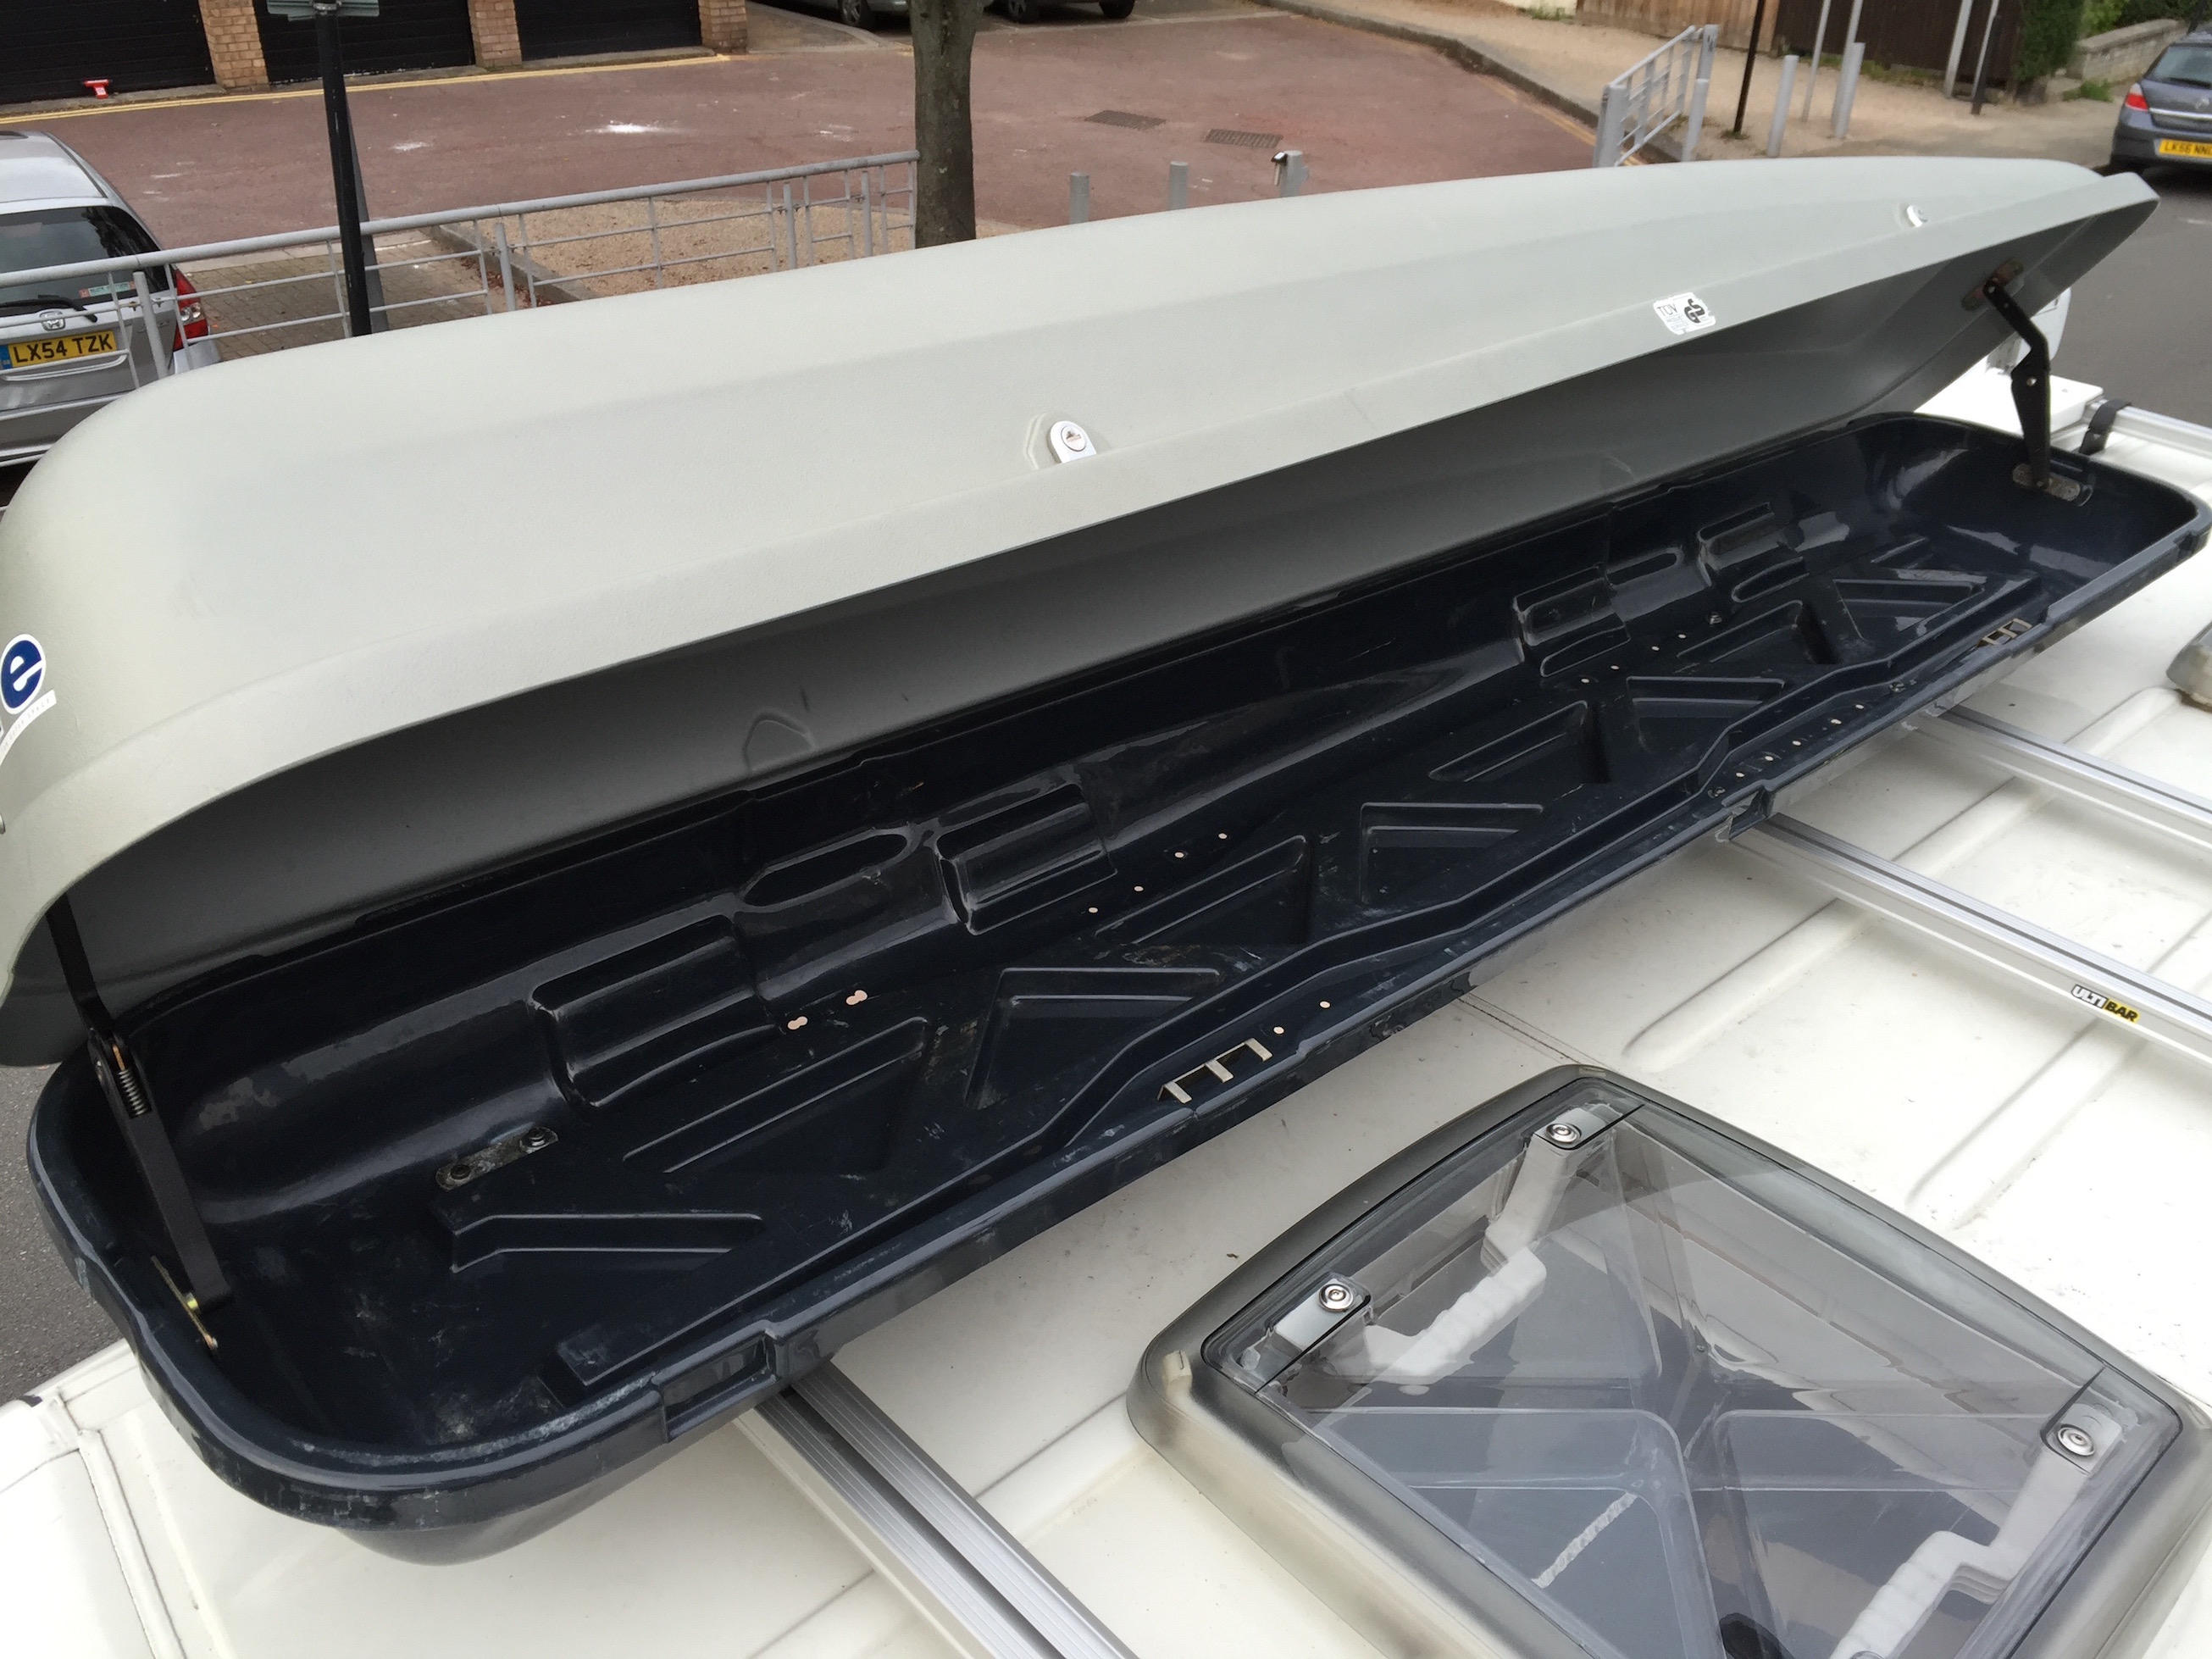
To mount the box on the roof bars, I ordered additional T-track runners from Van Guard. They are around 66p each, so they are way cheaper than any U-bolt or some such.
The roof box sits on three bars and is fastened to them by two runners per bar using M6 computer racking bolts and spring washers.
Curtains
I did a bit of research on curtains and all paths eventually led me to Van-X. We ordered one curtain for each of our three windows and one for the cabin.
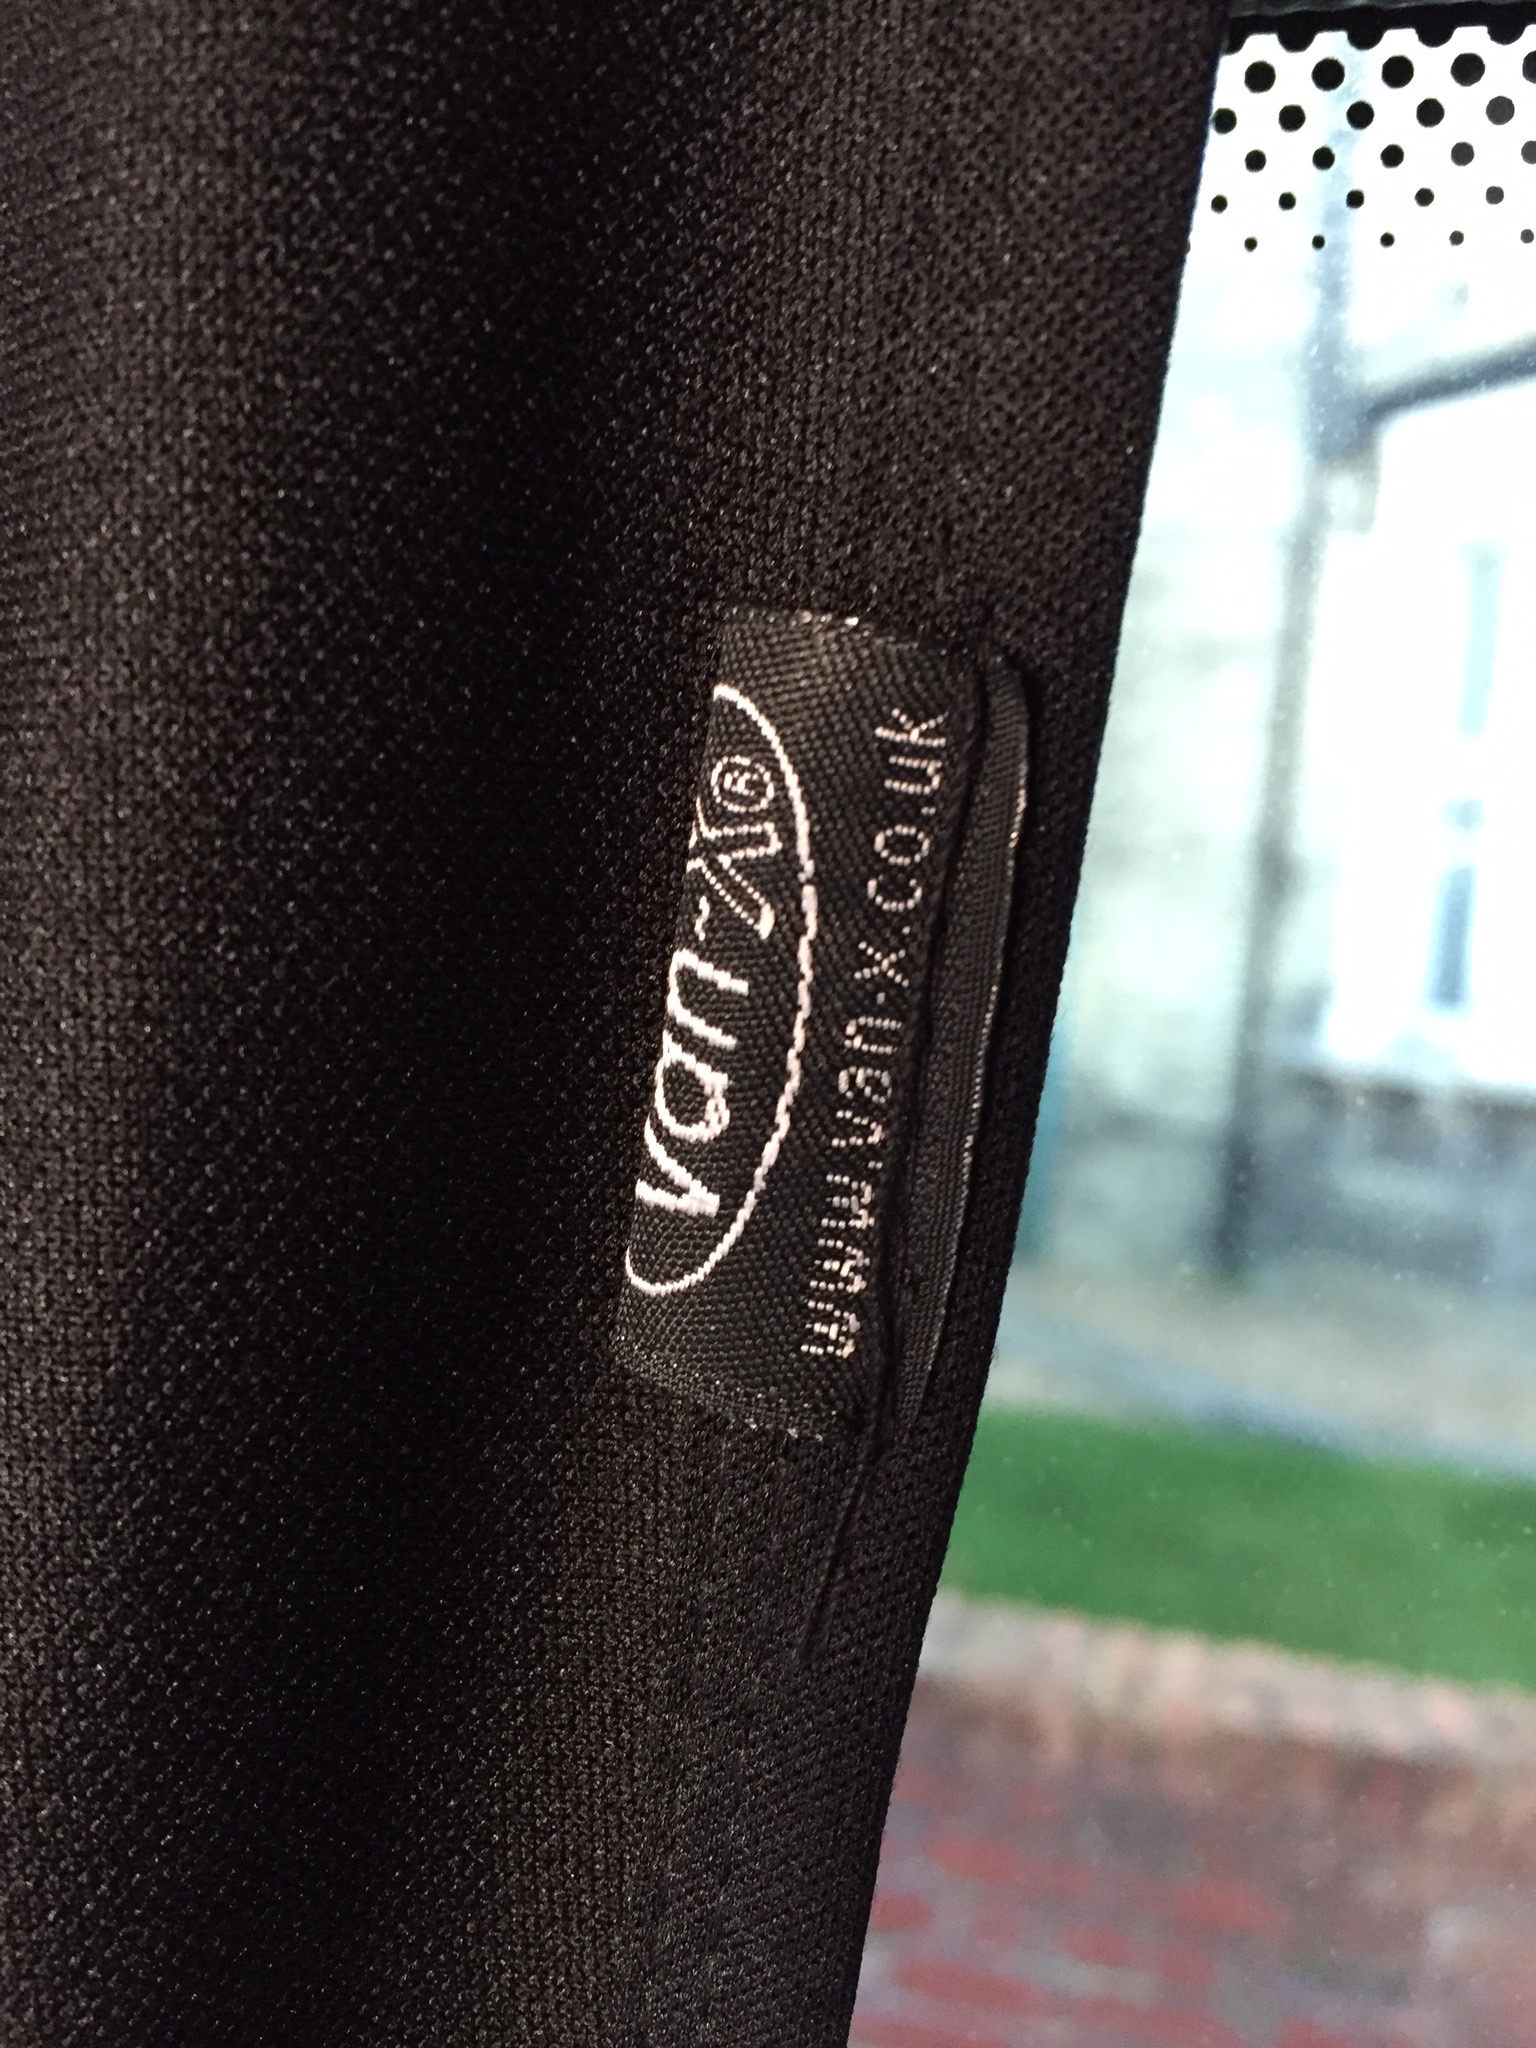
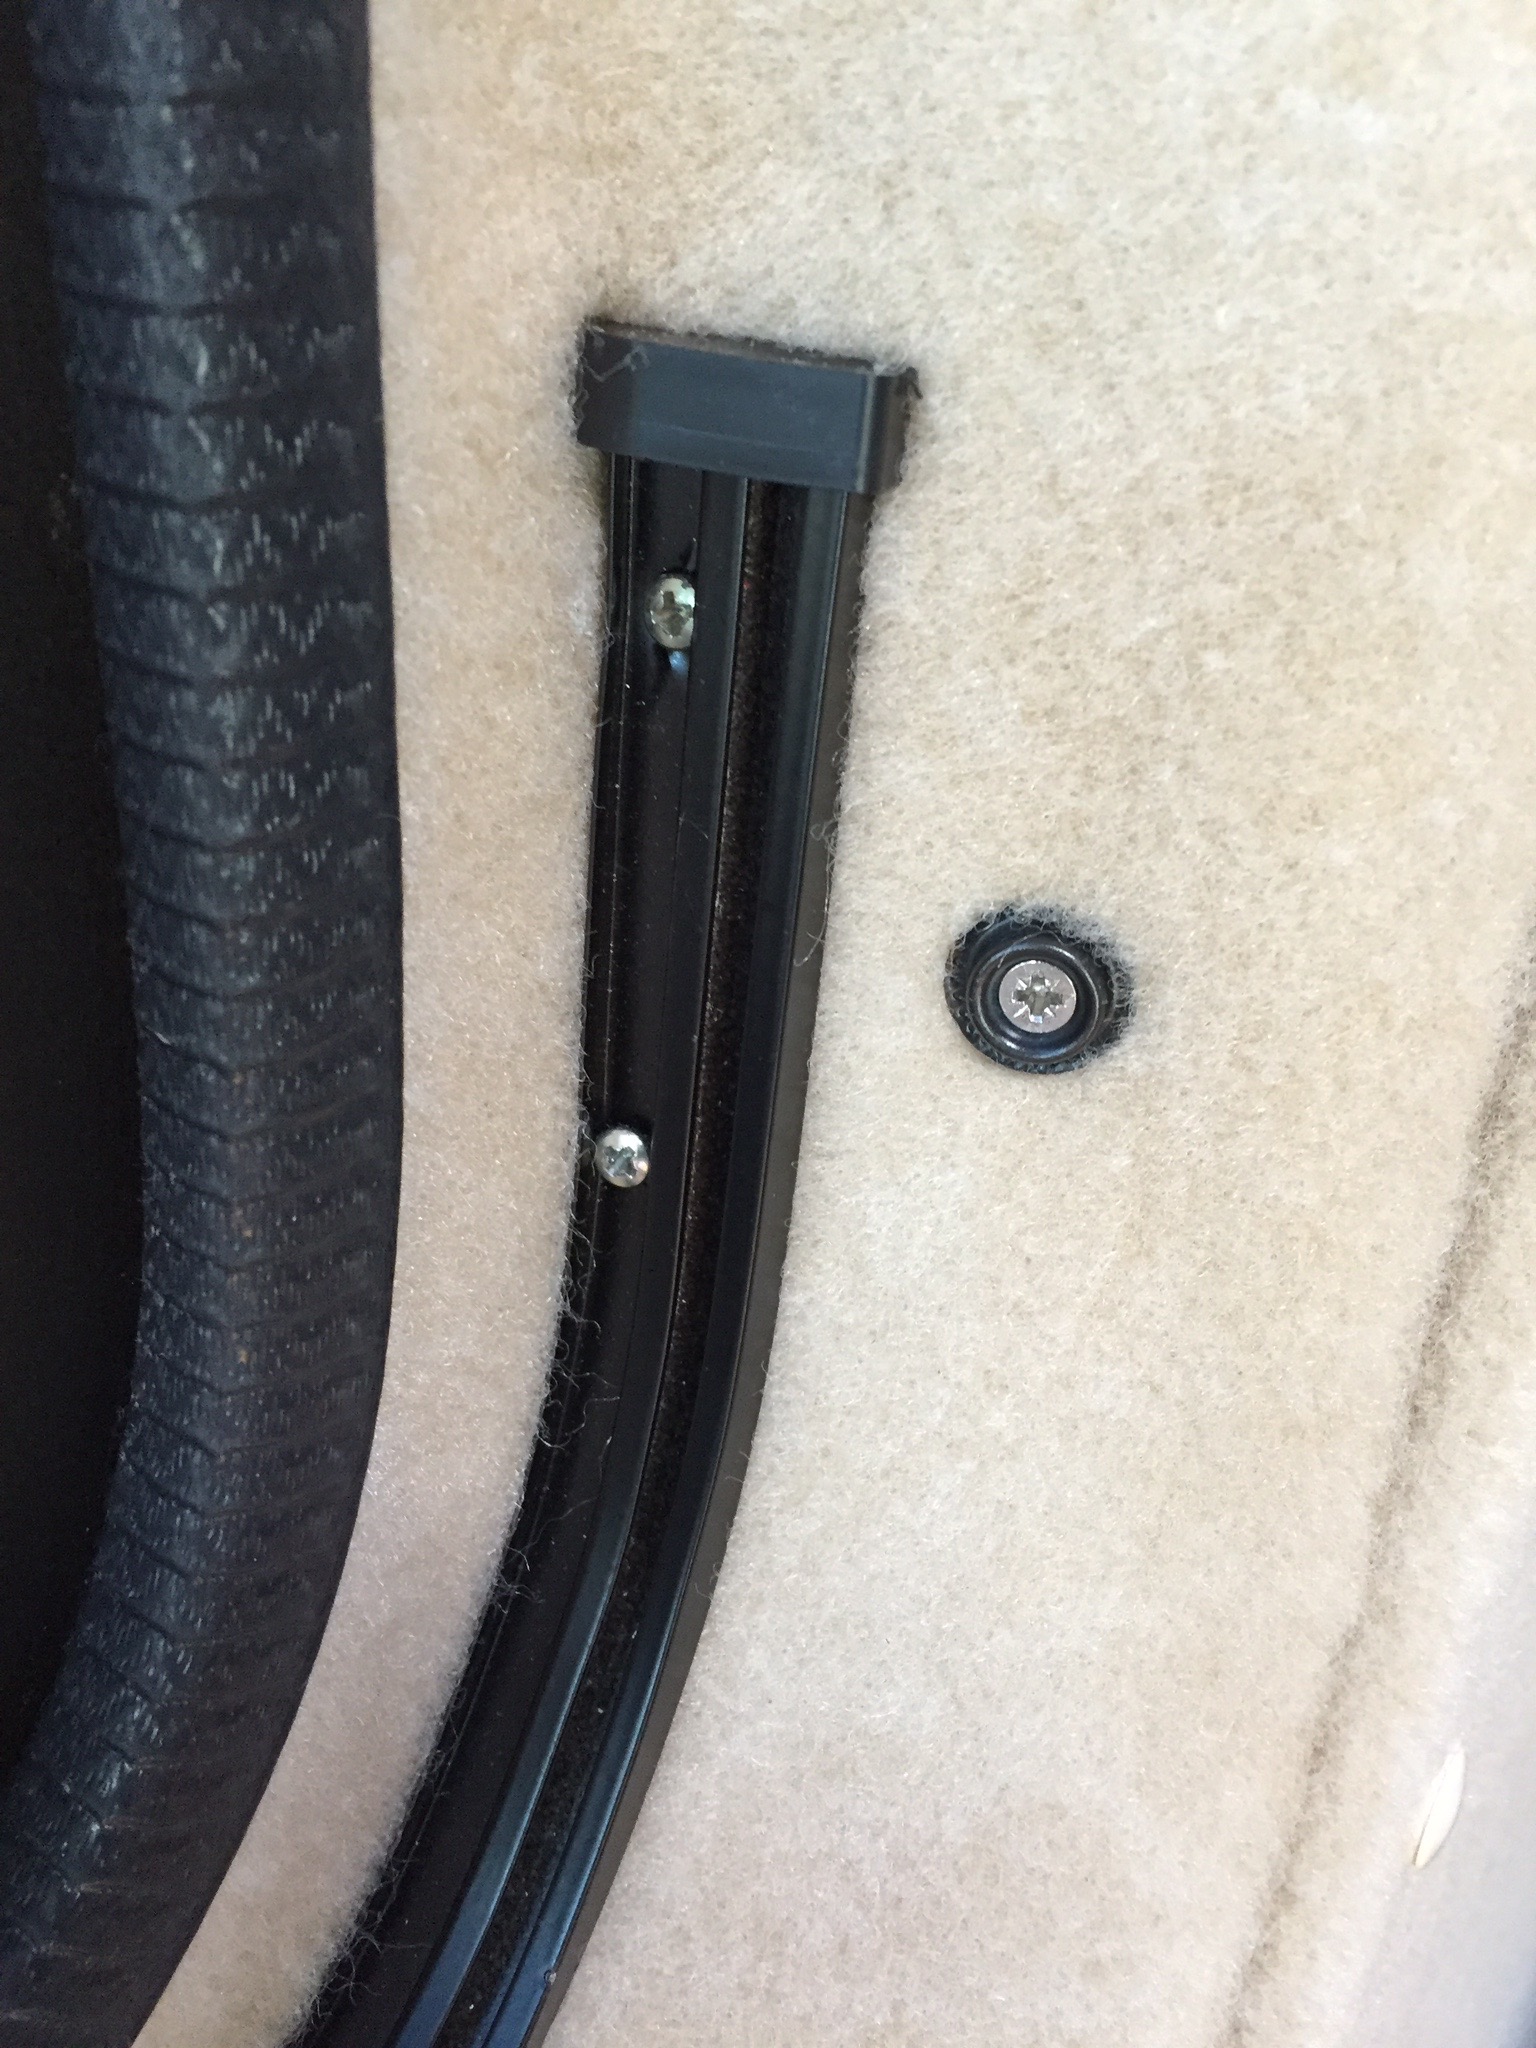
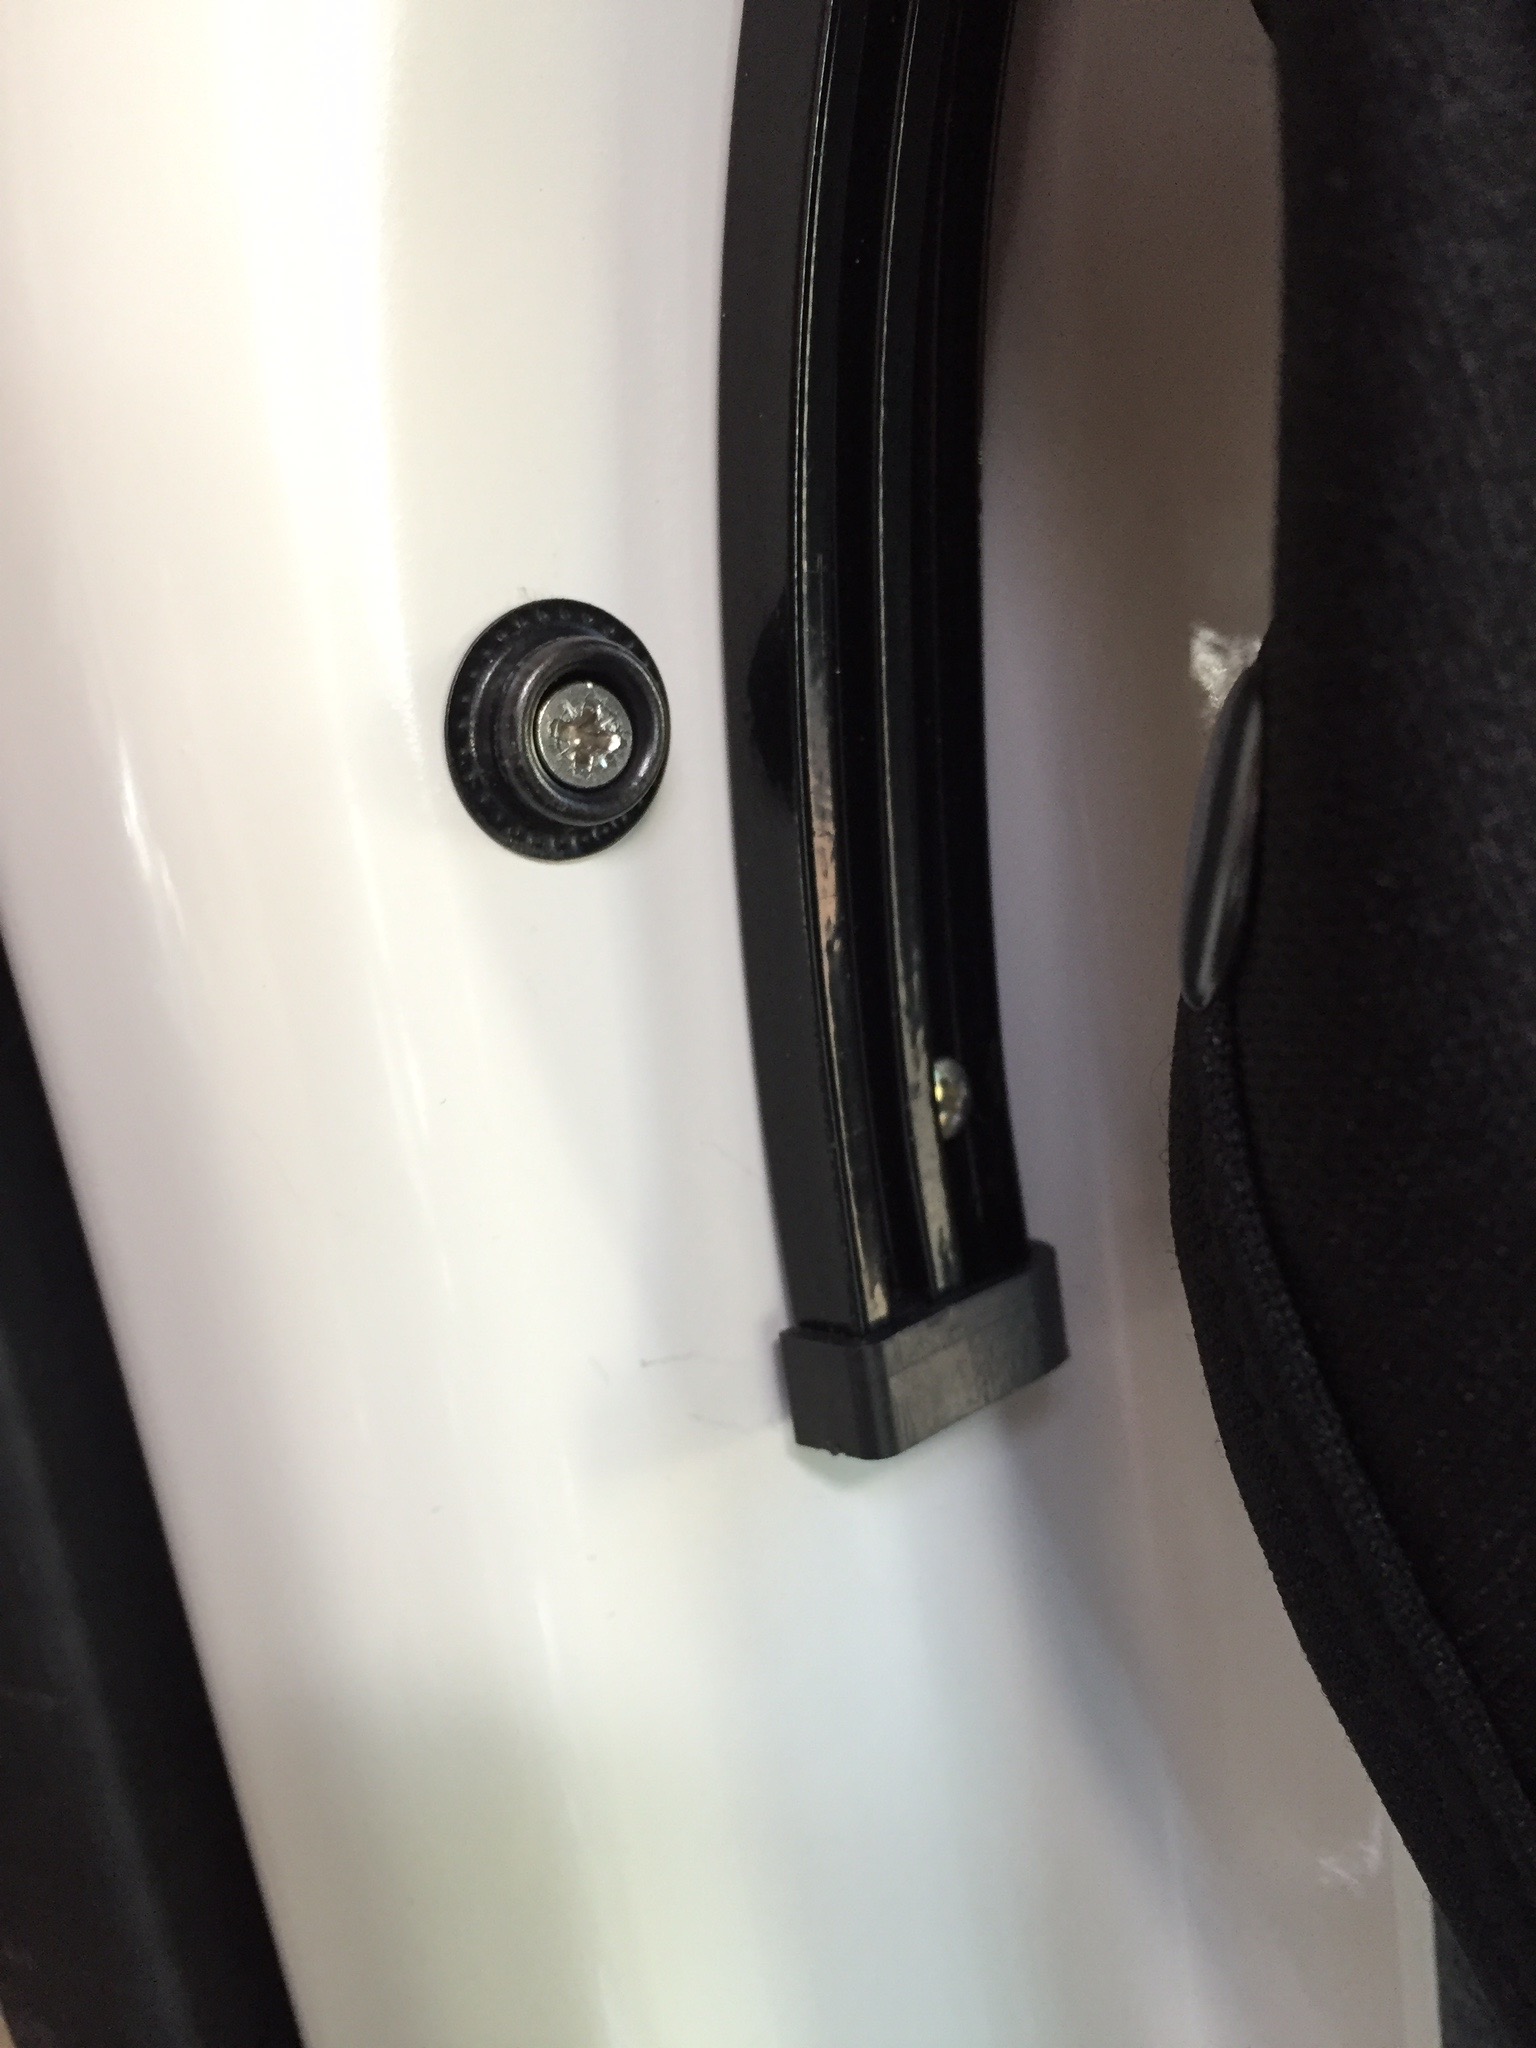
The trickiest bit was to bend the low profile curtain rail to match the shape of the curved window frames. As I said before, there are very few straight edges in this van.
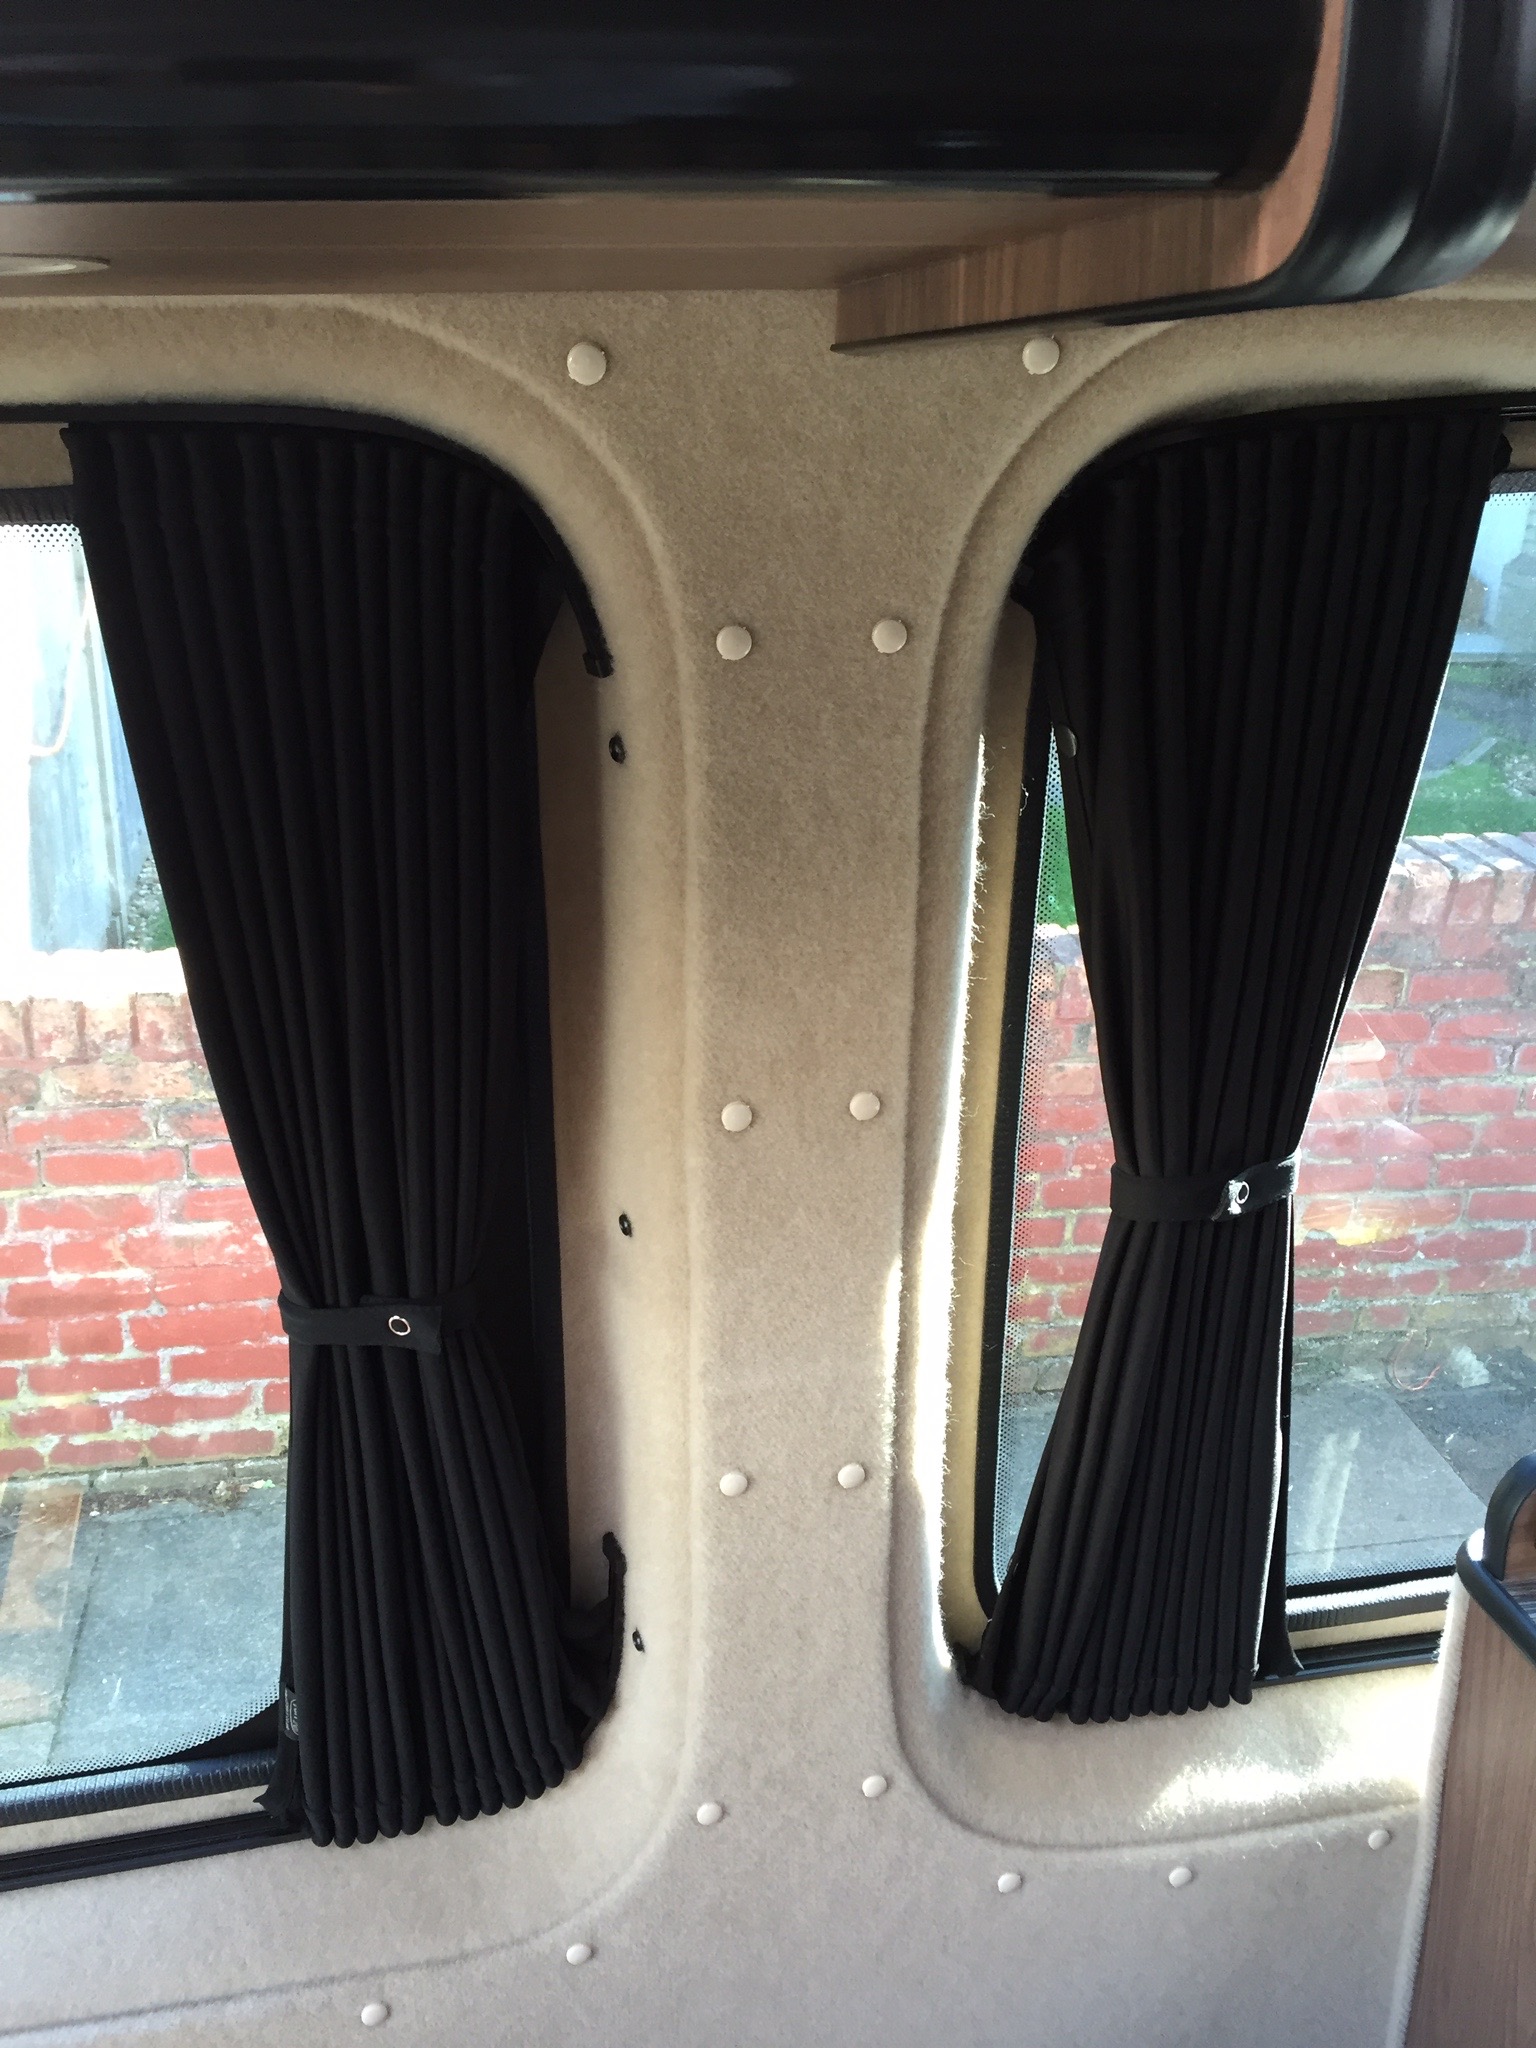
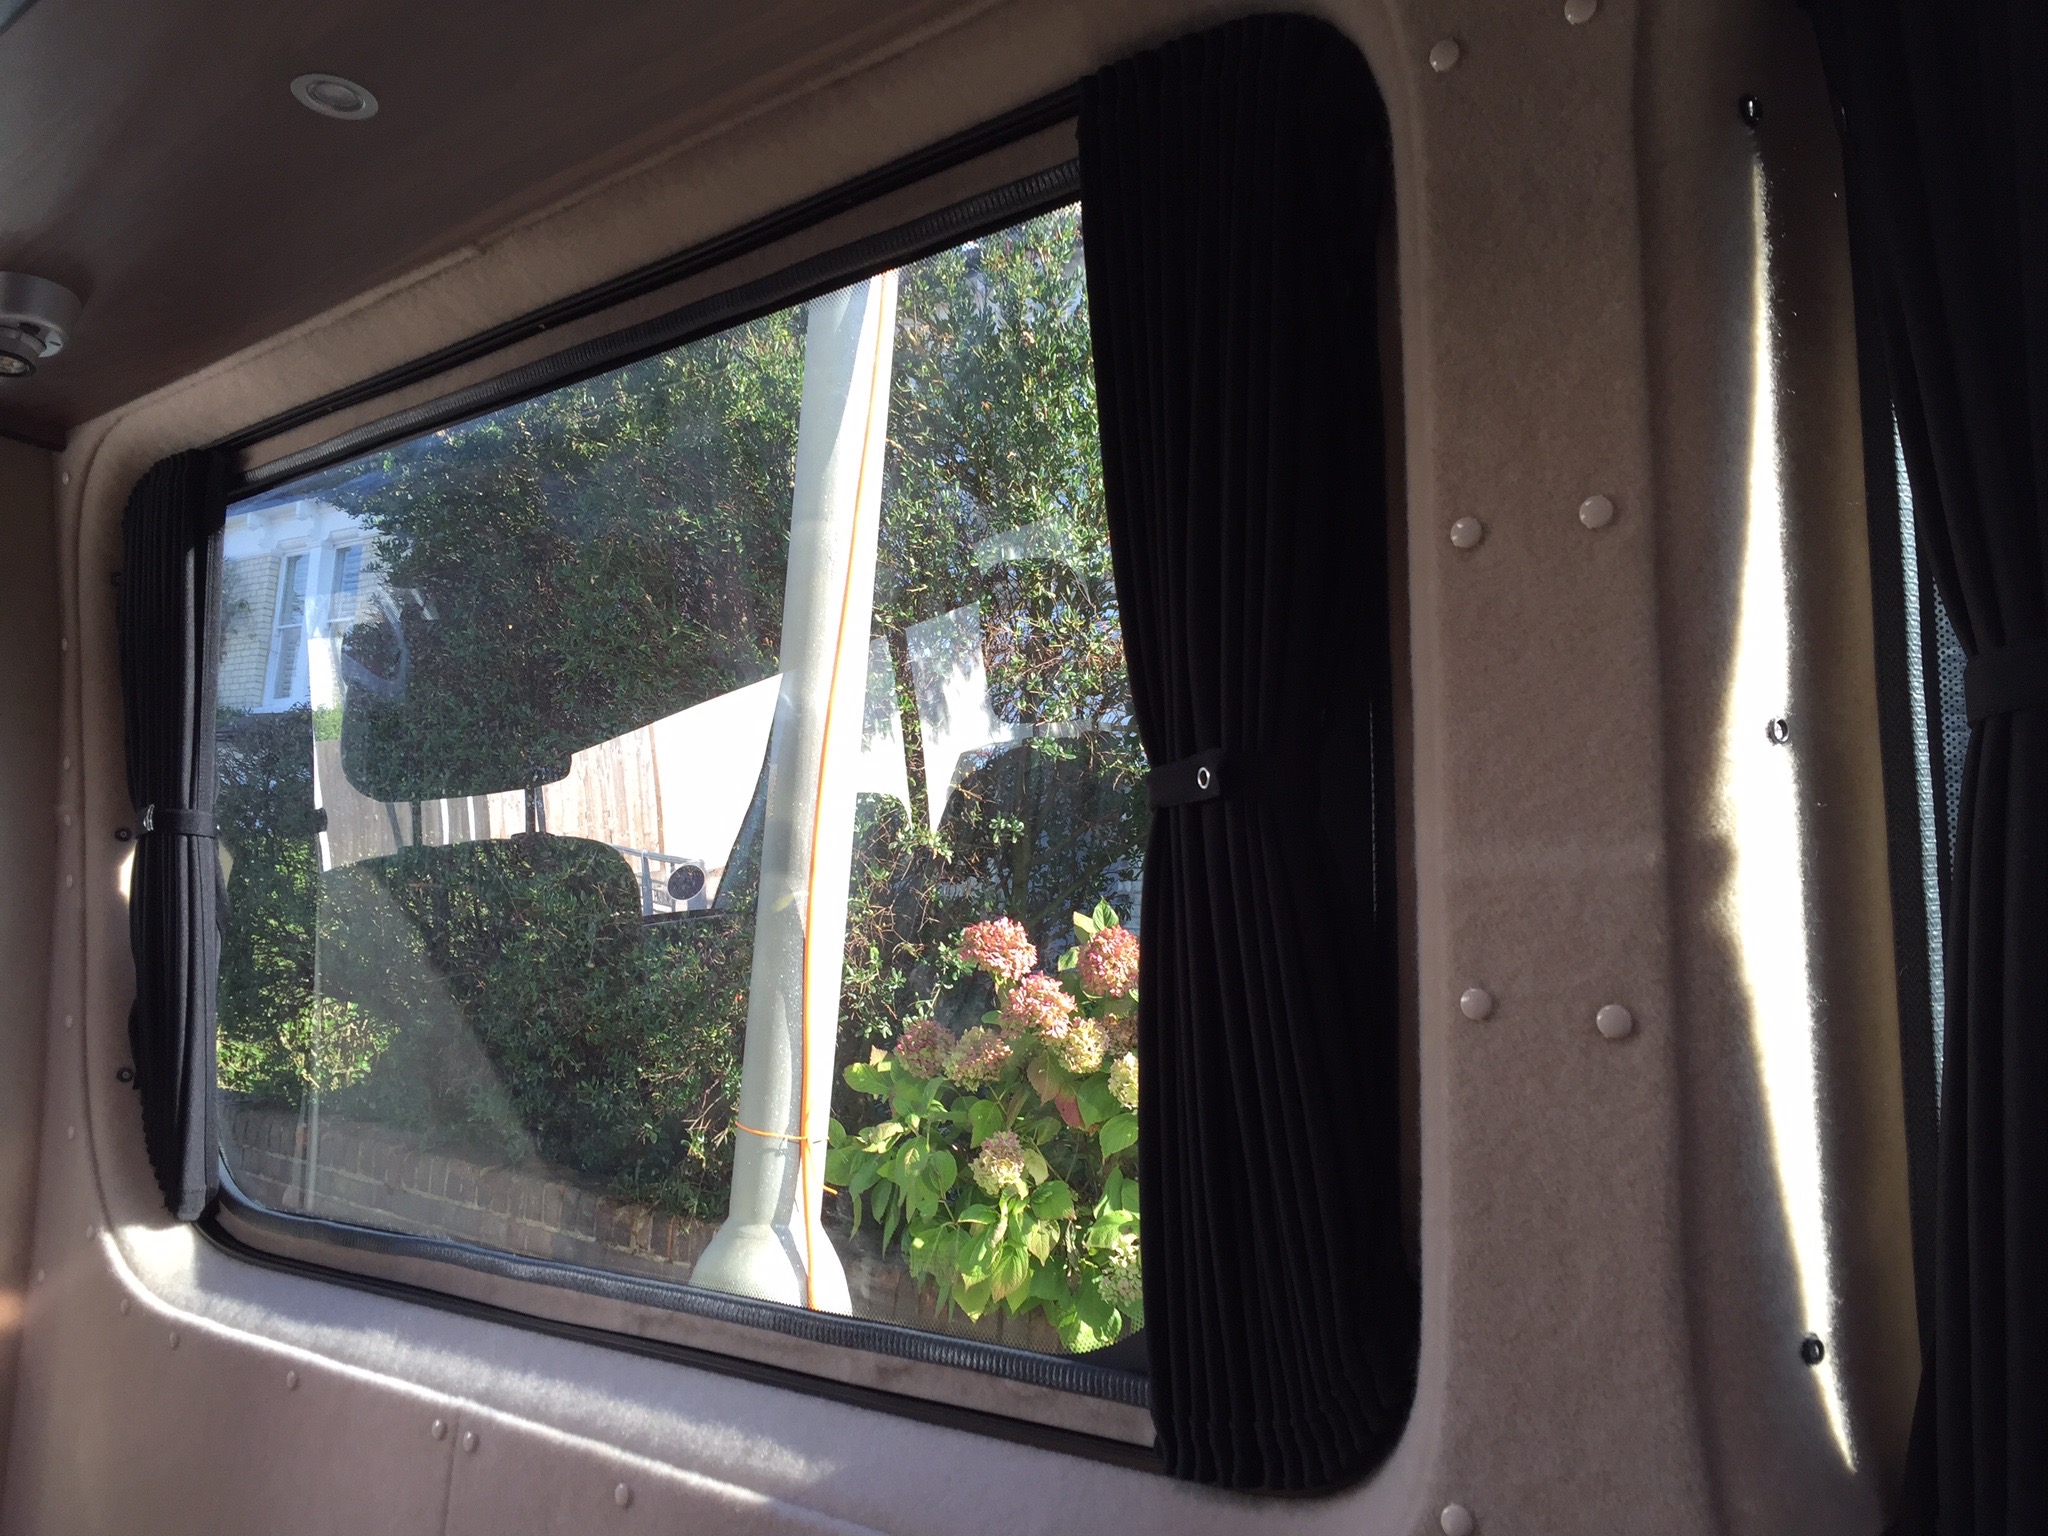
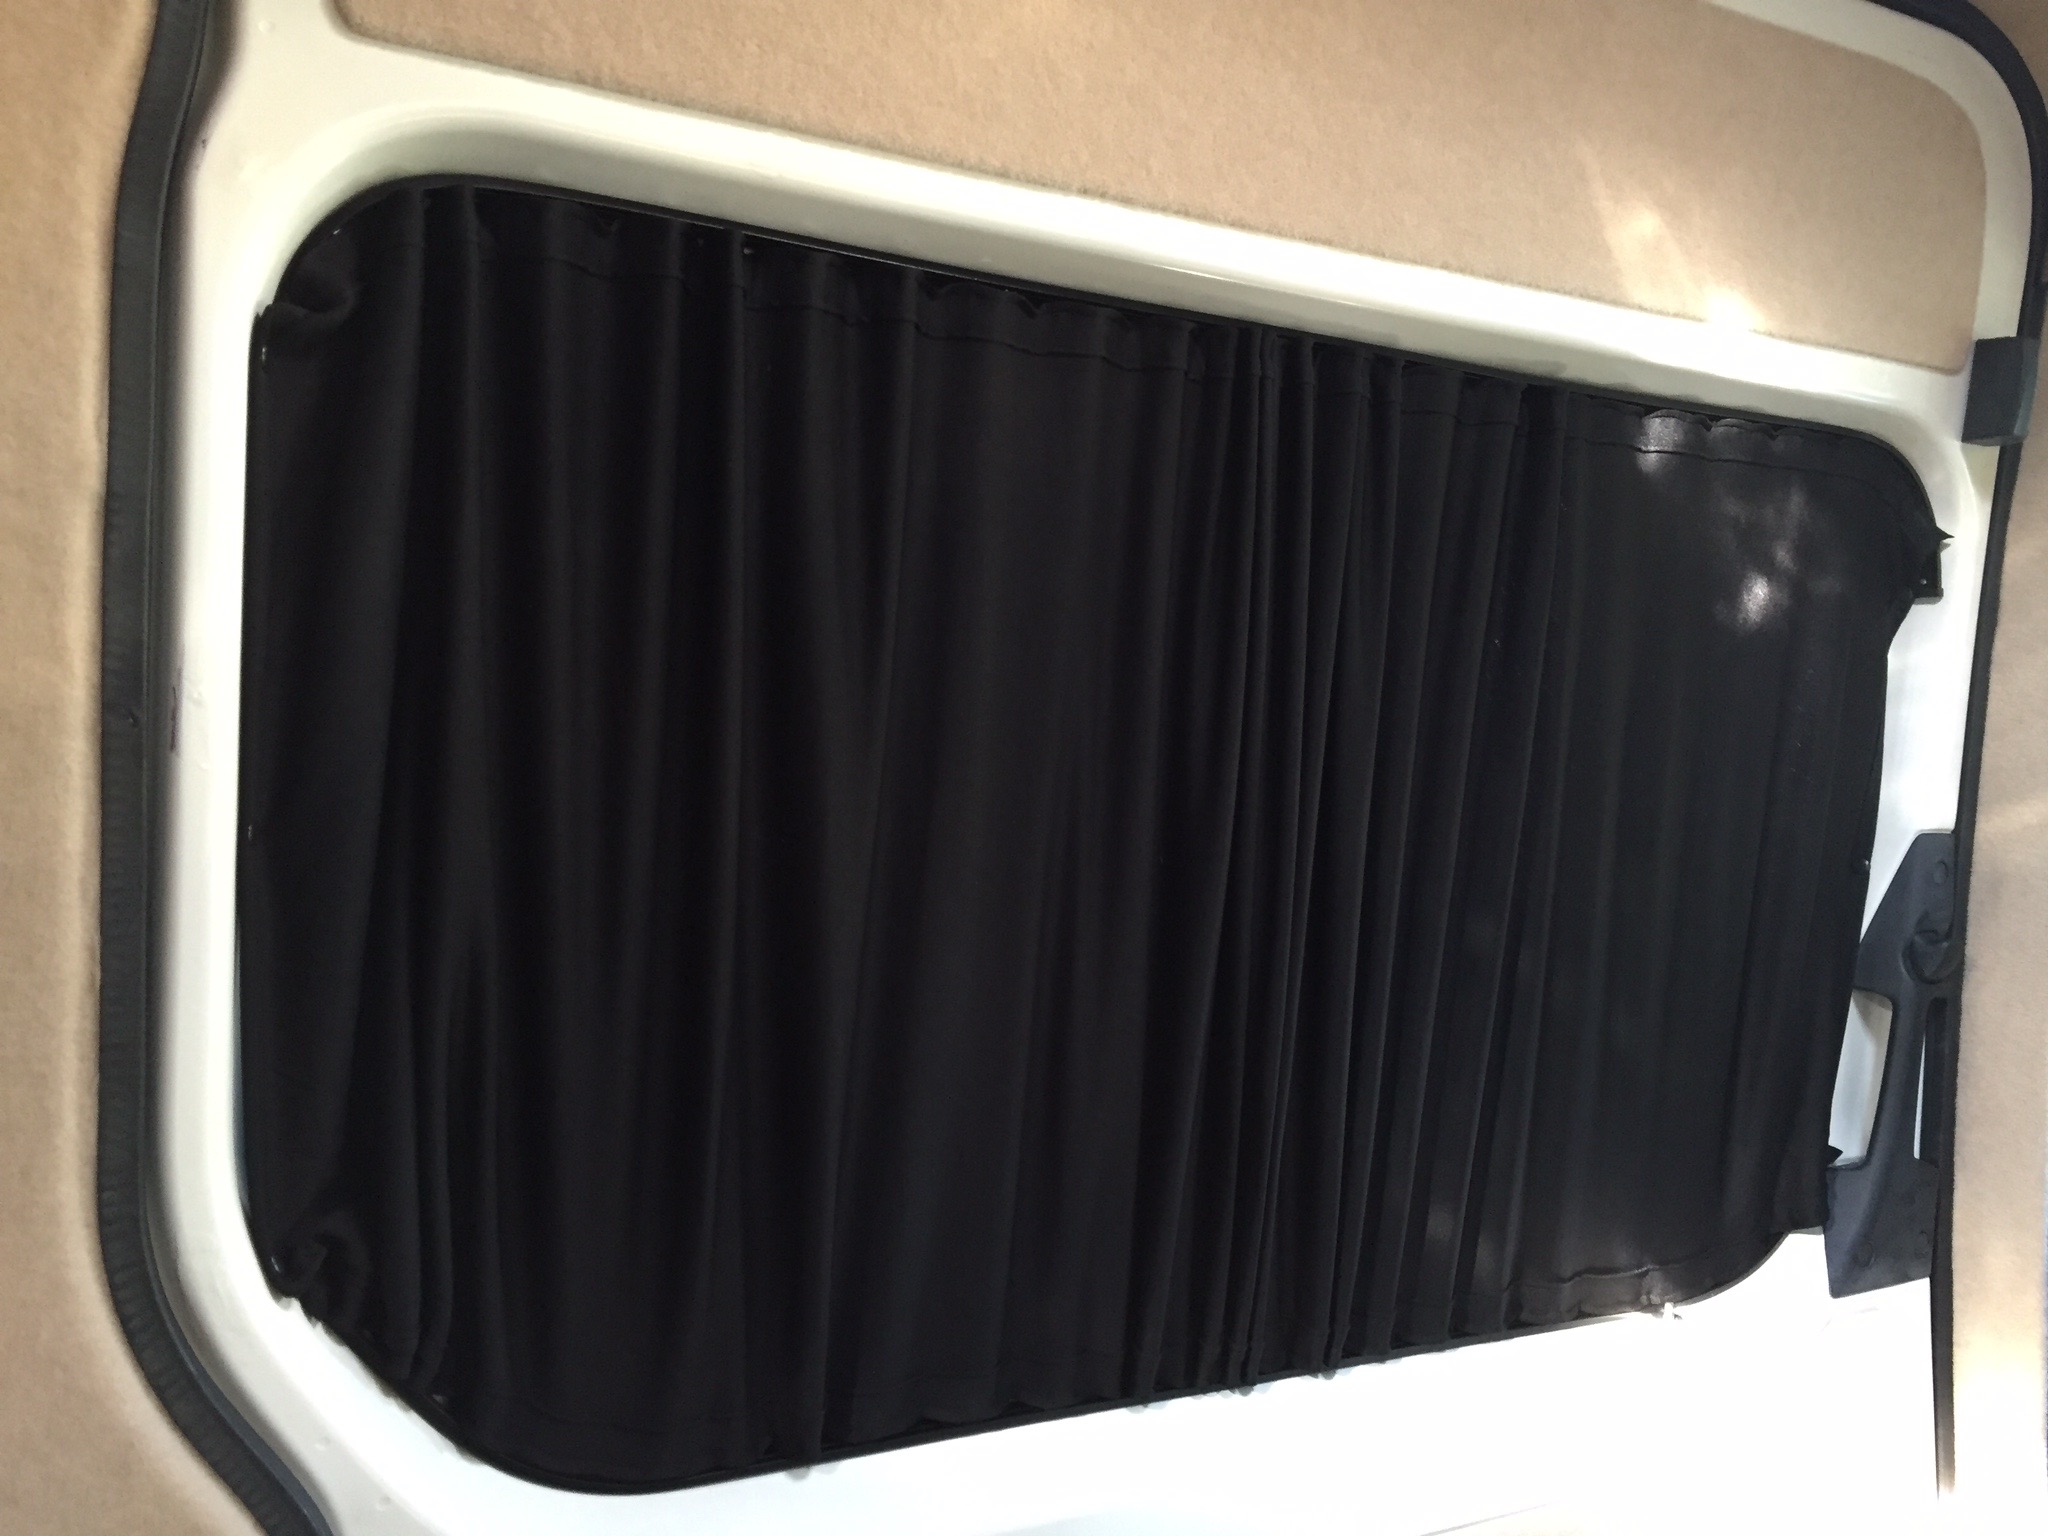
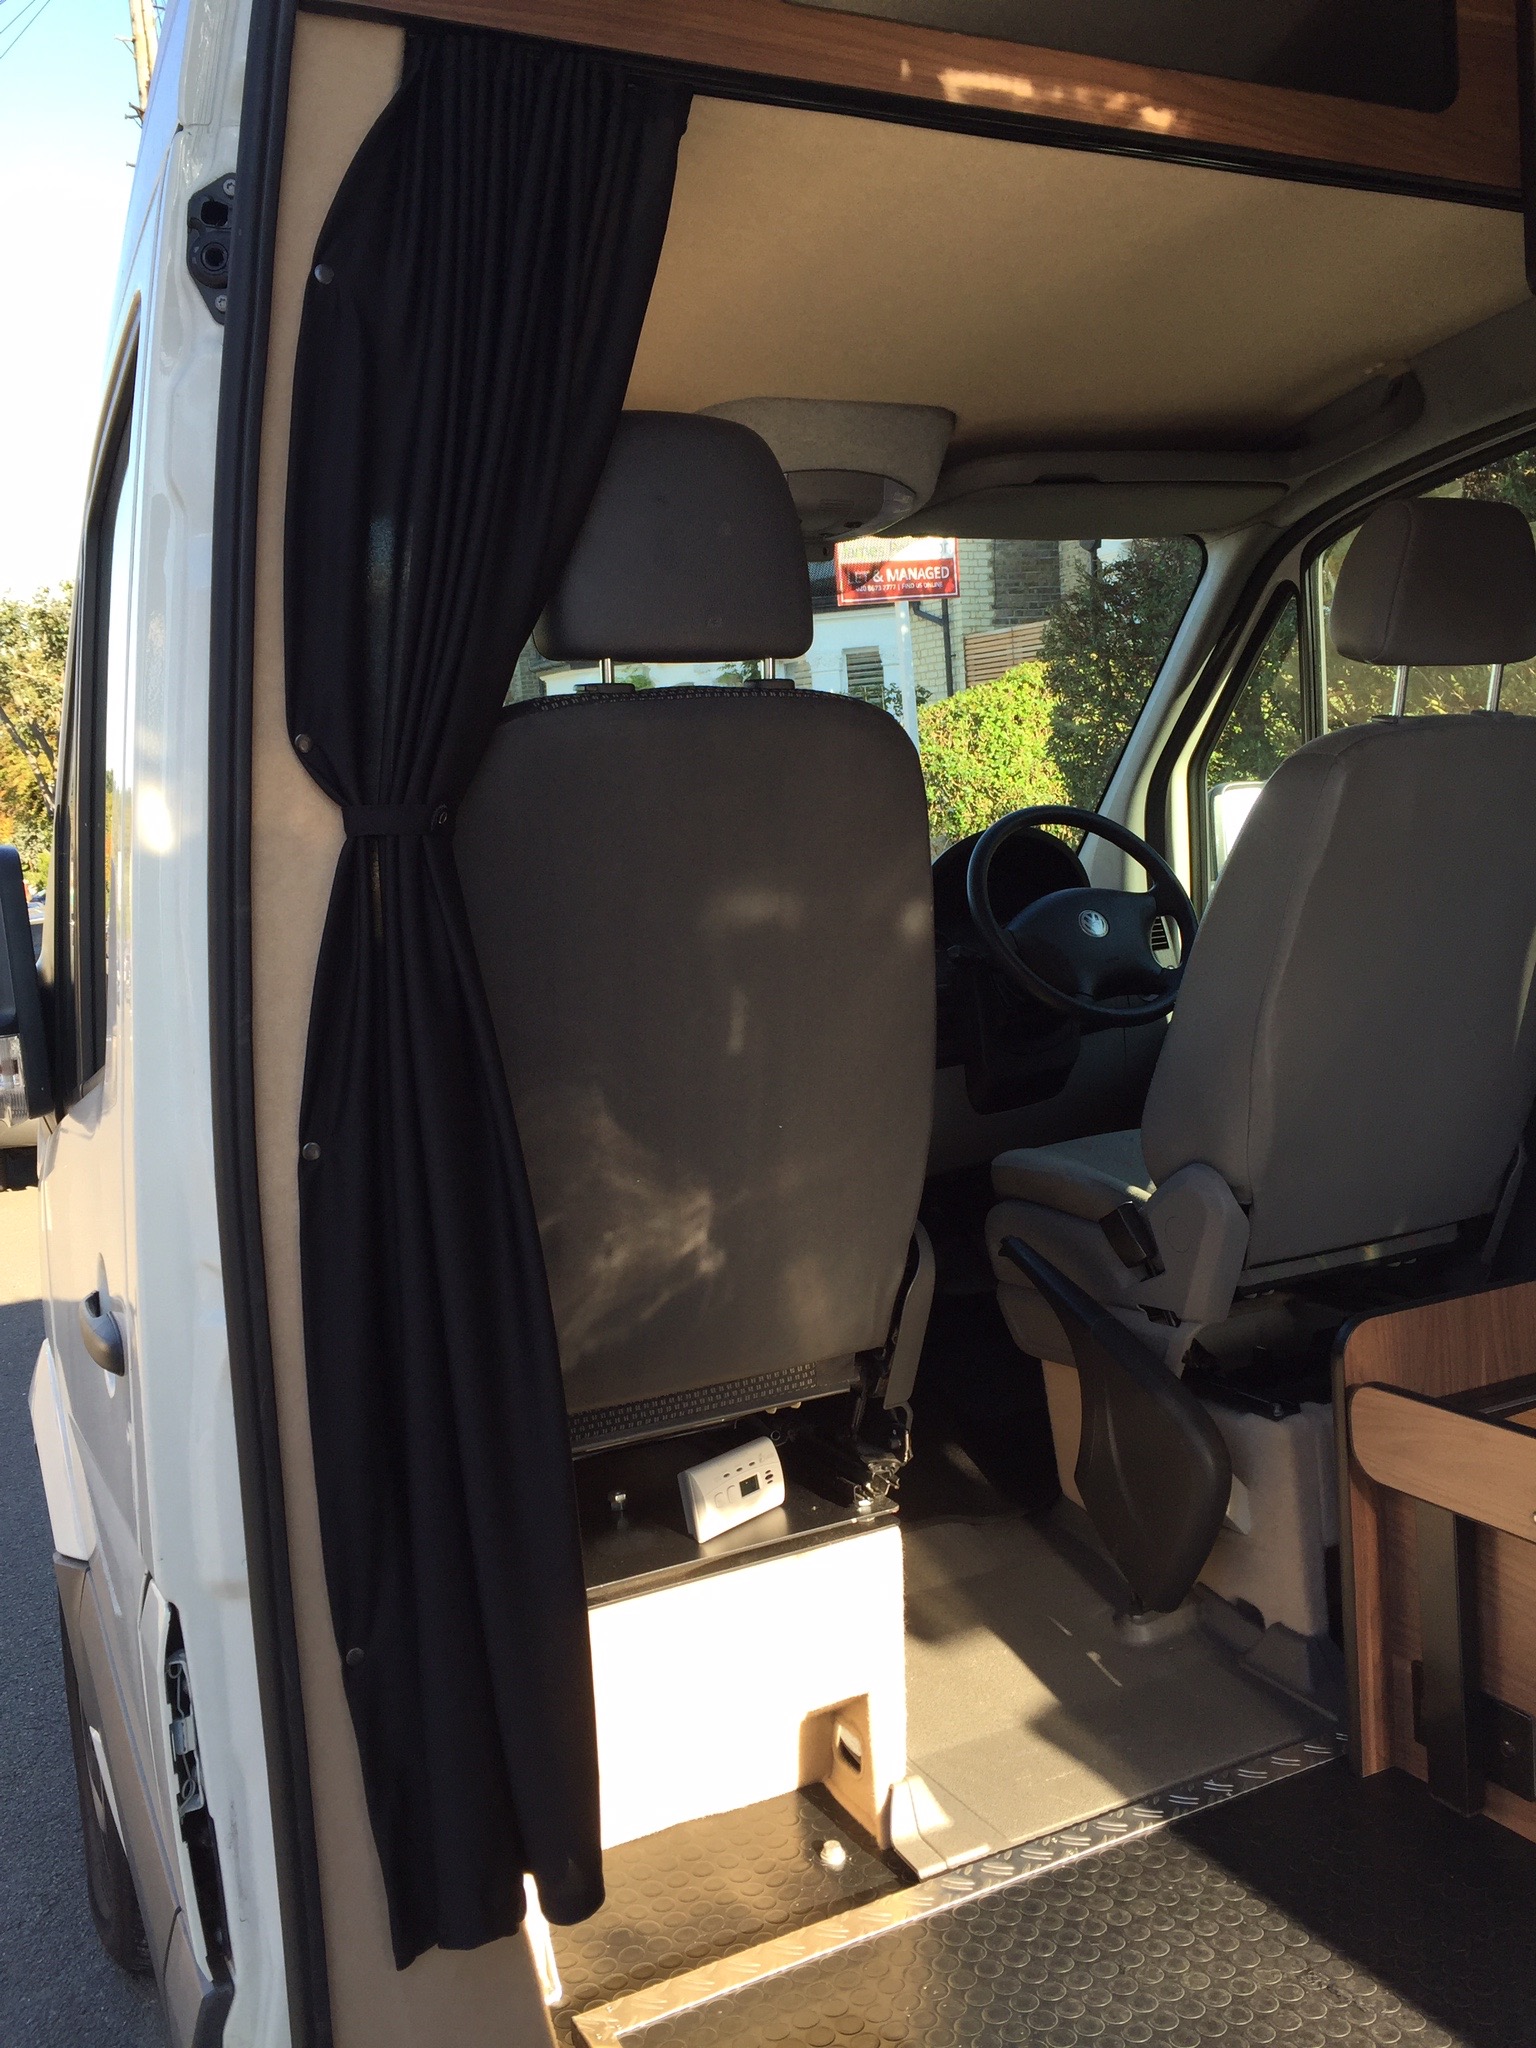
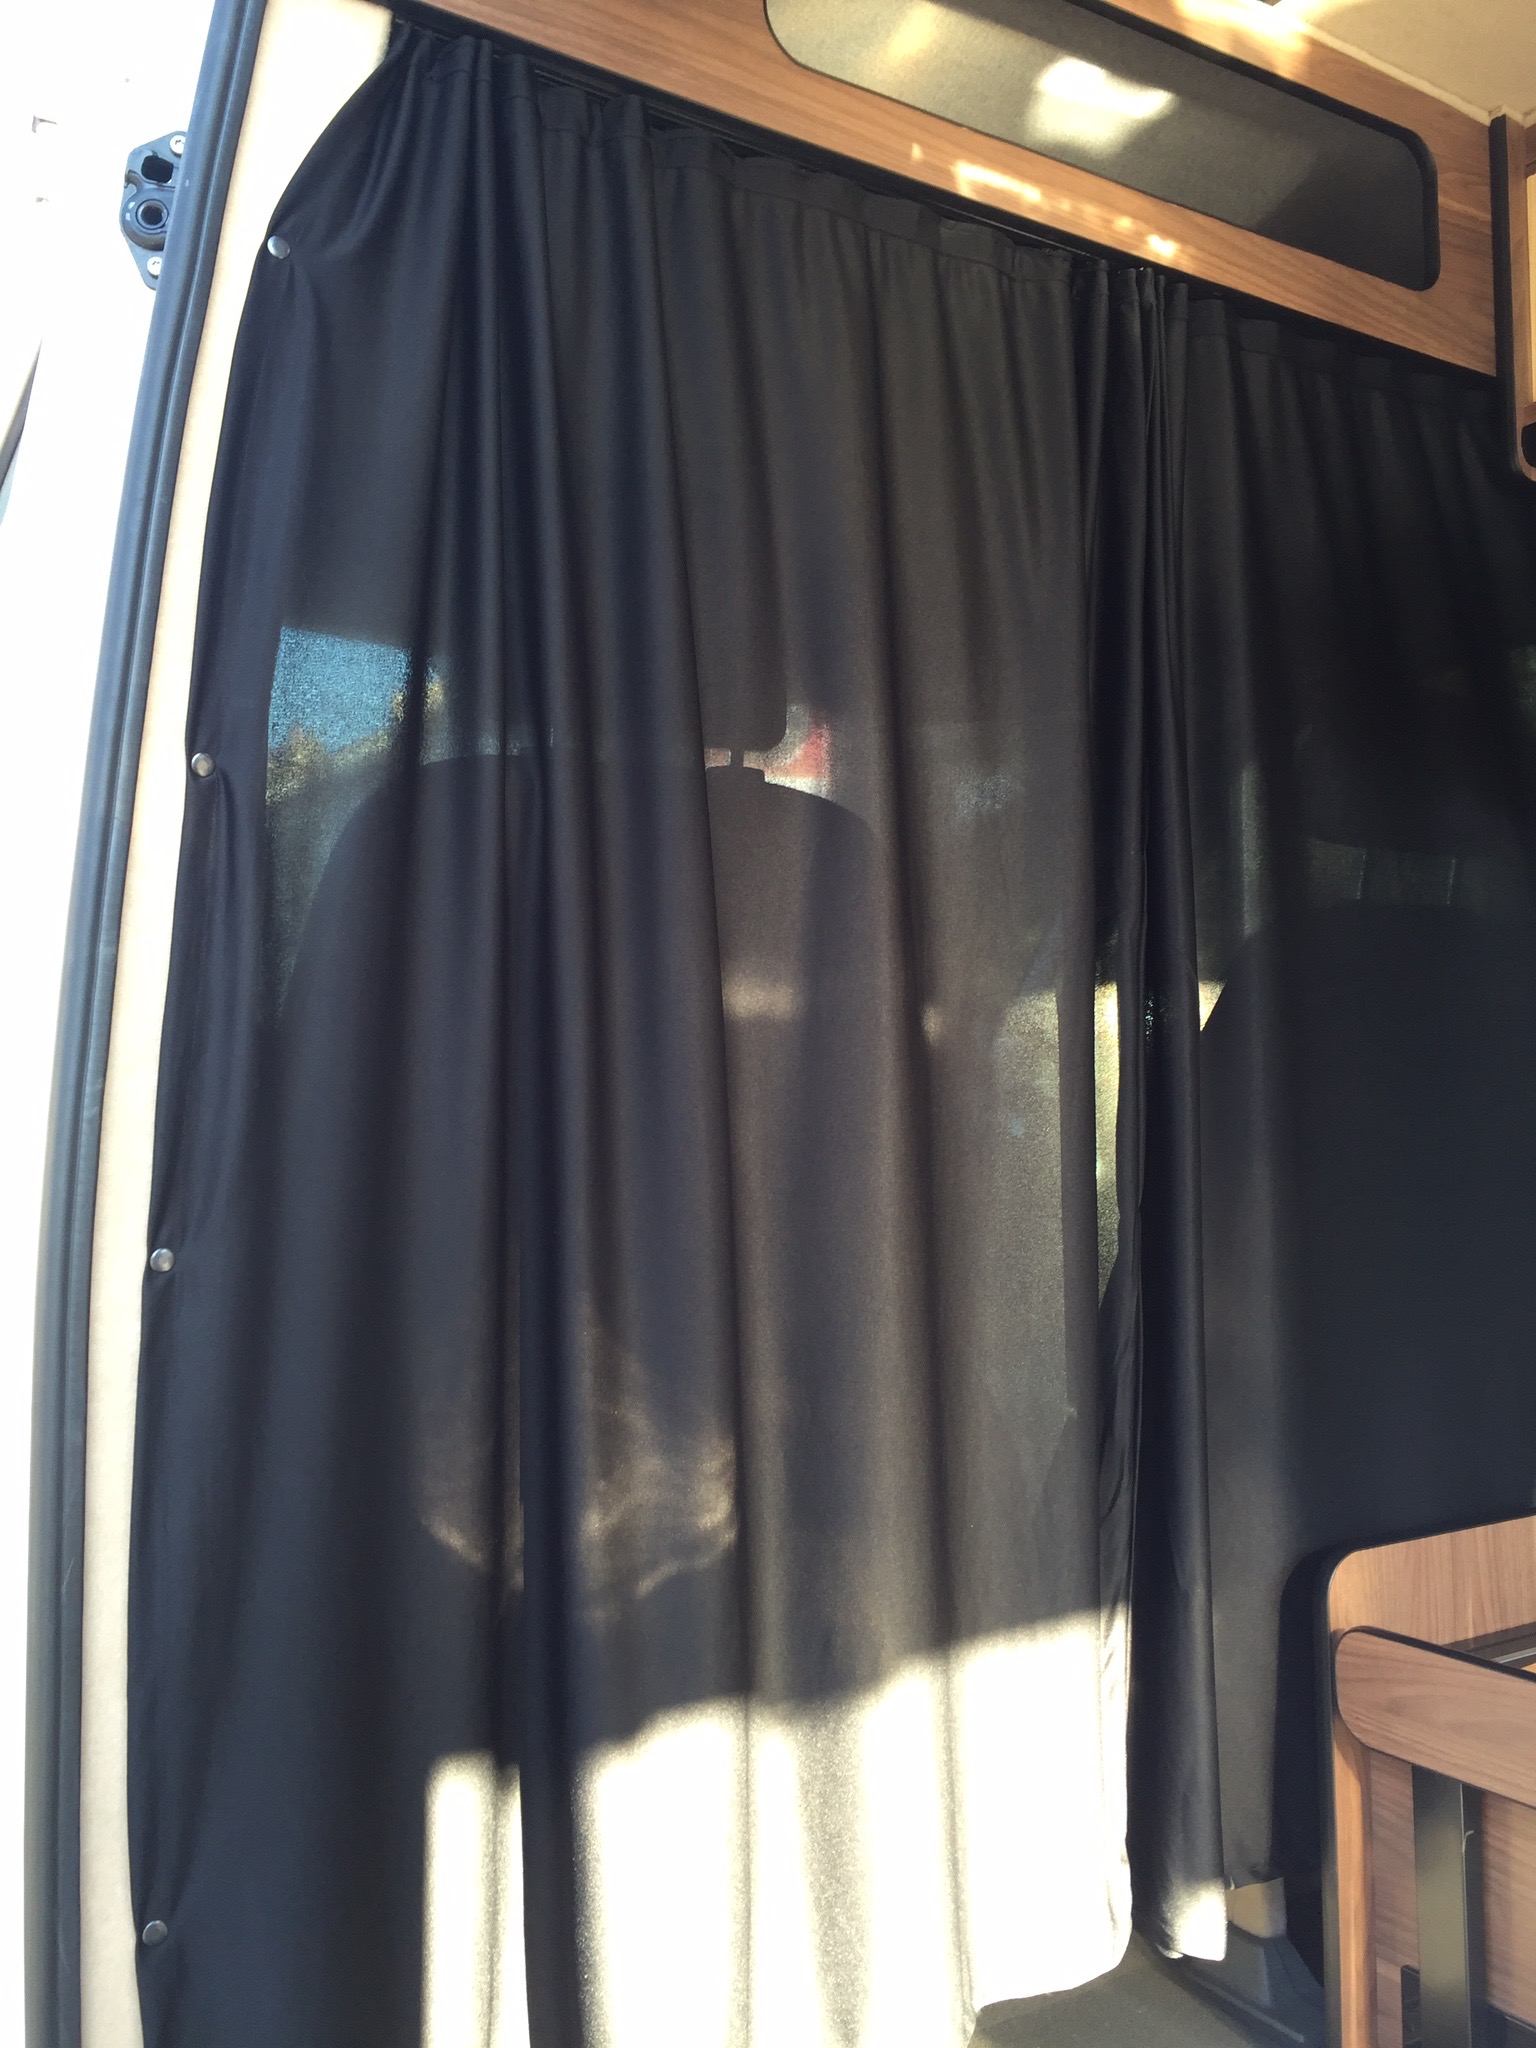
The curtains do feel like they are made from good quality material, which is also quite stretchy.
Grill and Bake
Repetitive tasks, such as hanging curtains can get a bit boring, so to spice things up, I though I'd install a Dualit mini oven we bought from eBay. We originally thought about putting a microwave in there, but decided a convection oven is more versatile.
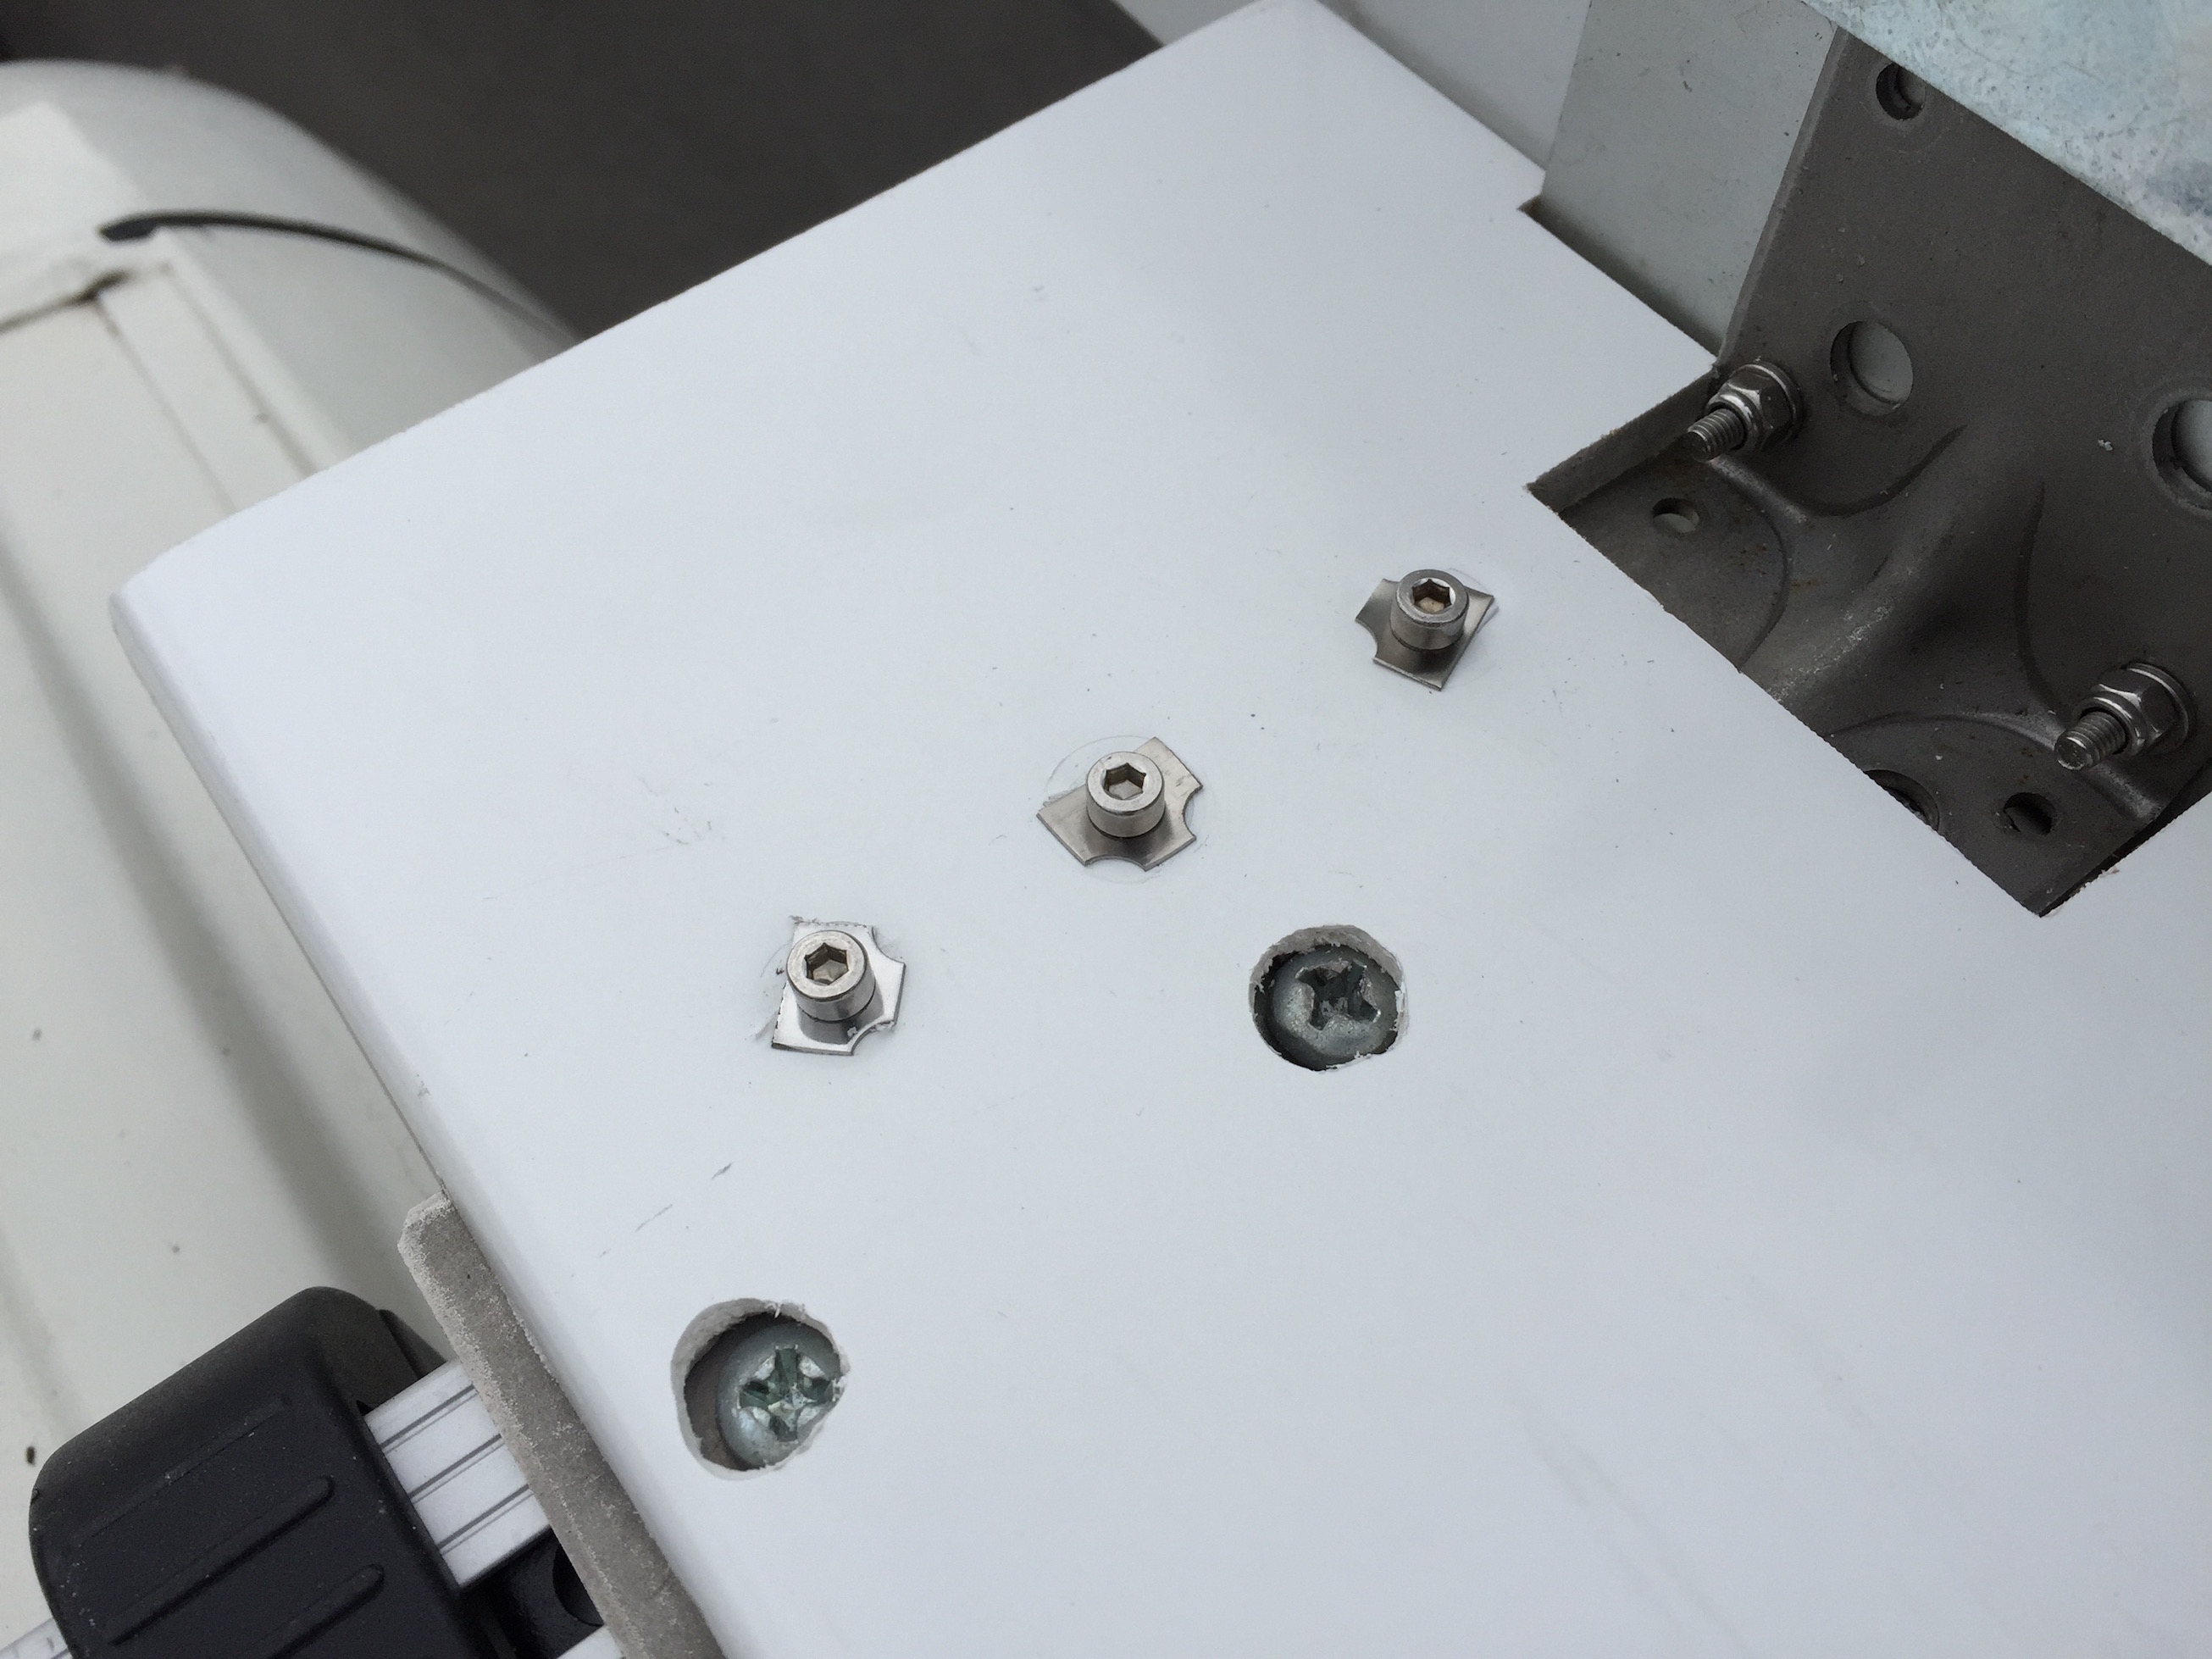
I installed four M4 wood inserts into the base of the shelf, which was going to house the oven.
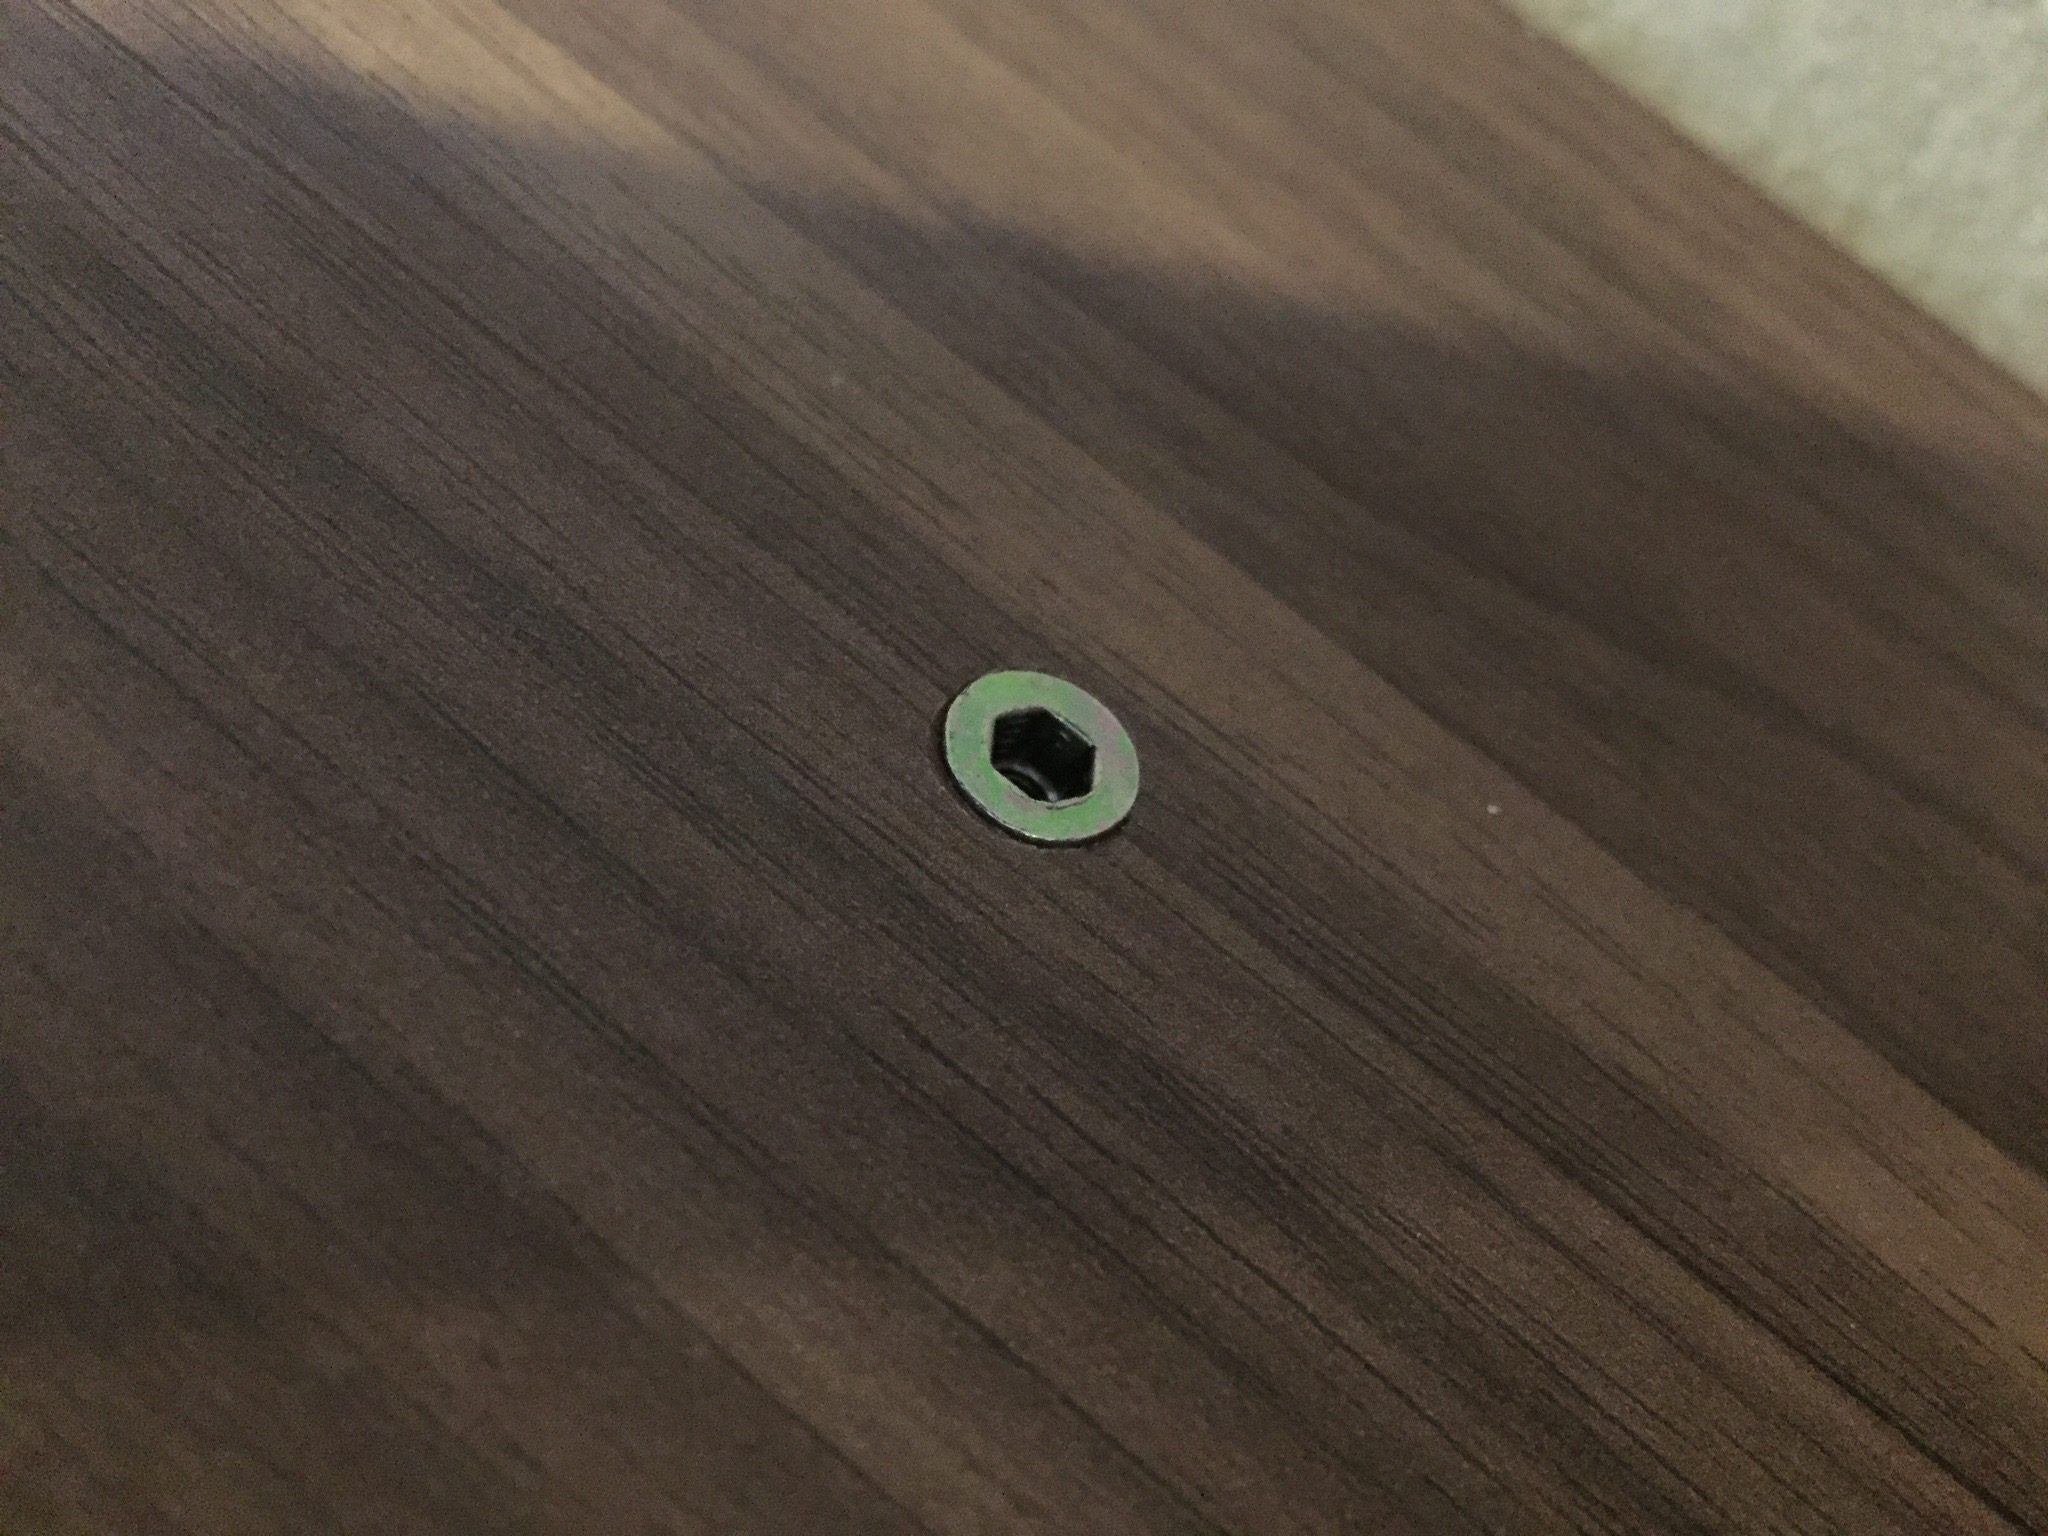
I had some plastic plugs from who-knows-where, so I just adapted them to fit a socket cap M4 bolts.
Four plugs installed in the cabinet shelf.
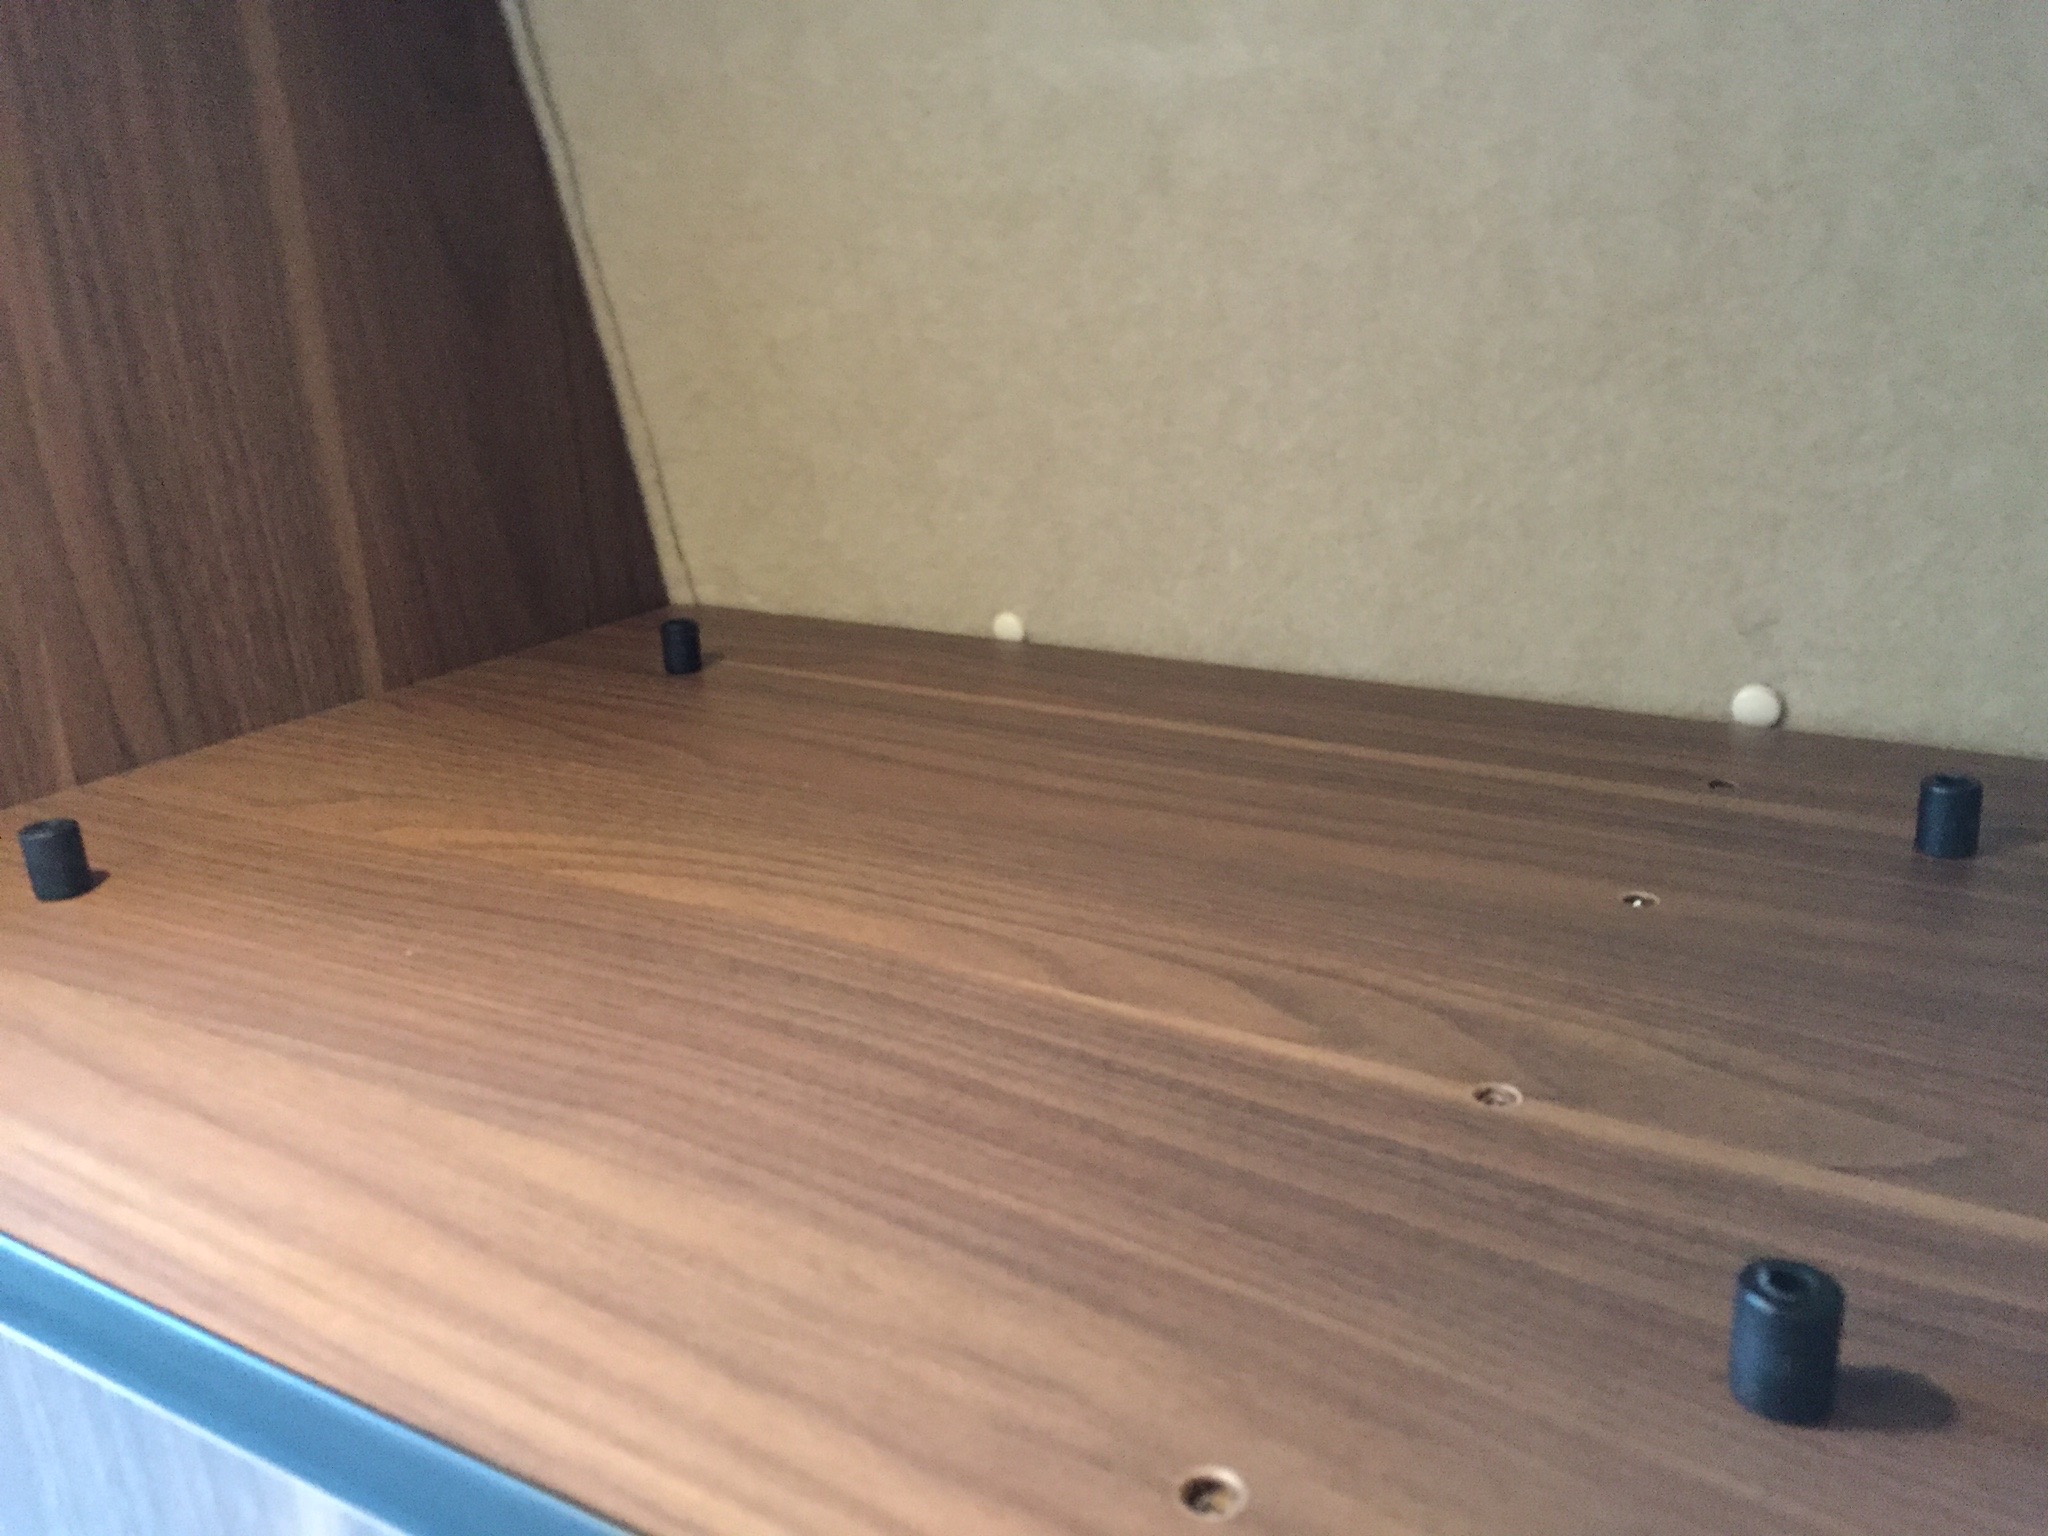
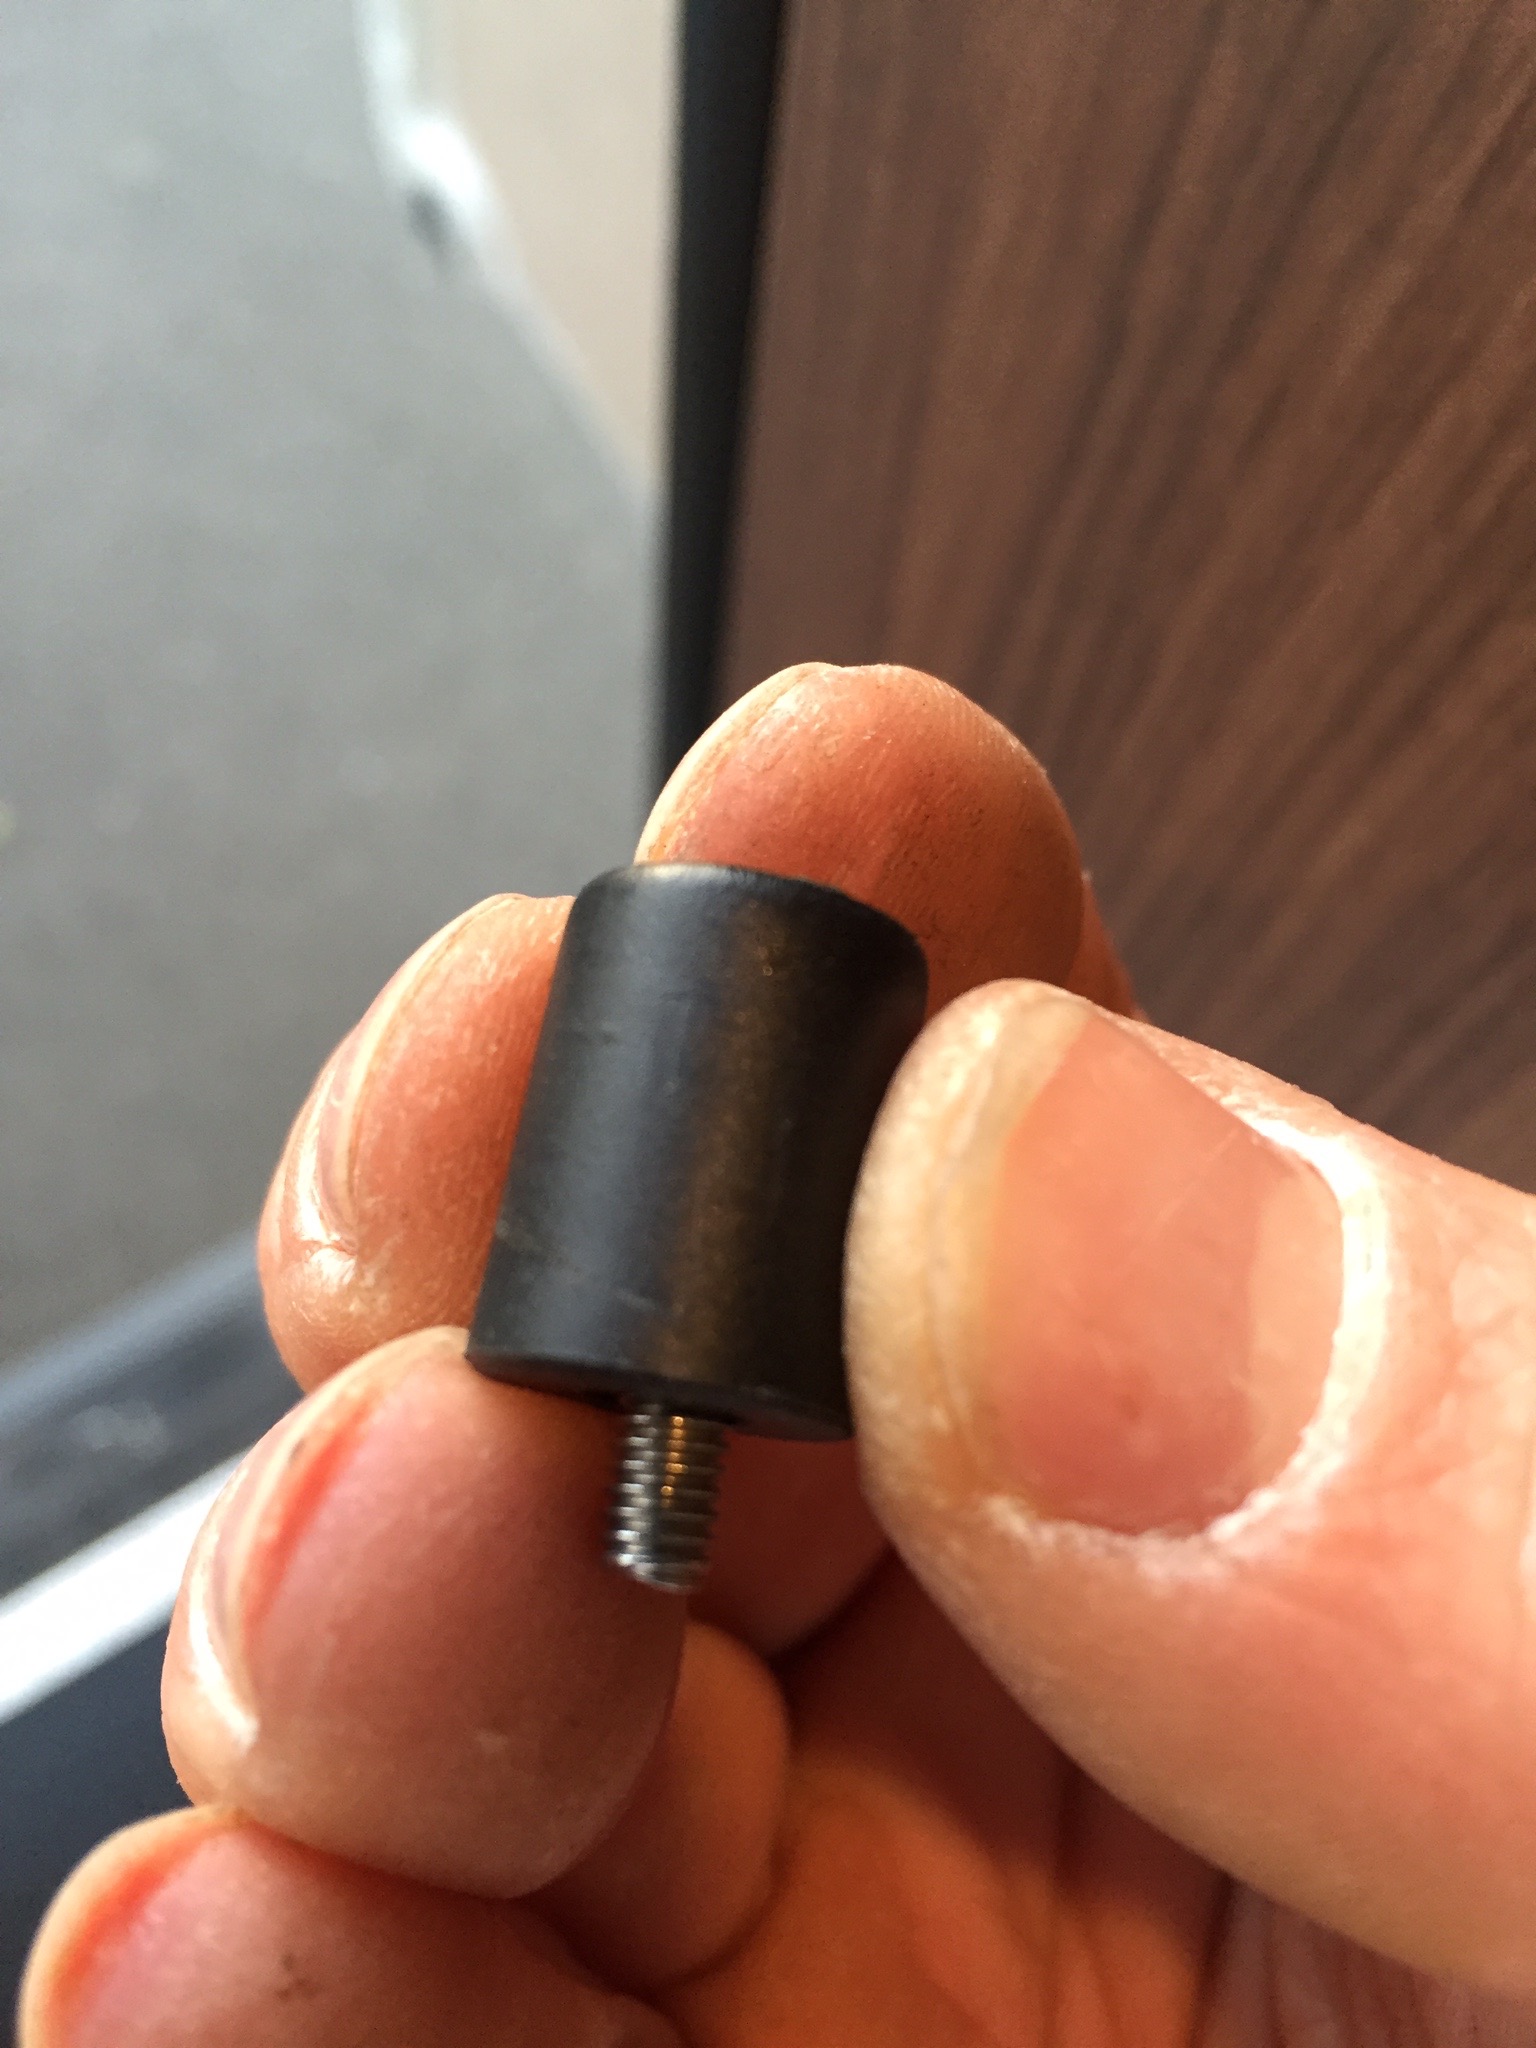
I drilled out the oven feet so that the plugs fit inside.
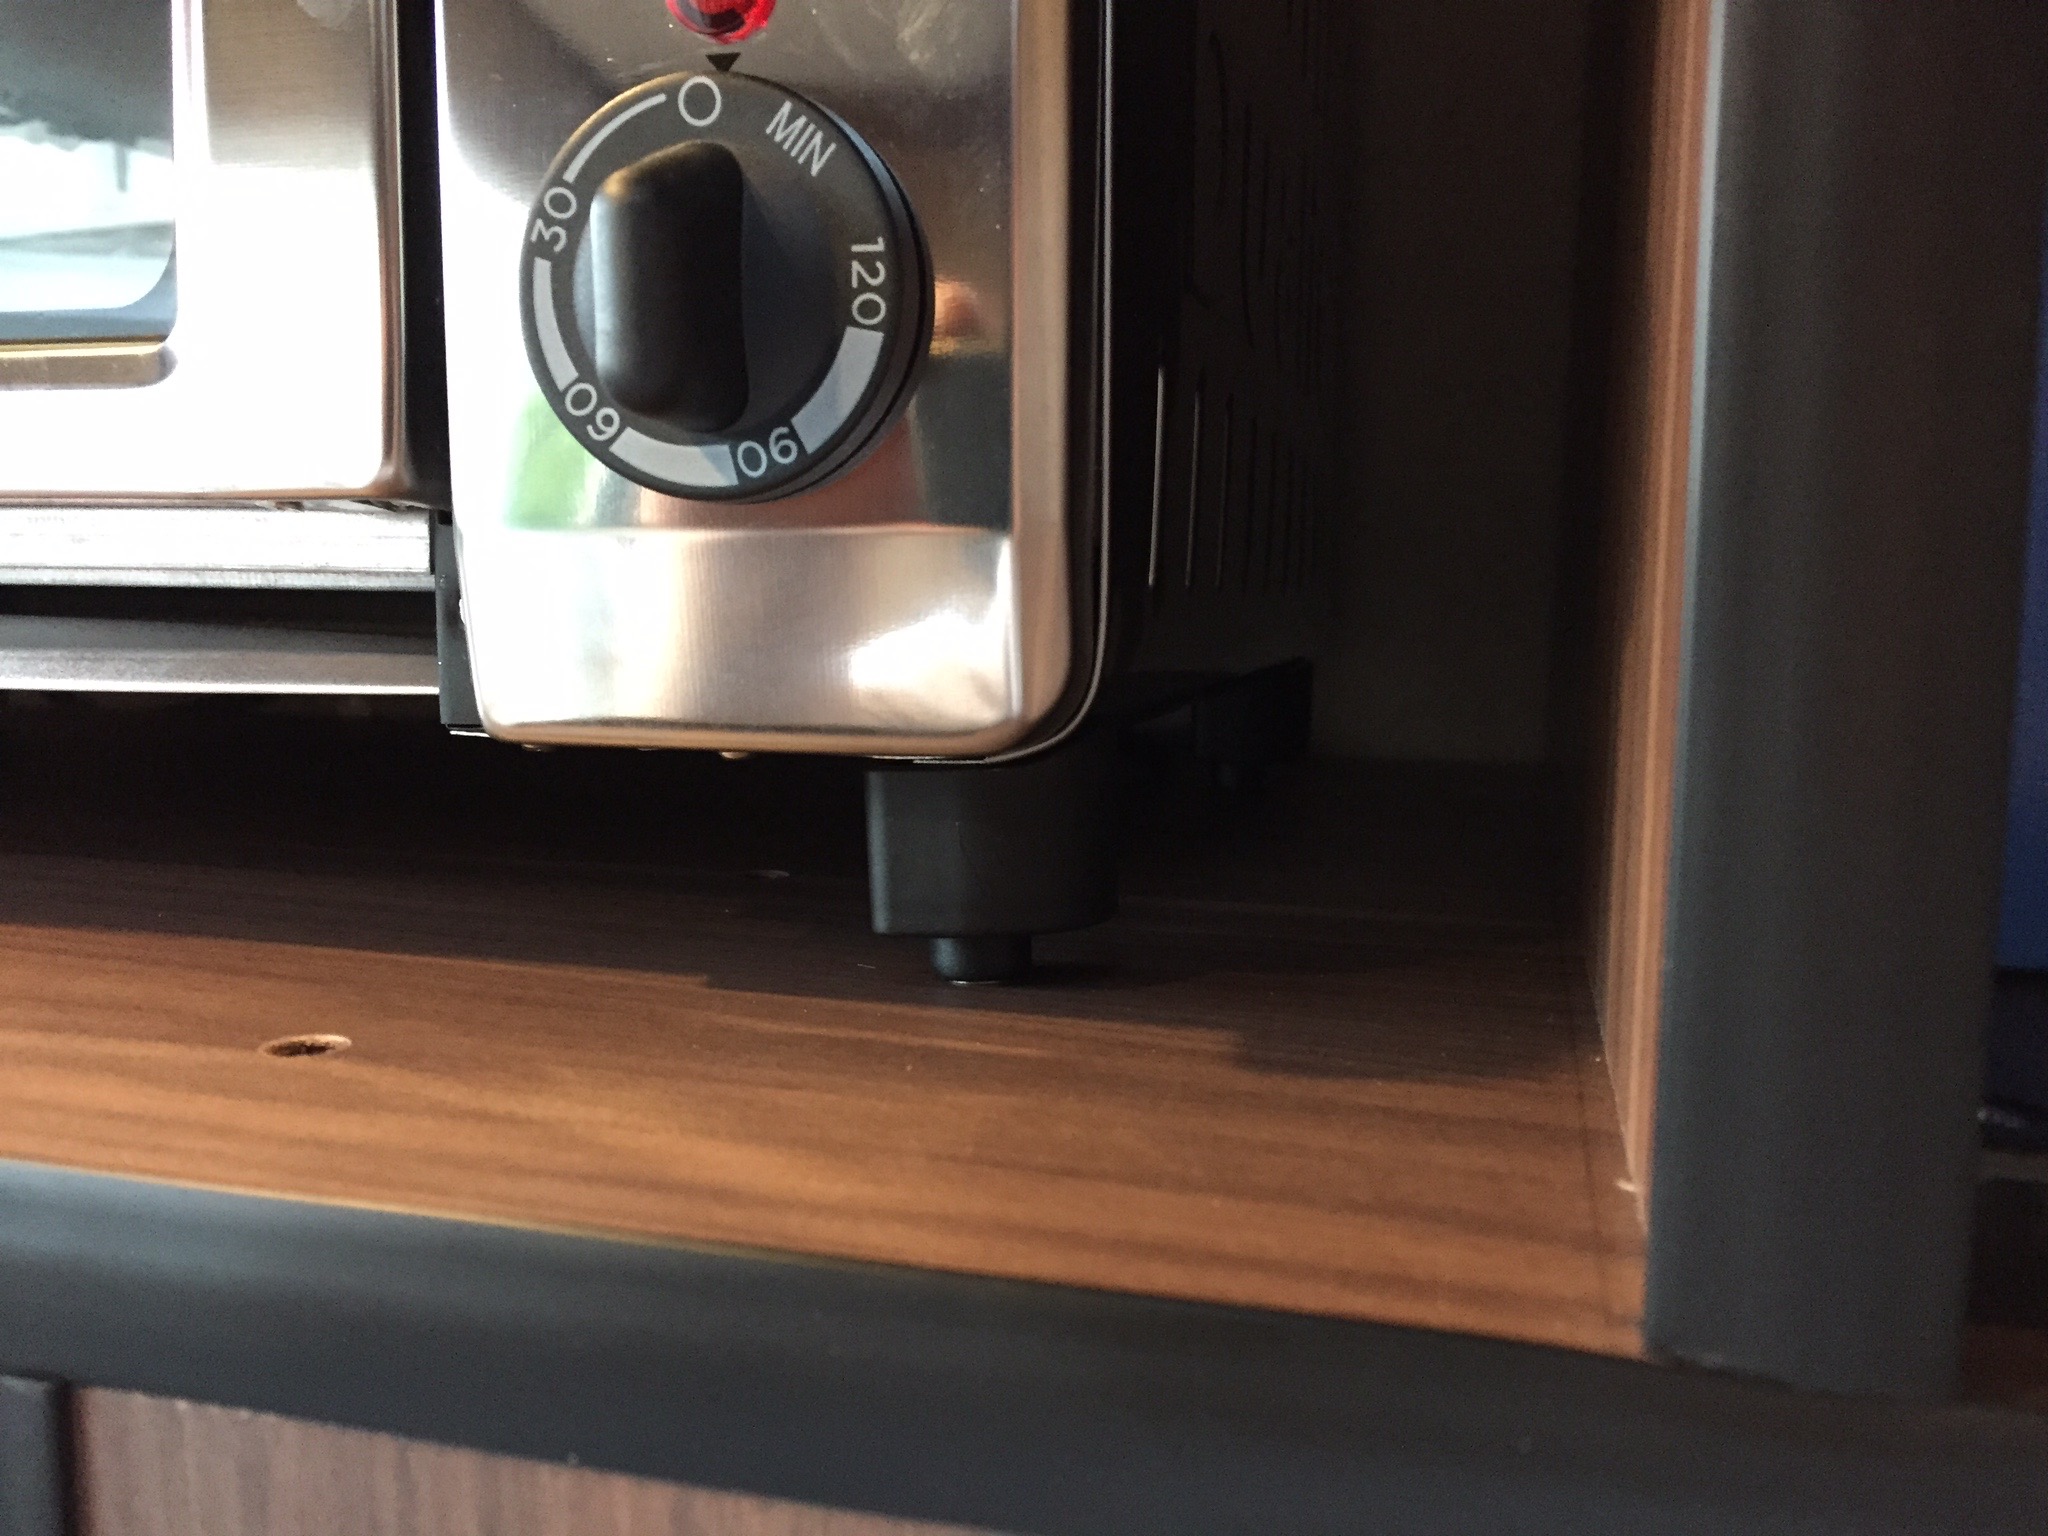
And now we can bake stuff and be sure the oven doesn't fly off when we are driving..

Next...
In the next post, watch how we haul the spare up and onto the roof..

