On the Roof...
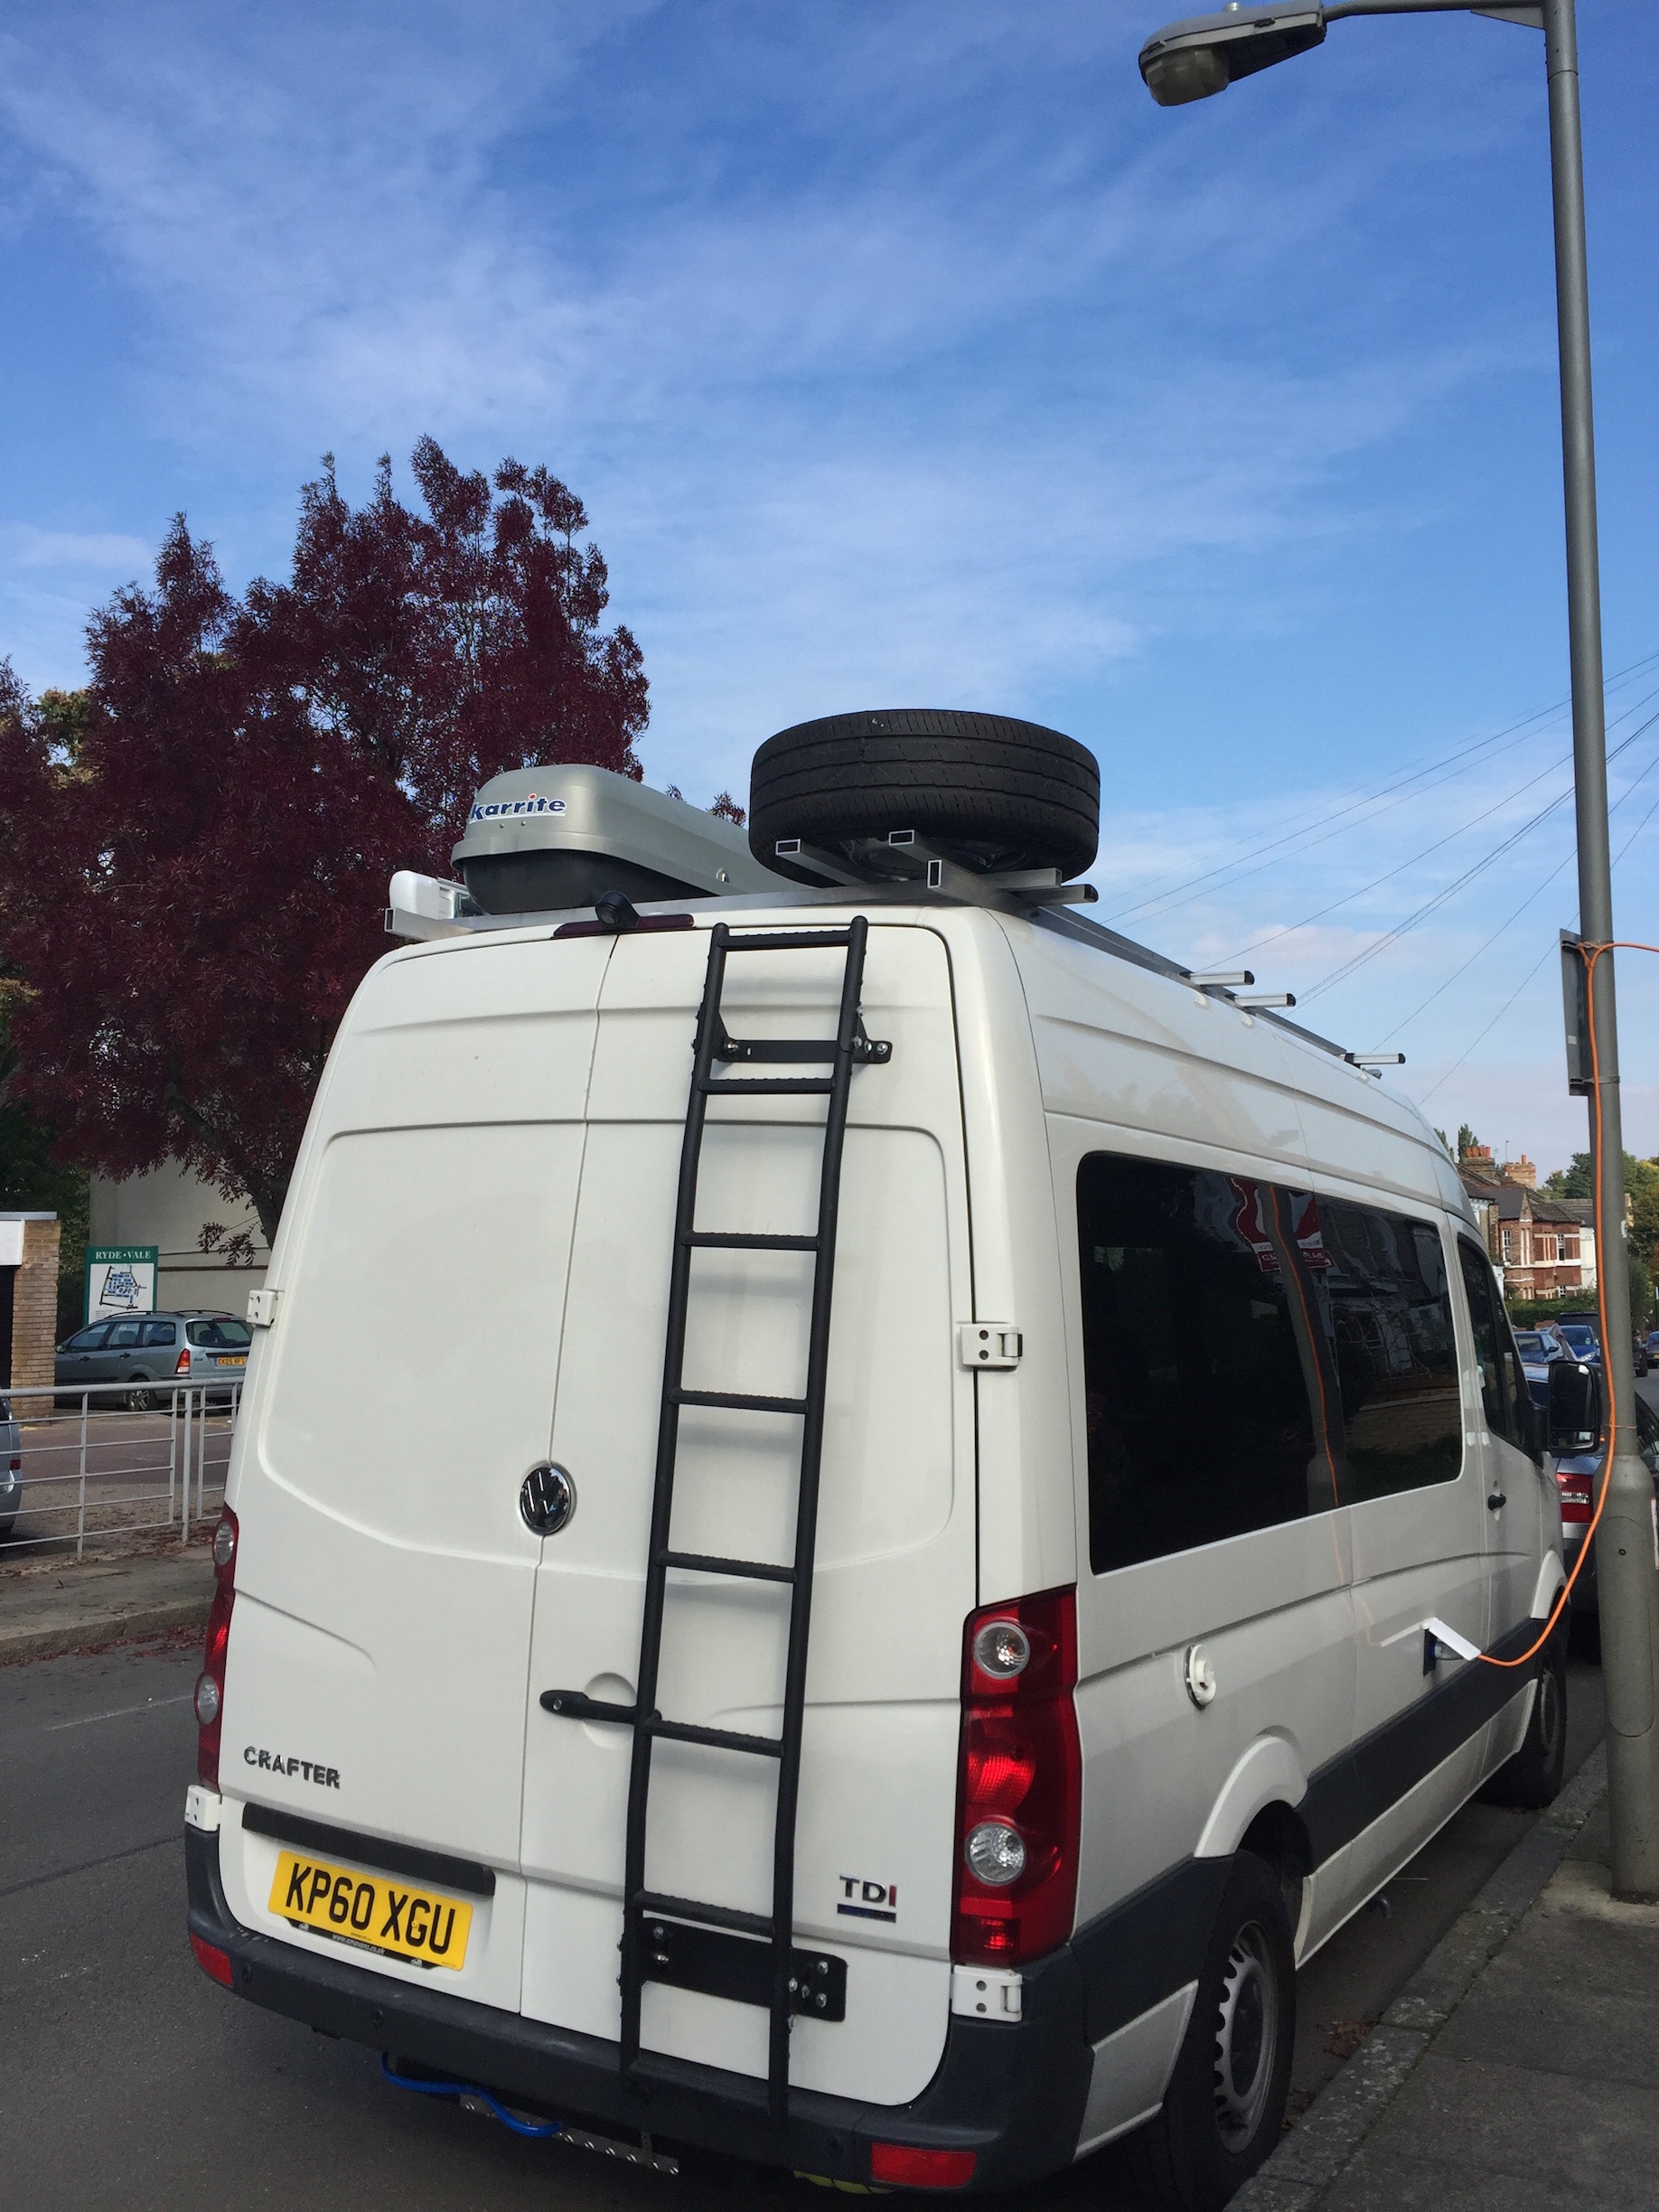
As summer rolled by and autumn rains kicked off, it was naturally time for me to get on the roof to install the solar panels and find a new home for the spare wheel.
If you just want to look at pictures, here is a running project photo journal with the most recent photos at the top.
Costs
The solar panels cost around £90 each and the aluminium cost around £160. There were also cable, the Wi-Fi antenna and roof ladder clamps, which cost a further £100 or so.
Roof Platform
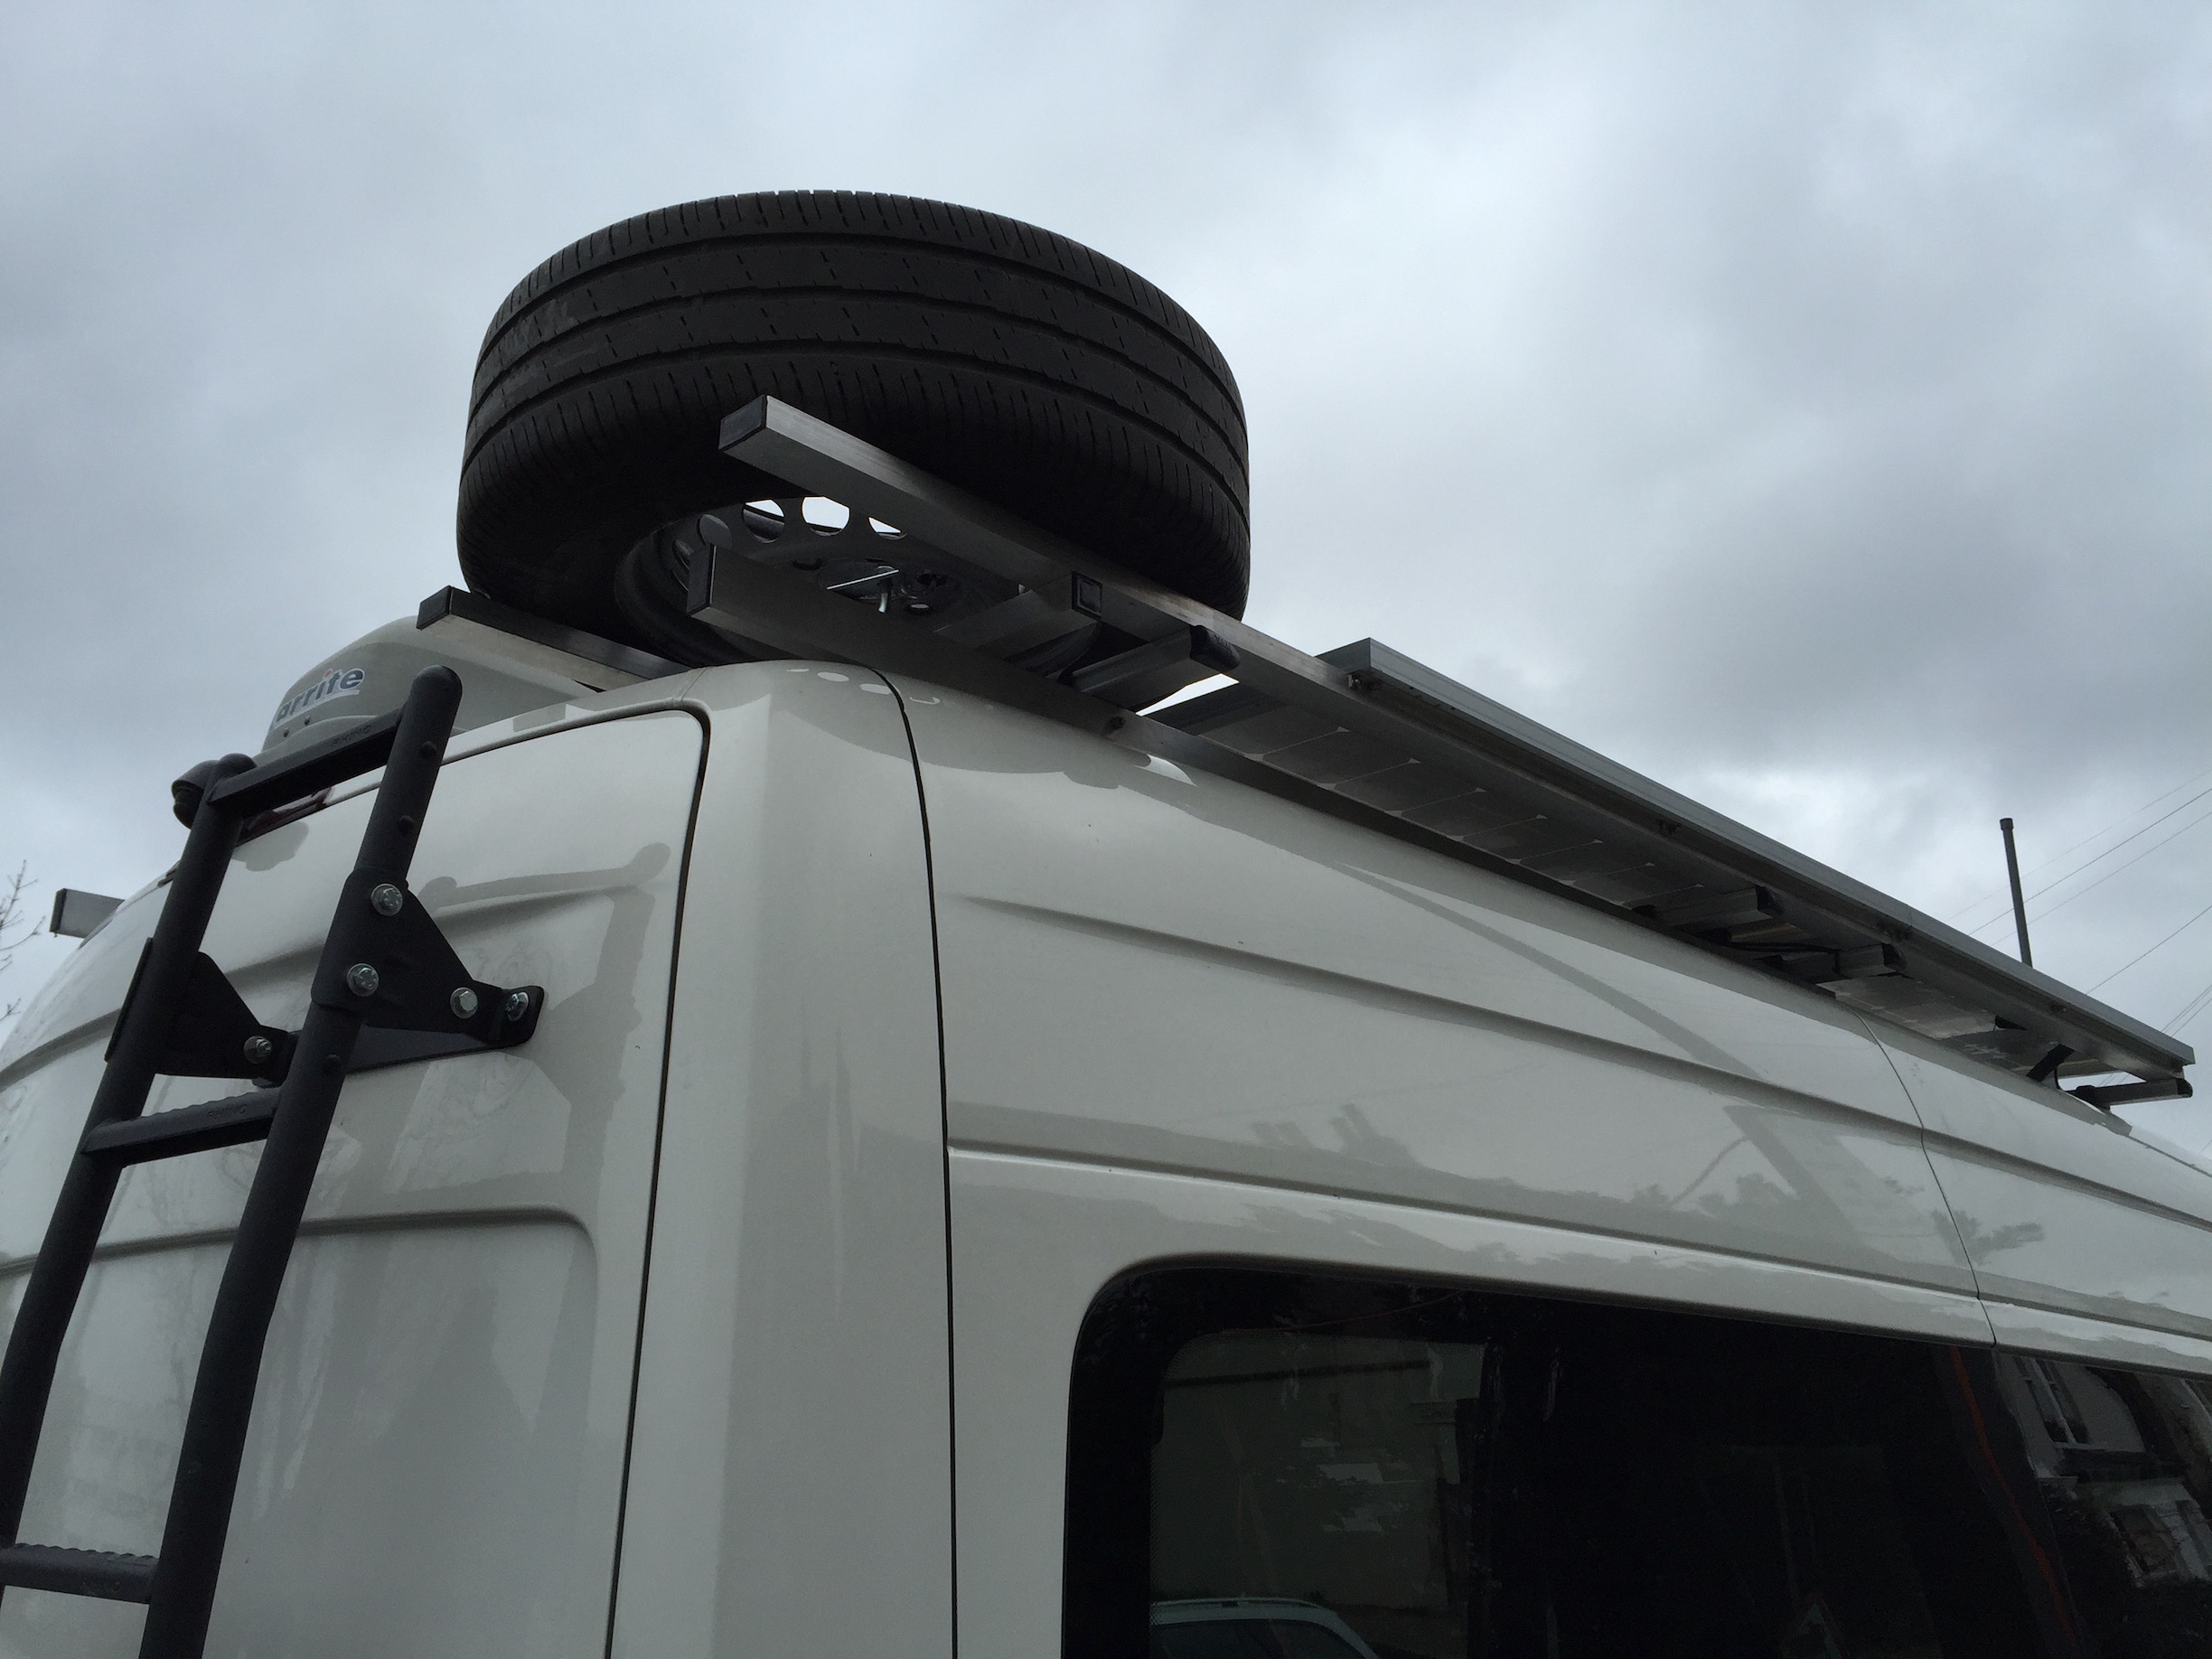
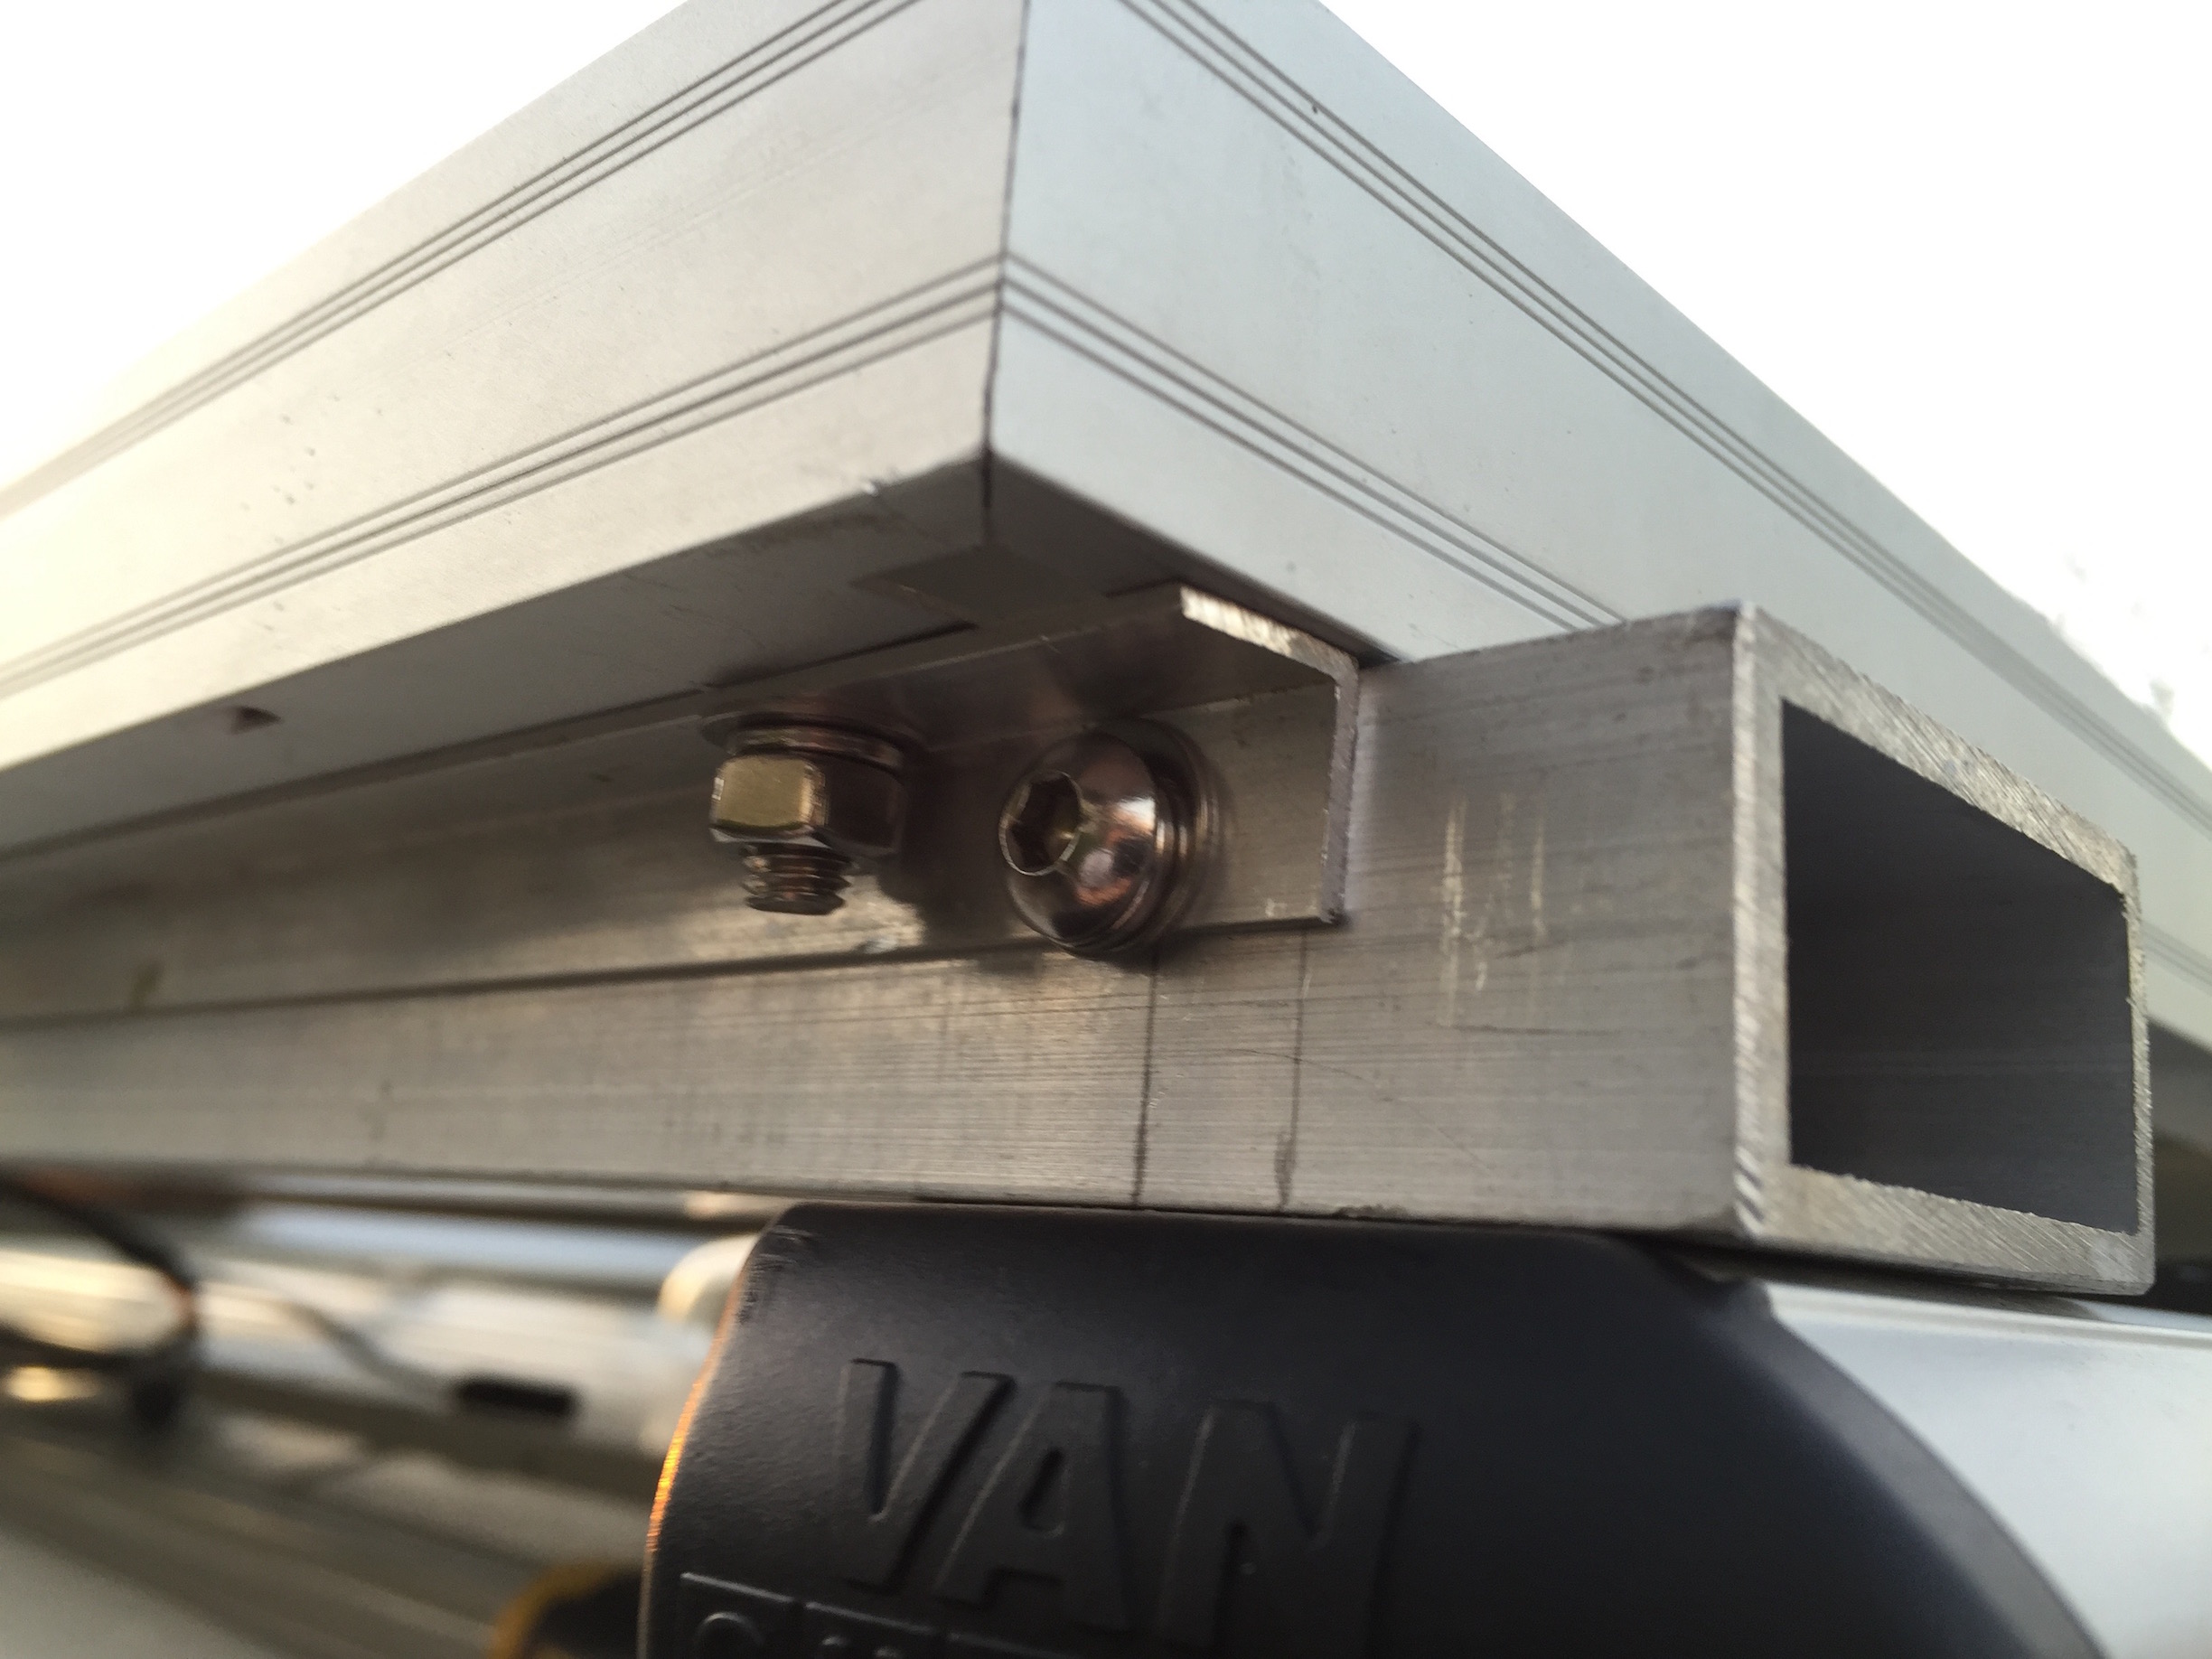
In my previous post, I wrote about the roof bars. I needed a way to fix (a) solar panels; and (b) spare wheel to them somehow, so I made a platform from 25mm x 50mm x 3mm aluminium box section and 32mm x 32mm x 3mm square aluminium tube from Metals4U.
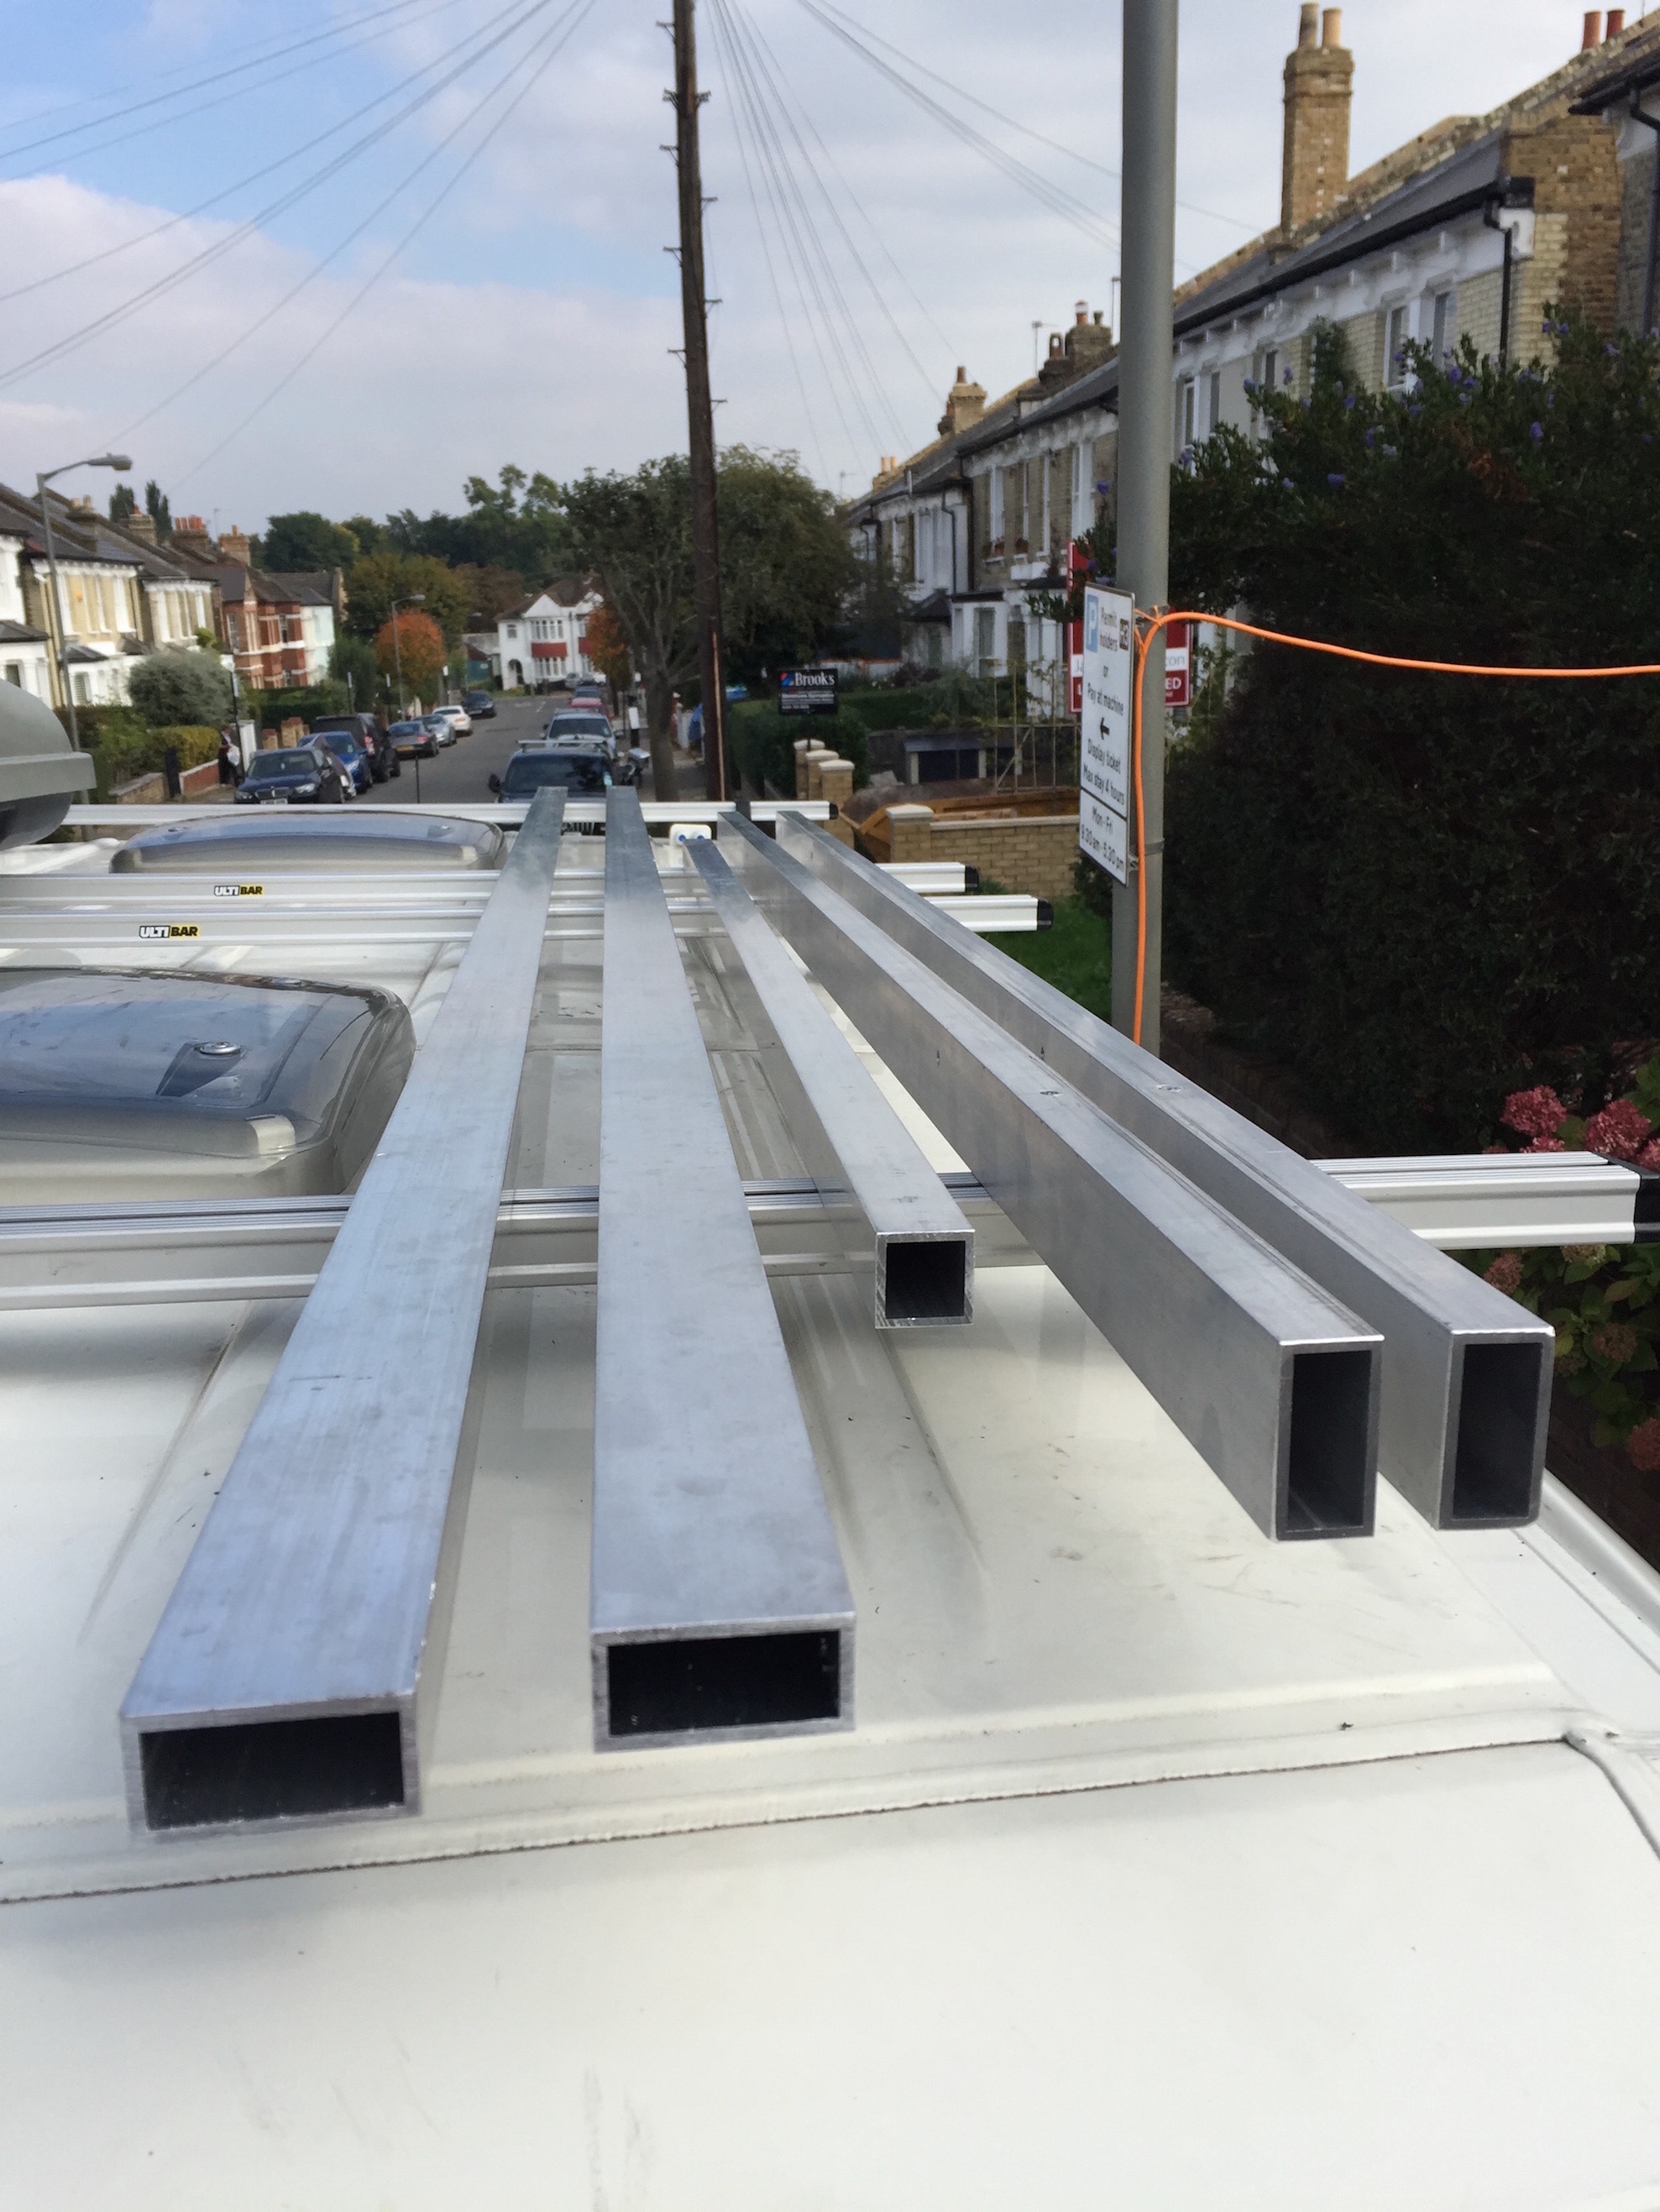
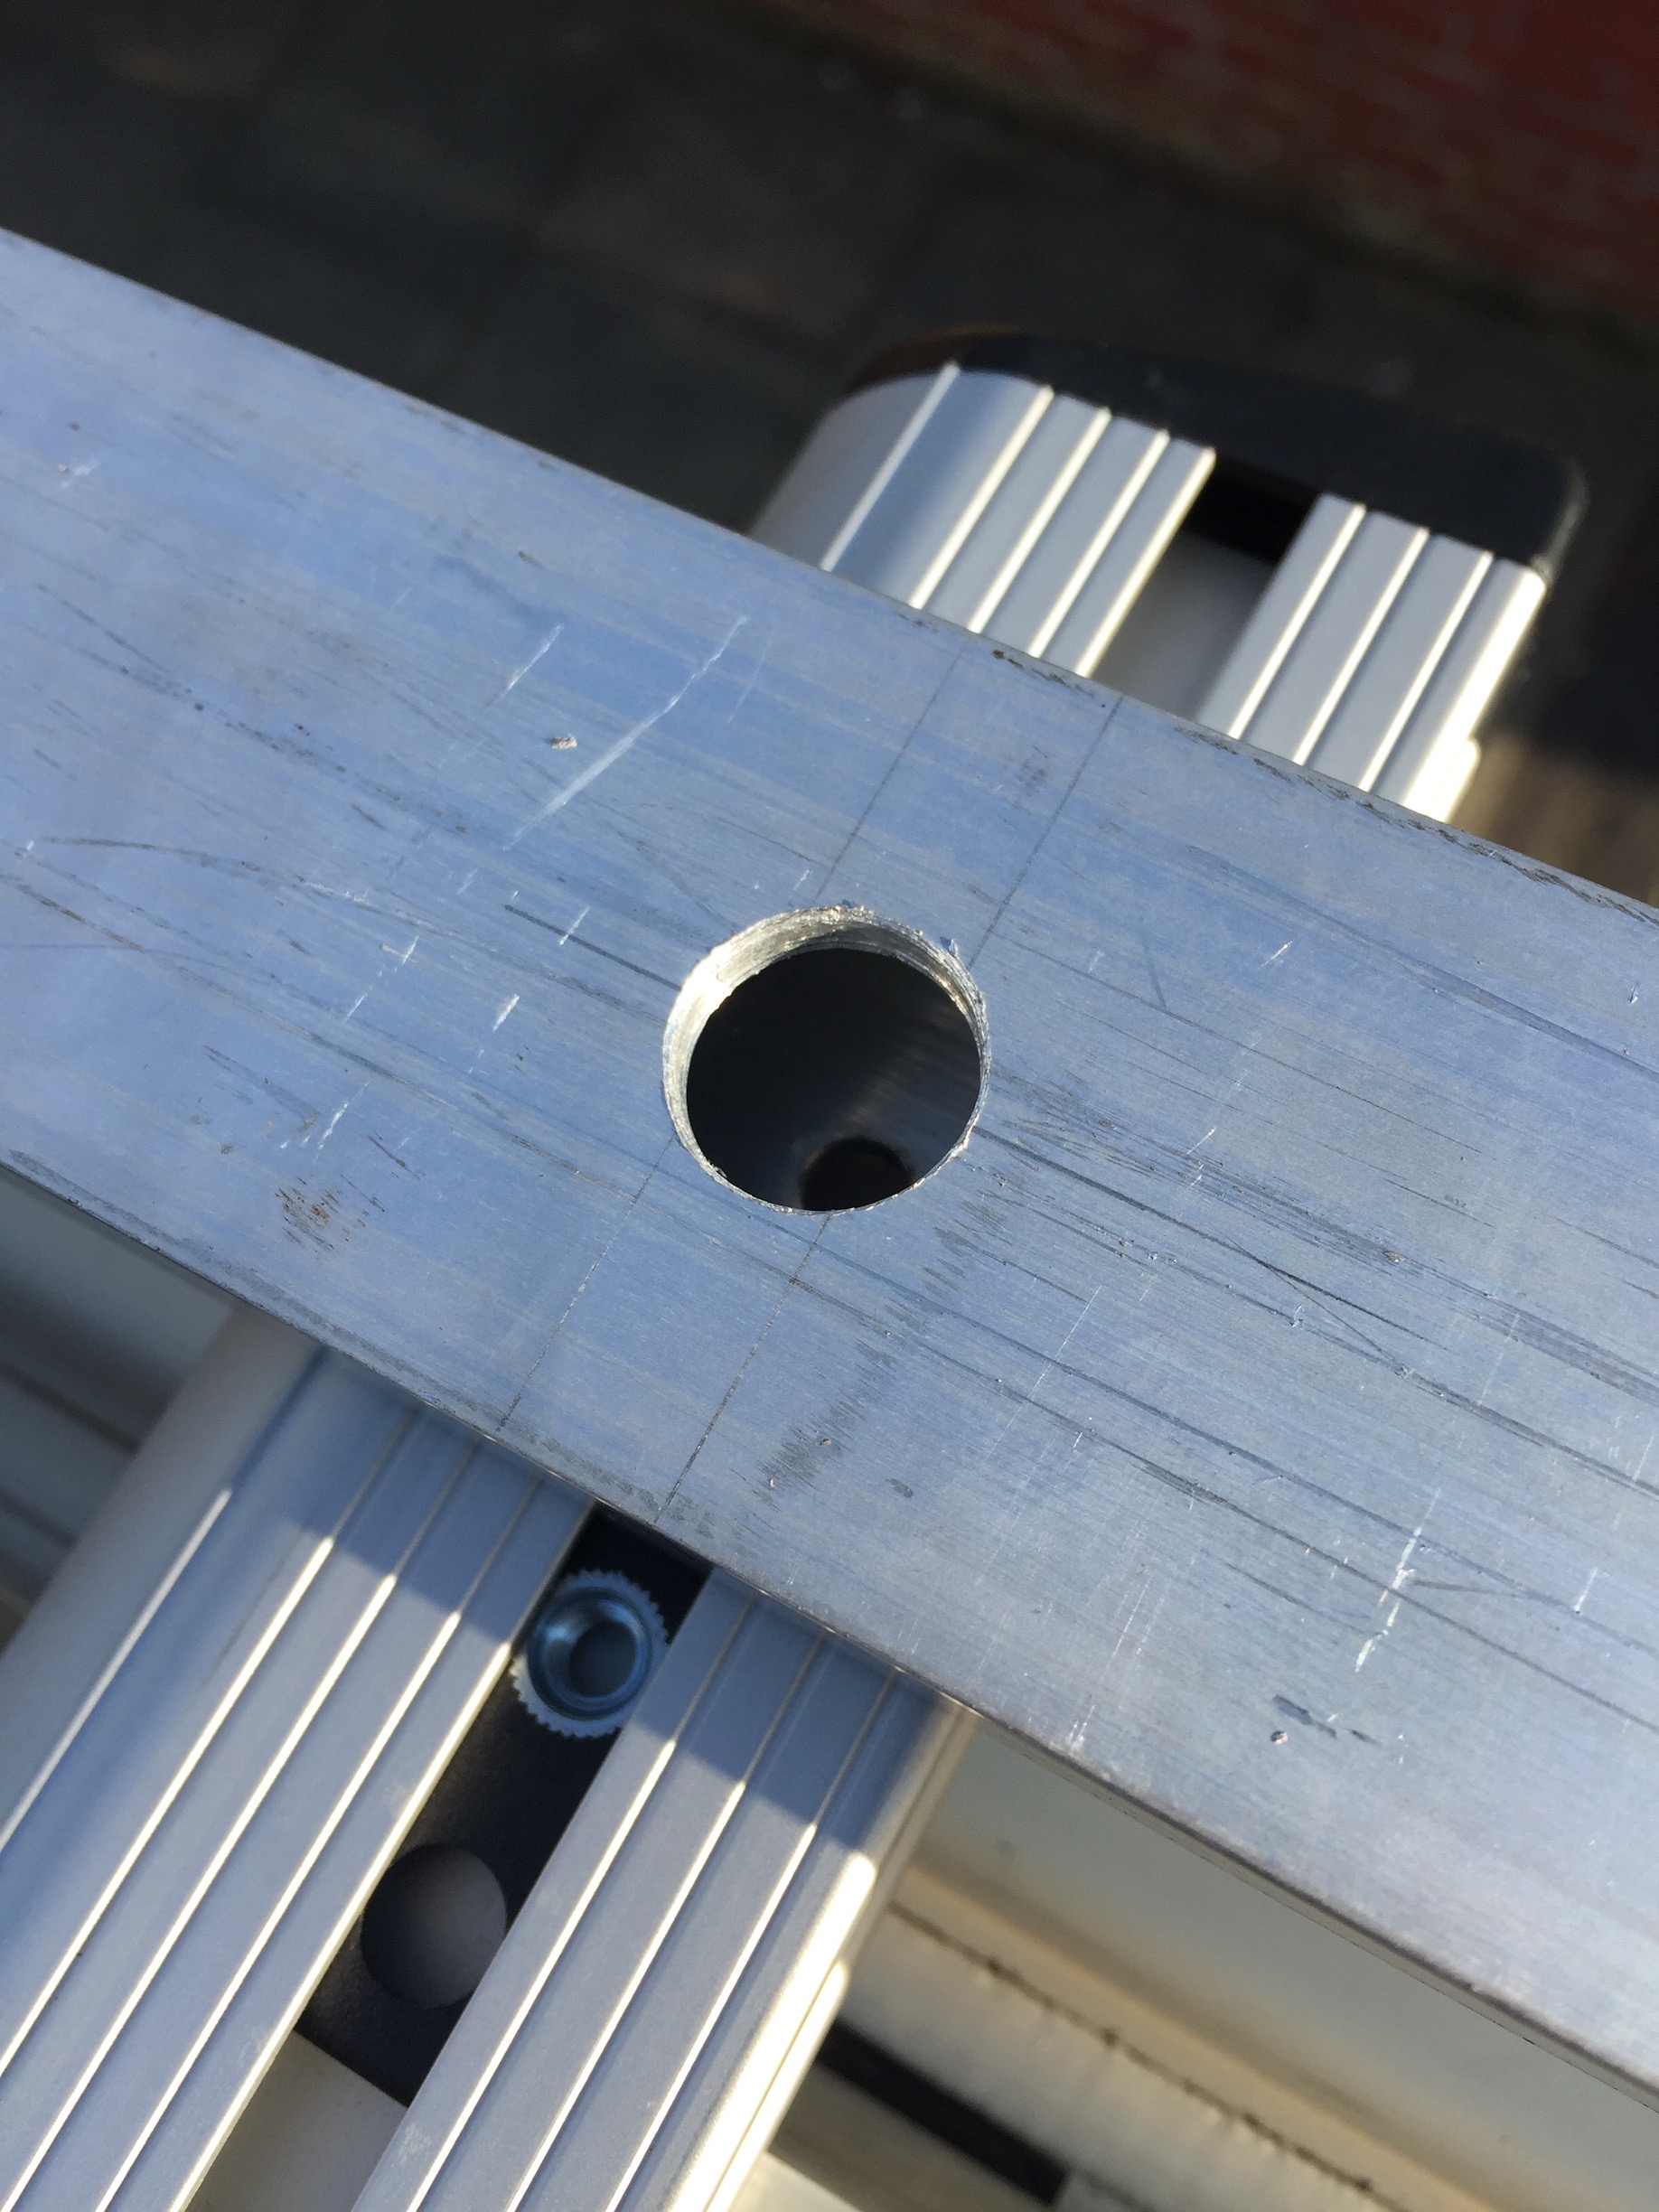
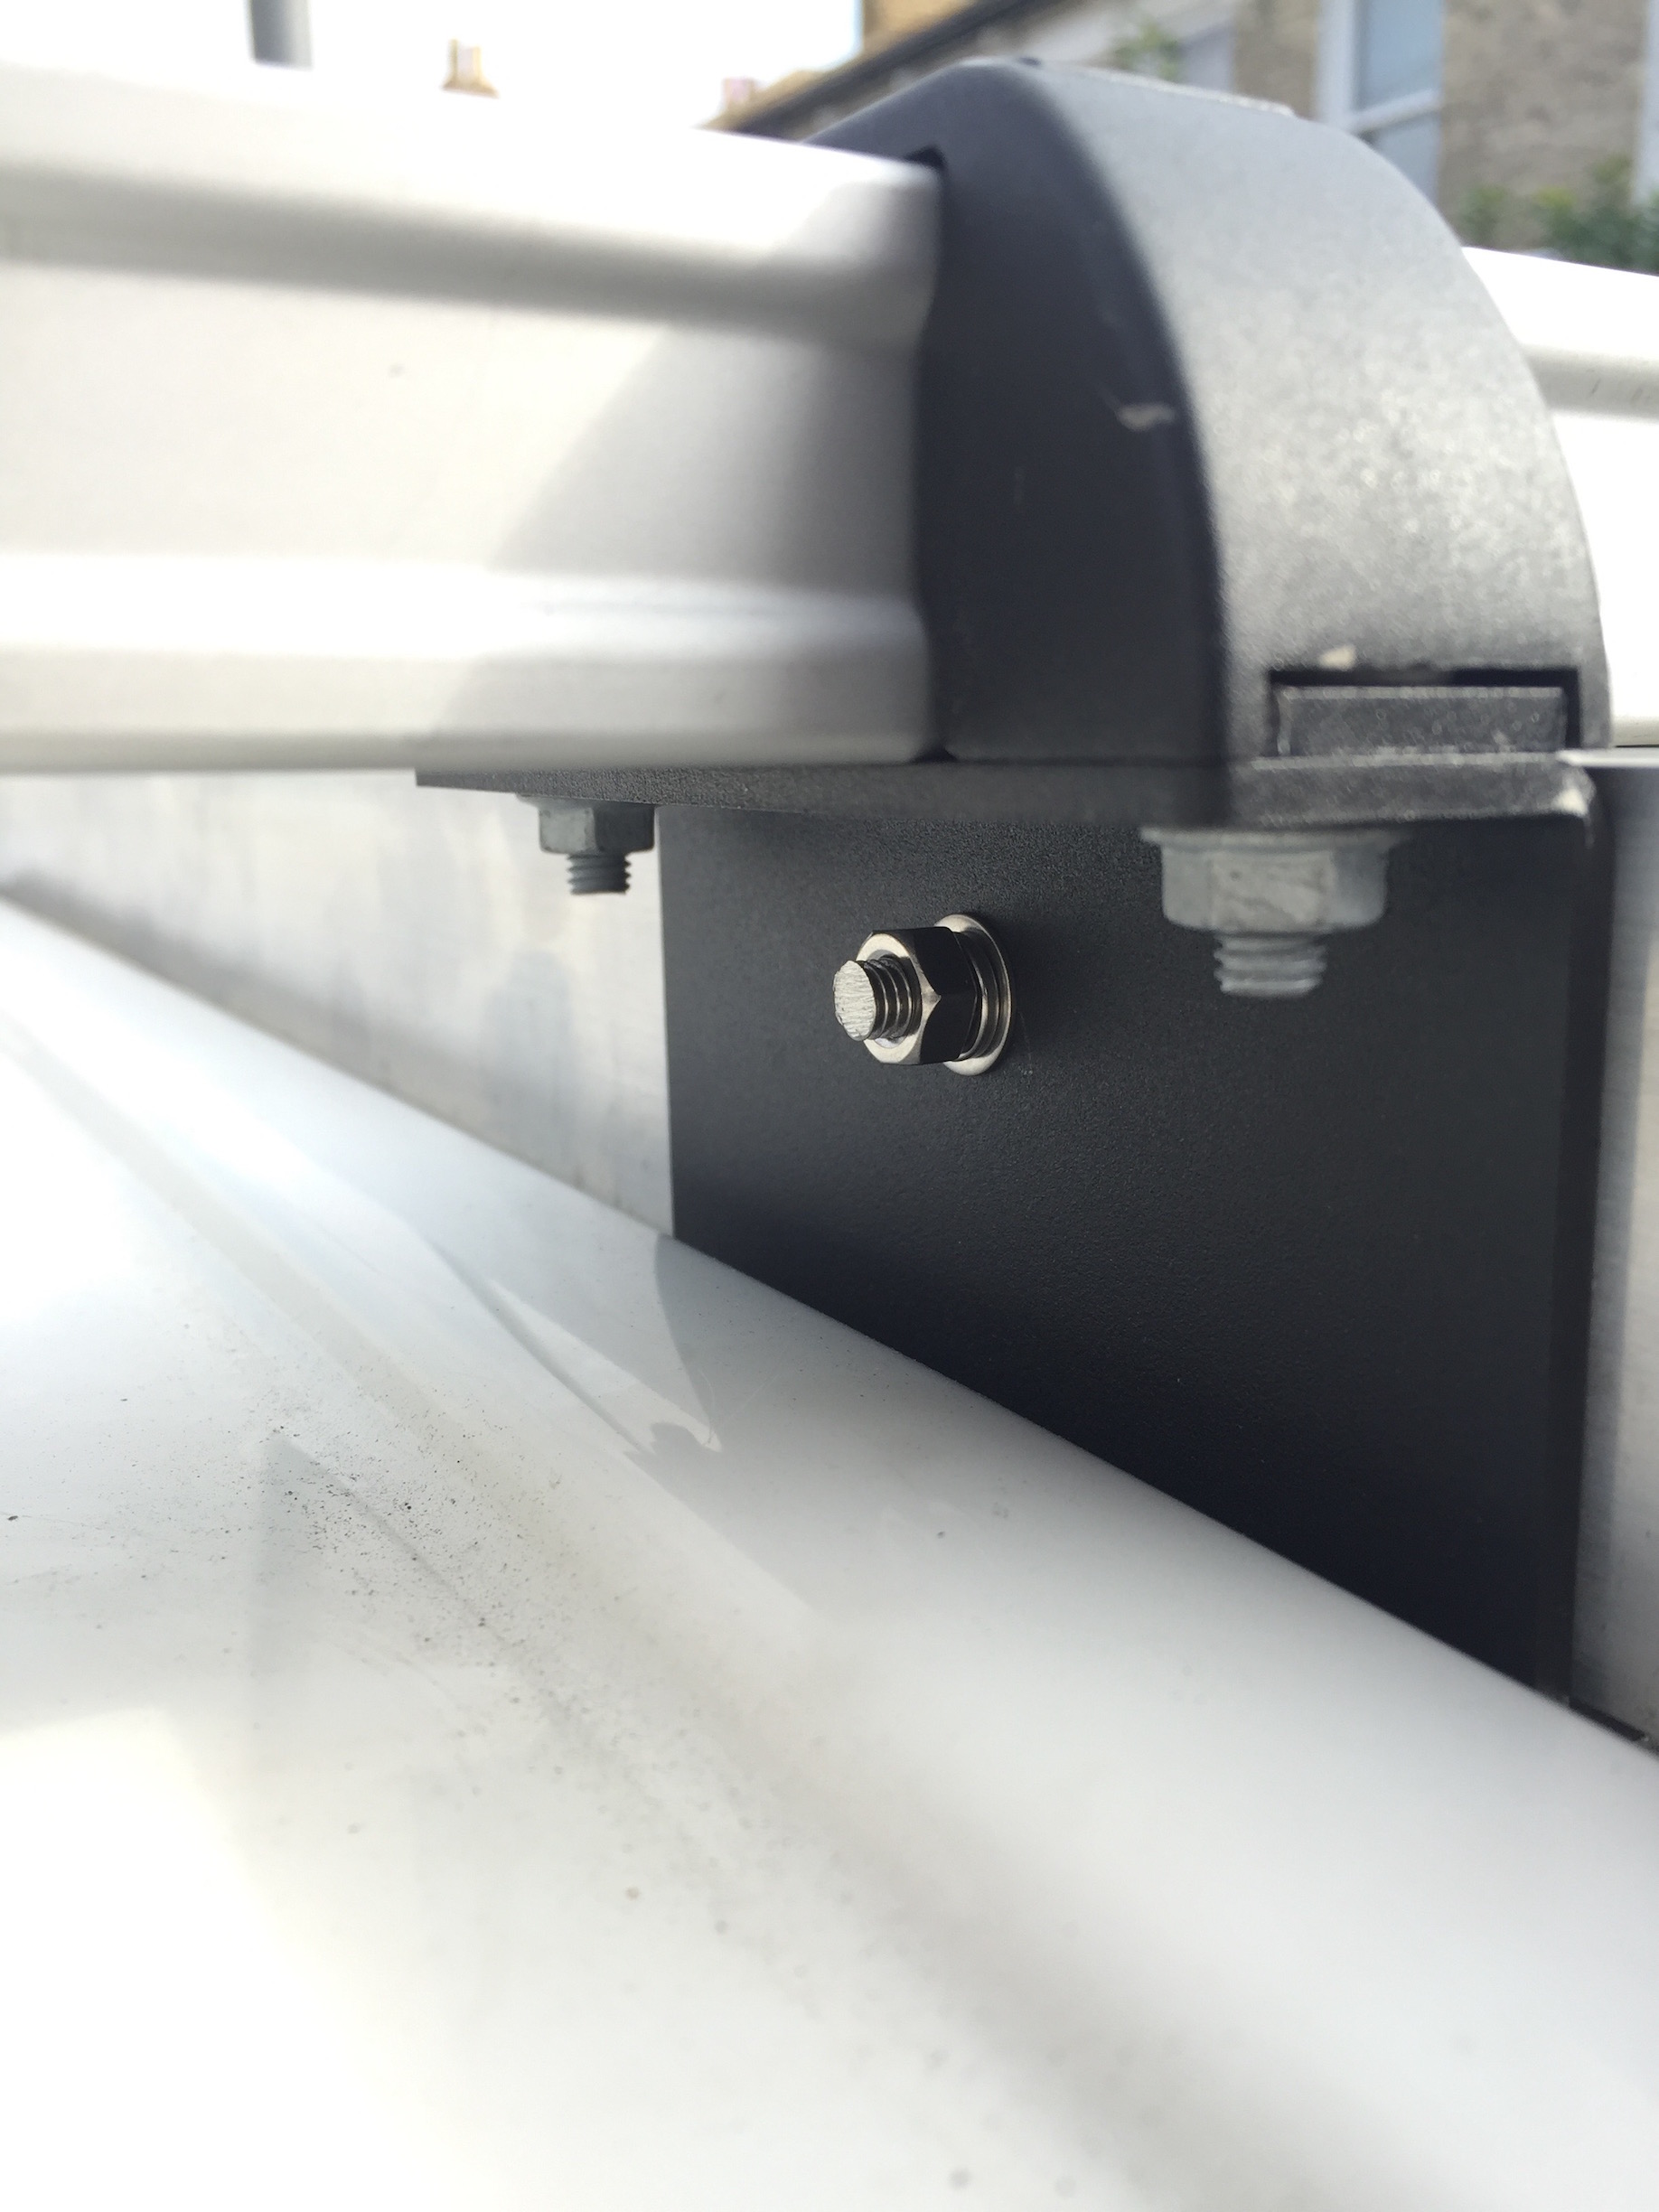
I cut two long box sections to run across the roof bars and secured them with M6 bolts using the additional Van Guard ULTIBAR runners inside the T-Tracks. The 16mm access hole at the top allows to get to the bolt inside.
The extend the platform right to the rear of the van and enable it to support a spare wheel, I added side beams and fixed them to the rear three roof bar brackets with stainless steel M6 threaded rod, nuts and spring washers.
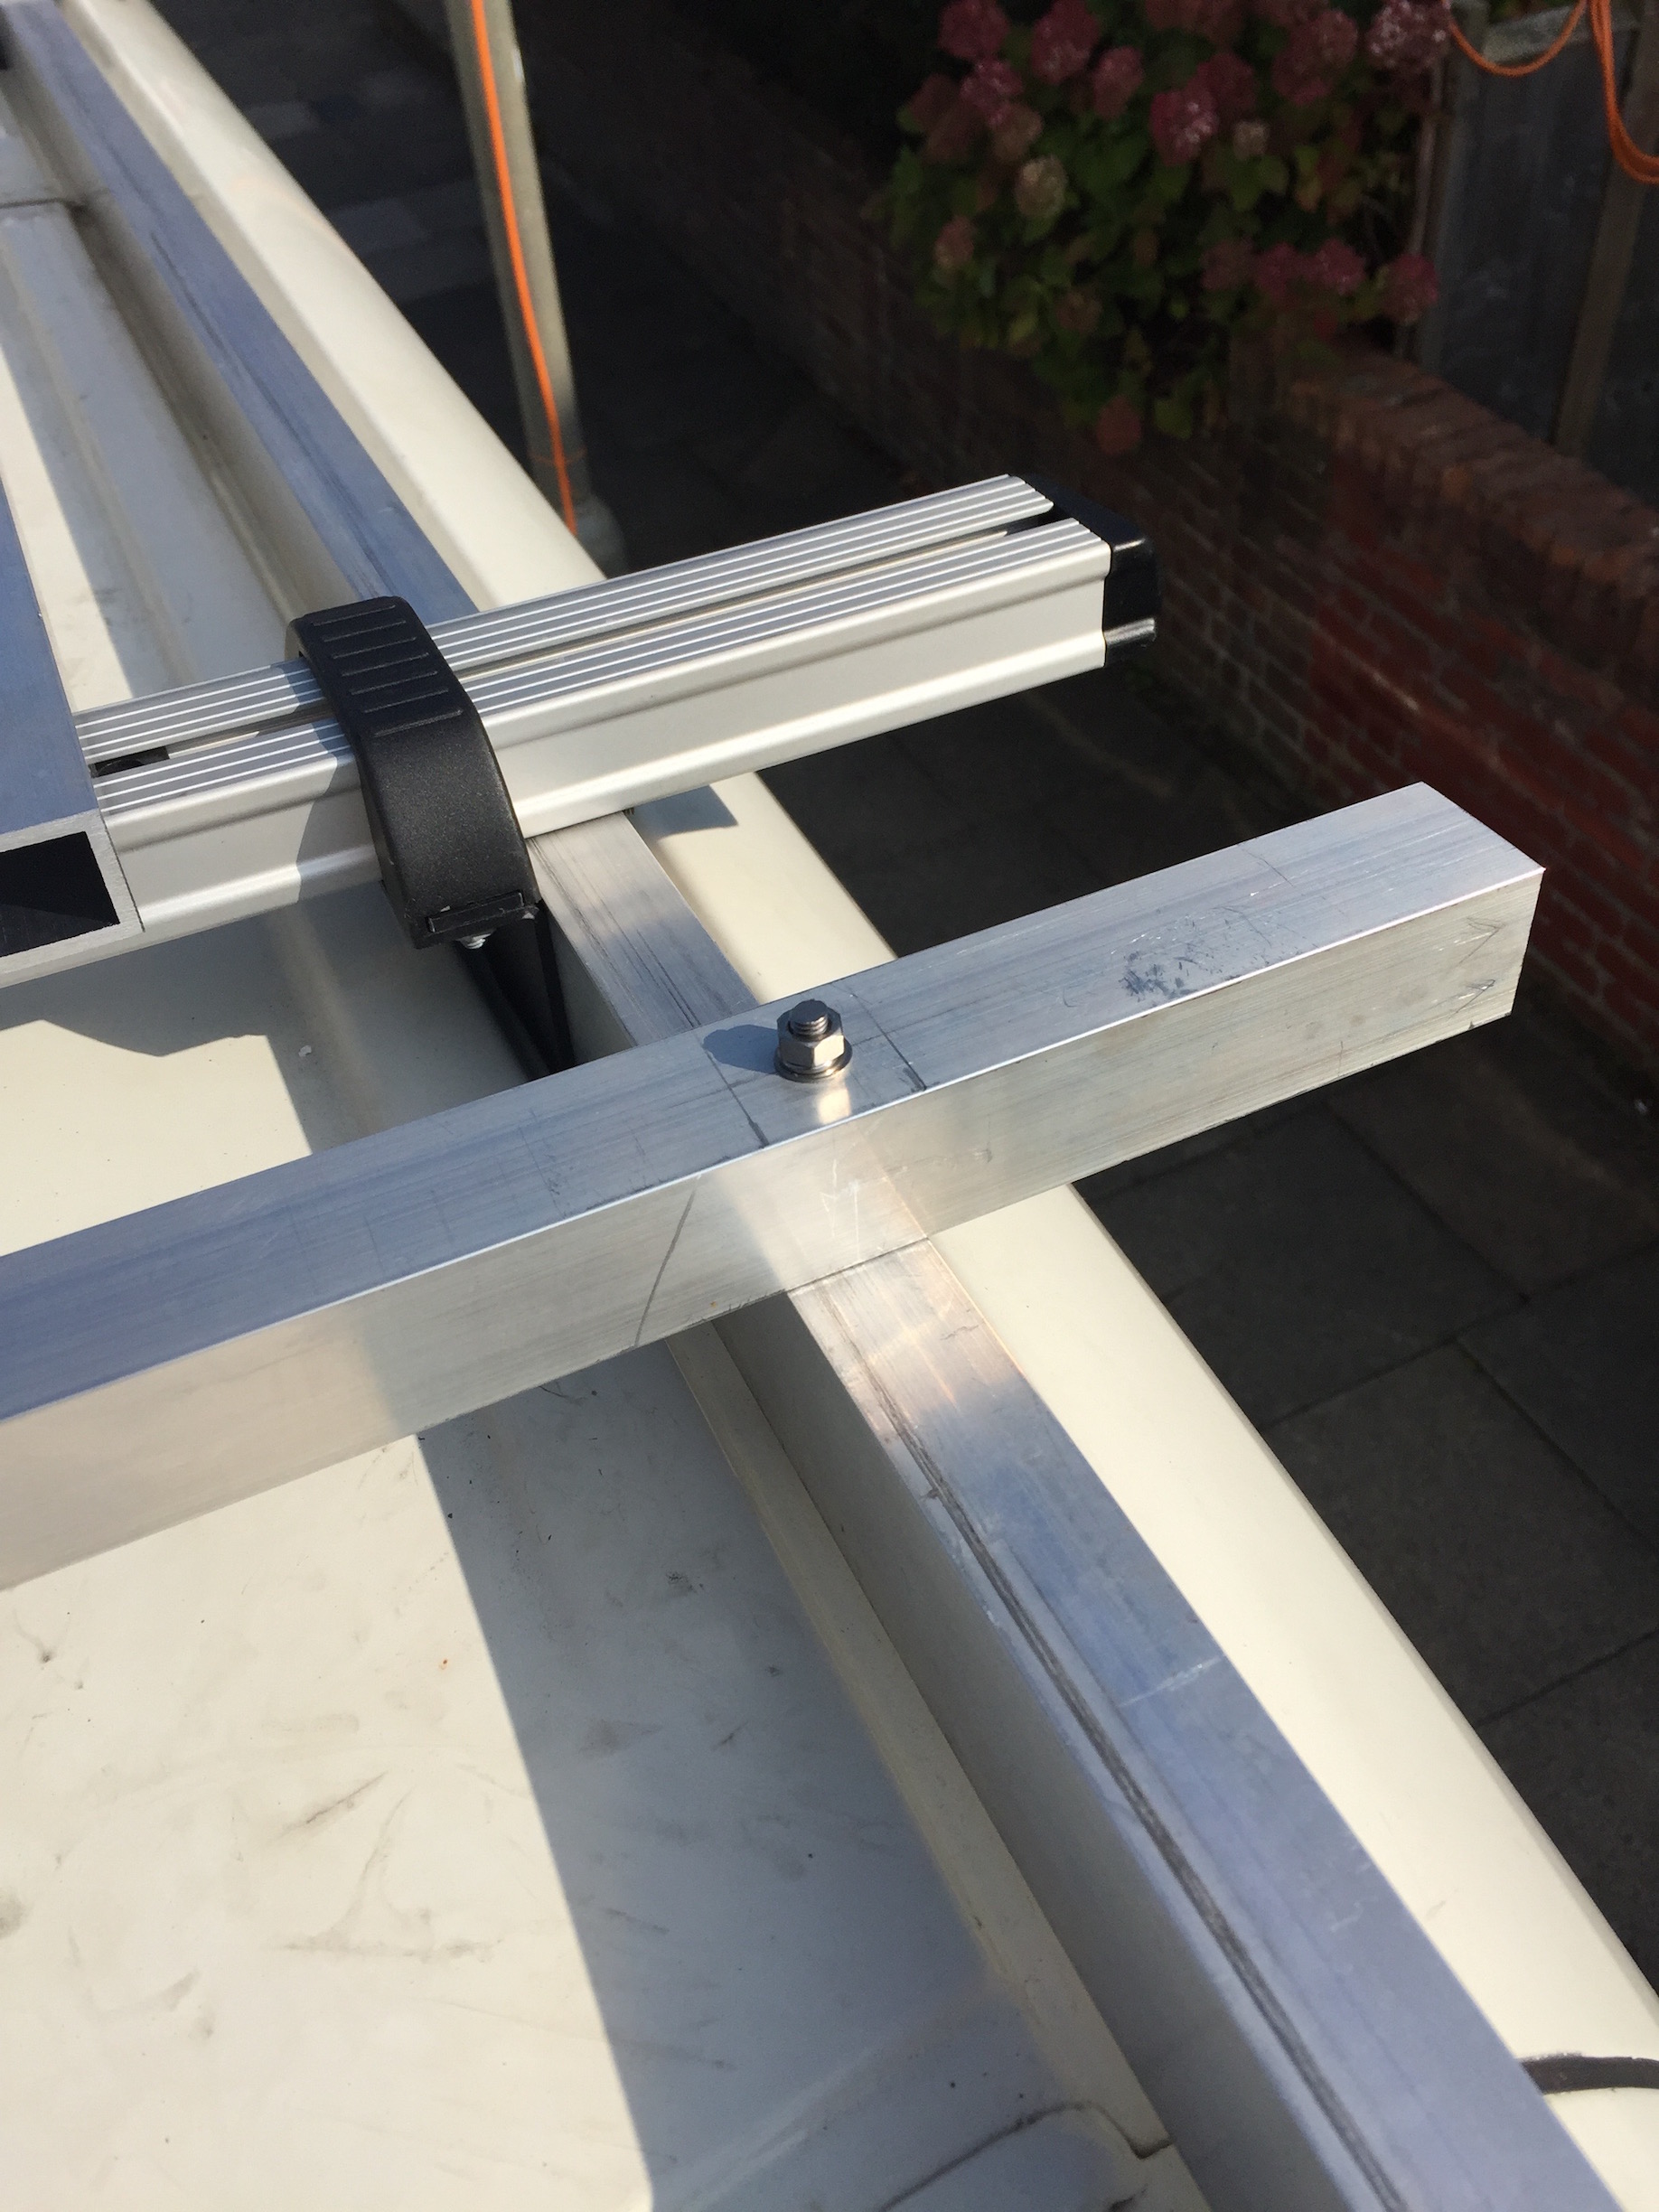
At the rear, across the side beams, I attached the square tube in the same fashion as the beams.
Spare Wheel
The spare wheel had to be relocated to the roof, after its original home under the van was taken over by the water tank.
I tried to find a solution on the market, which is unsurprisingly sparse. Aluminess in the US is selling a tailgate type mount, for $695 USD, plus shipping. This is on the wrong side of the van for obvious reasons and would have required the number plate to be moved. No good..

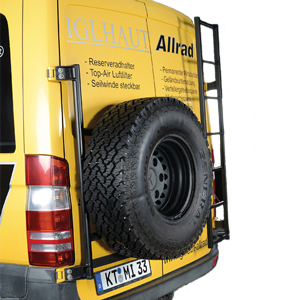
Another door mounted option came from a German company, Iglhaut-Allrad, which looks like an amazing product, but the quote came in at nearly £1,000, so I didn't seriously consider it.
There was also an option of a tow bar mounted mounts, like the UK made bak-rak.
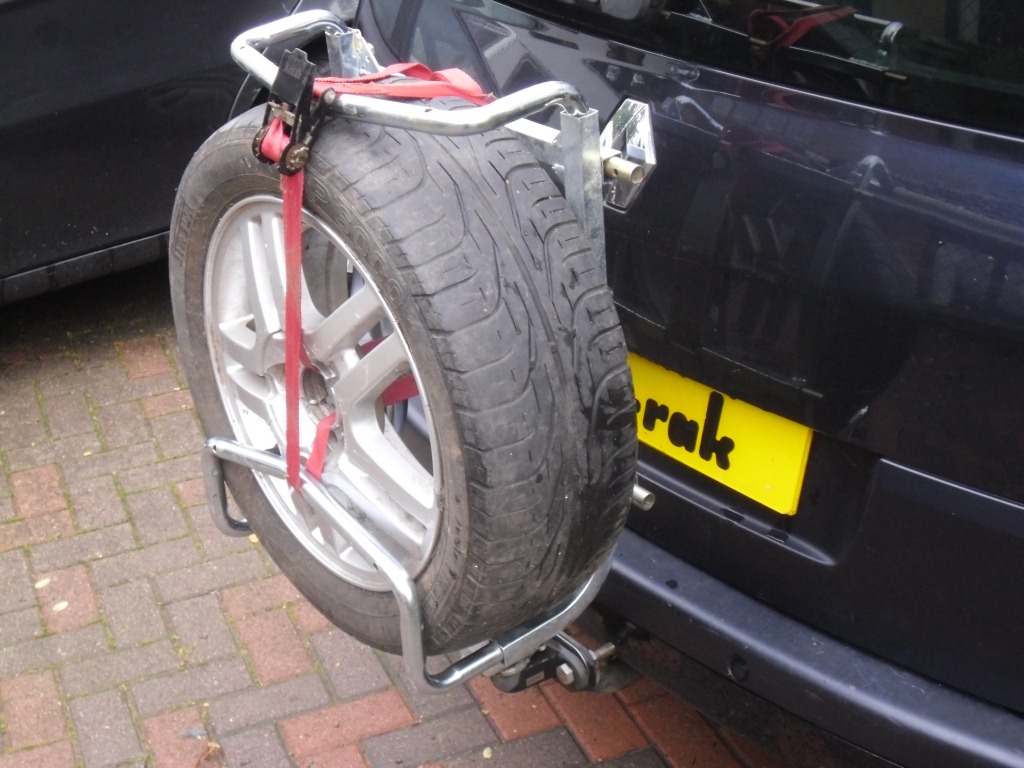
This would have required fitting a tow bar, which I didn't really want to do, because I wasn't sure how to socialise it with the water tank right next to where the bolts would go.
After considering my options, I decided to make my own. I used the rear of the roof platform to house the spare, with the bowl facing up for additional storage and fixed using a roof rail ladder clamp (with the hook bolt cut to size).
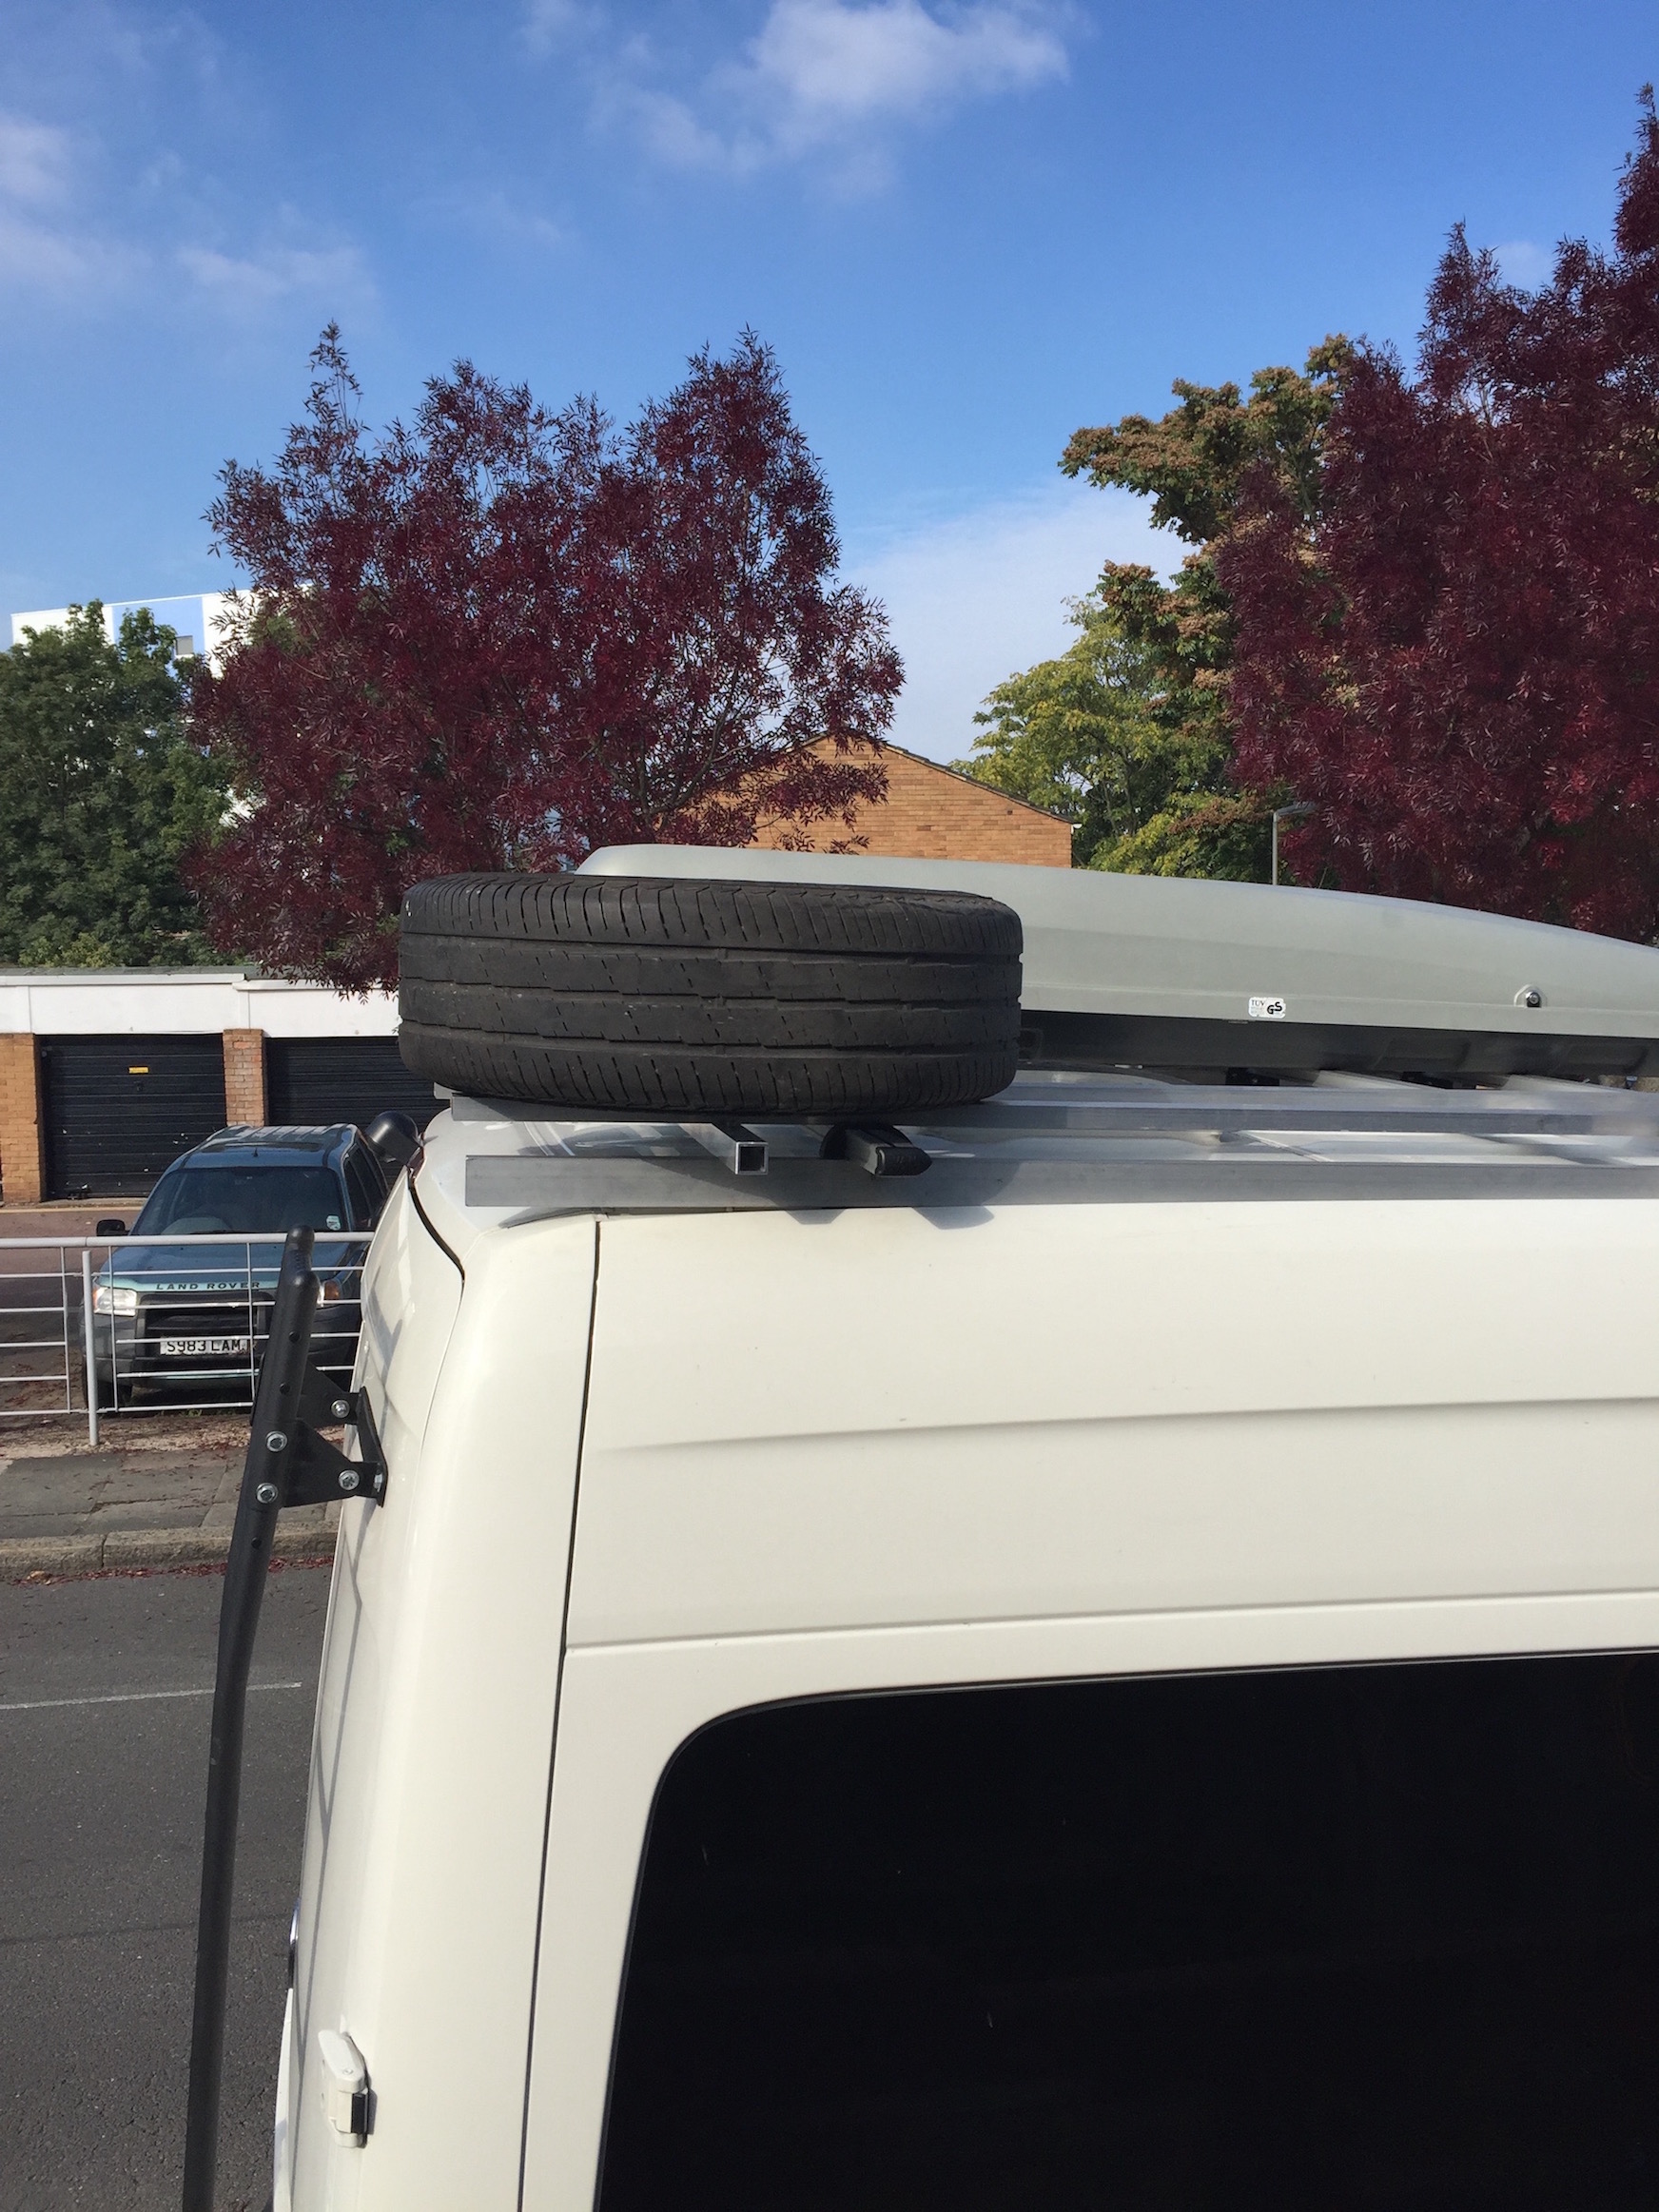
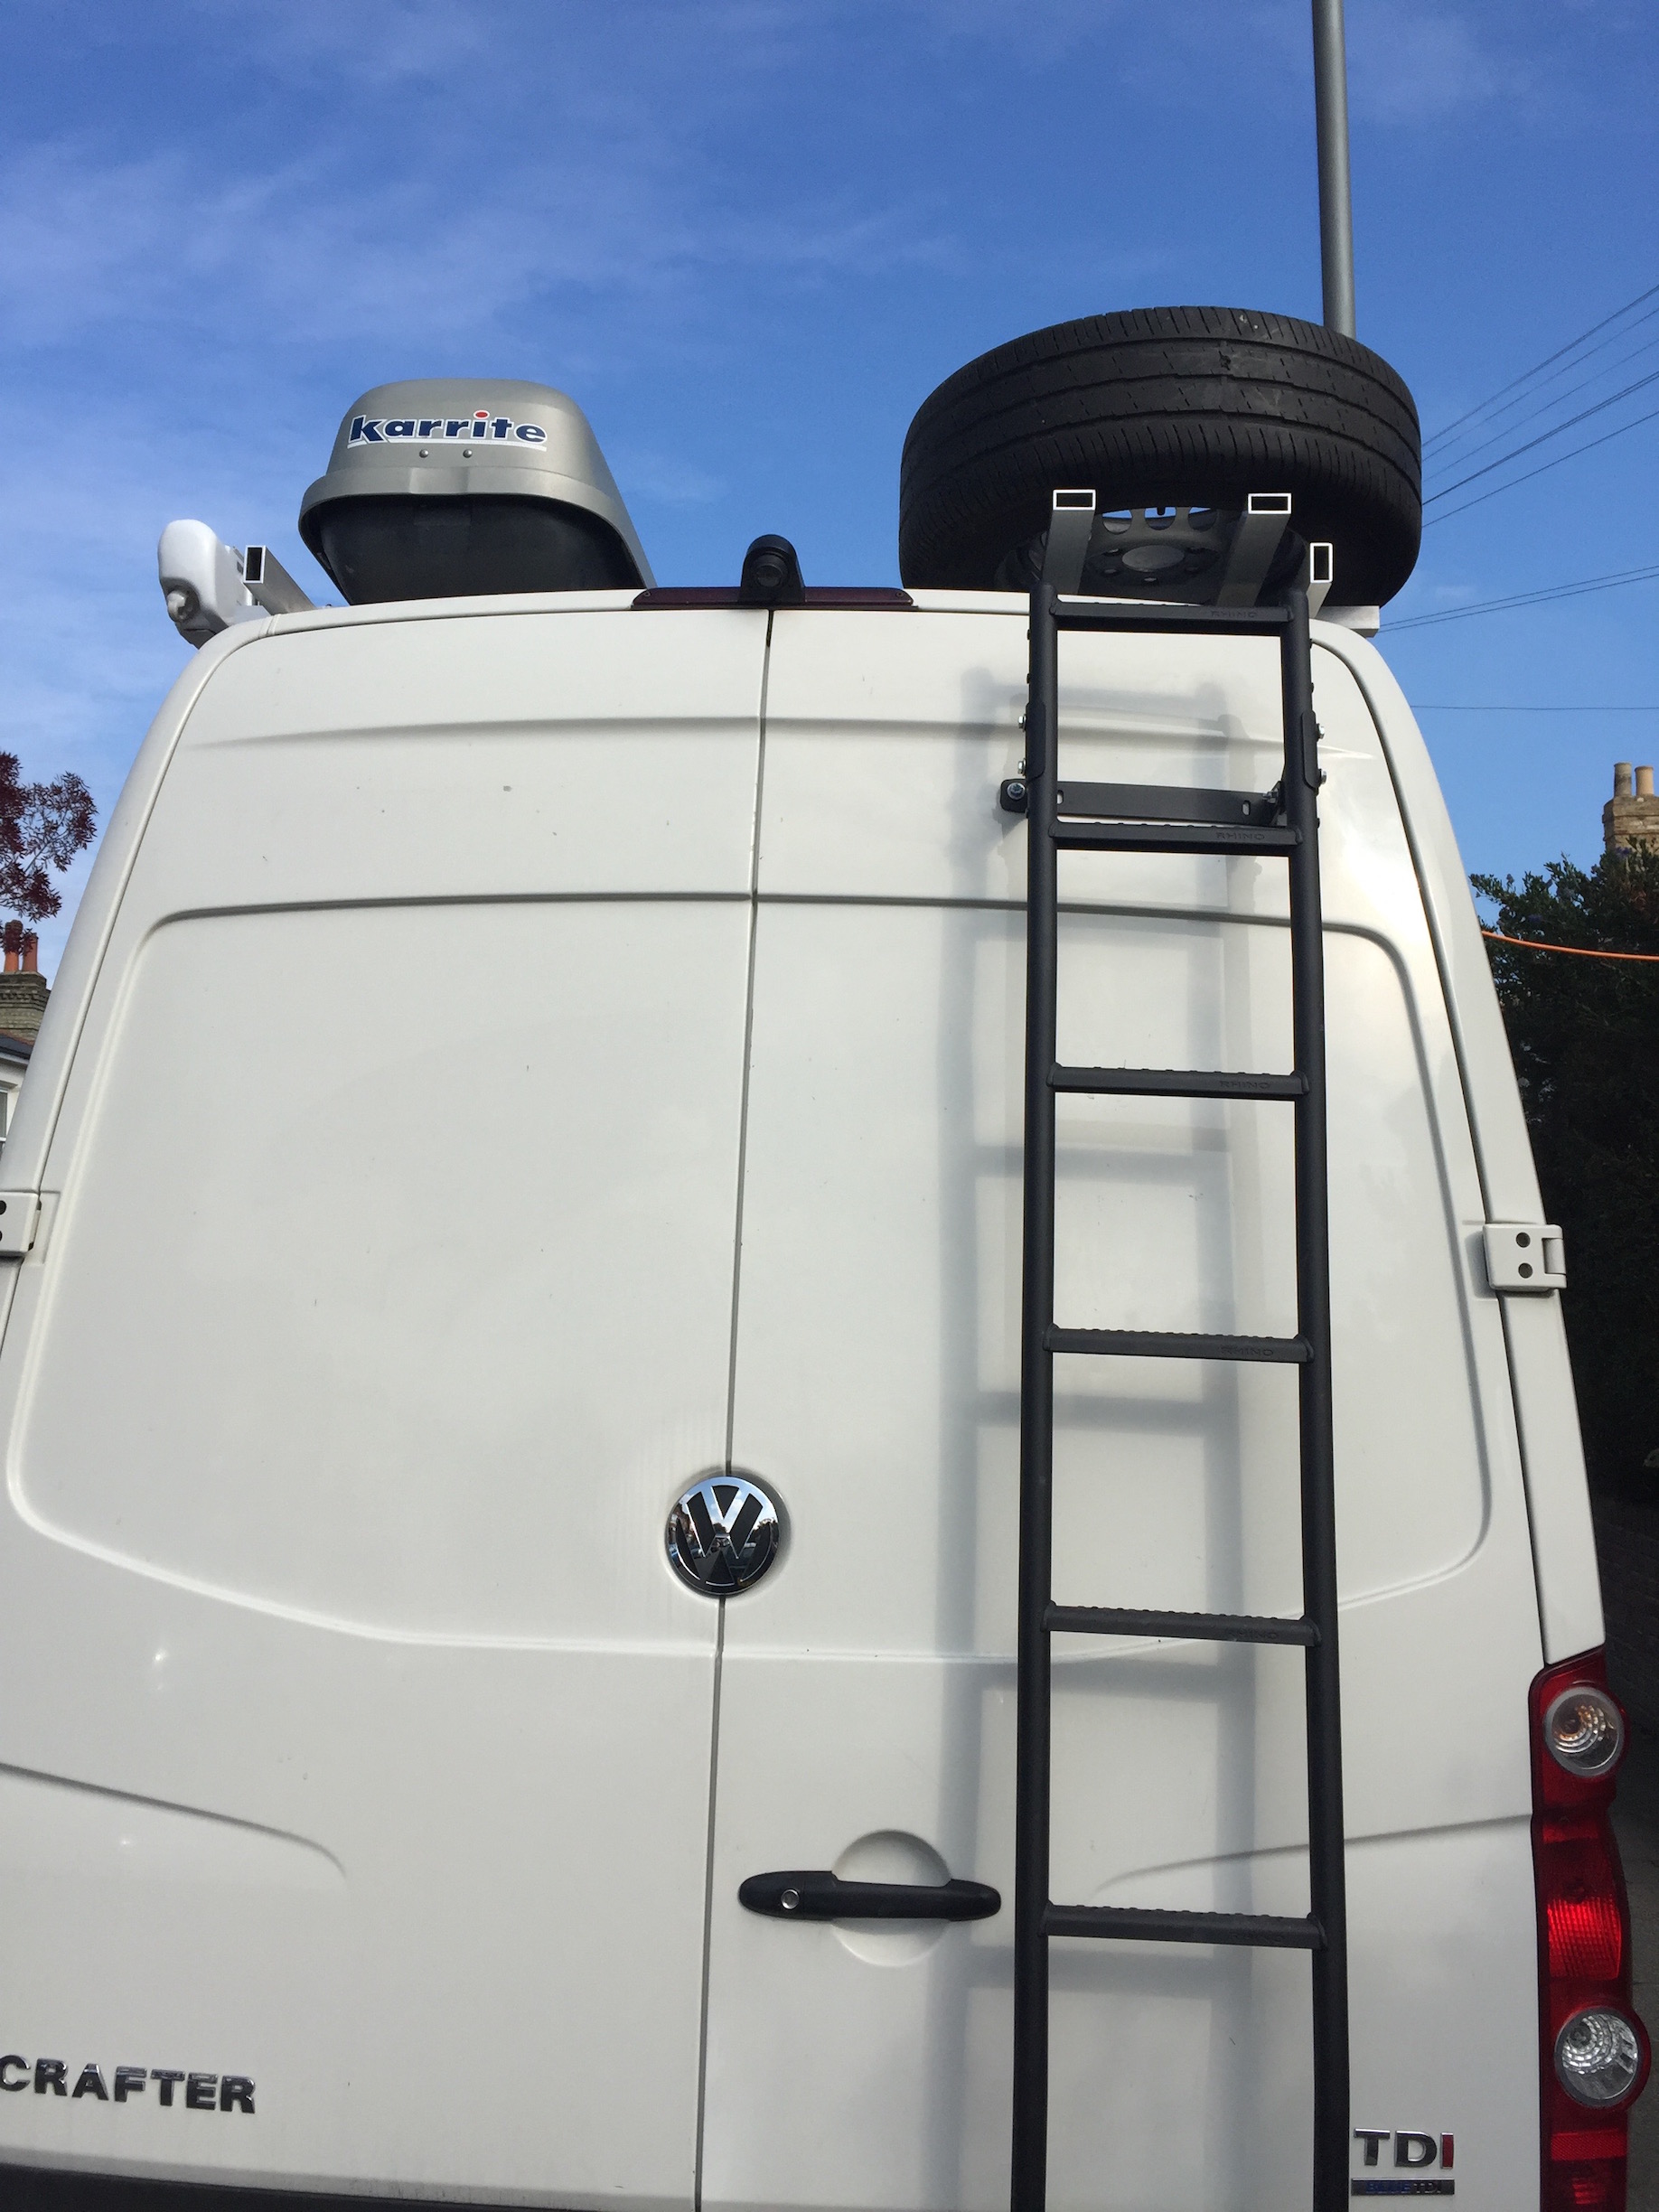

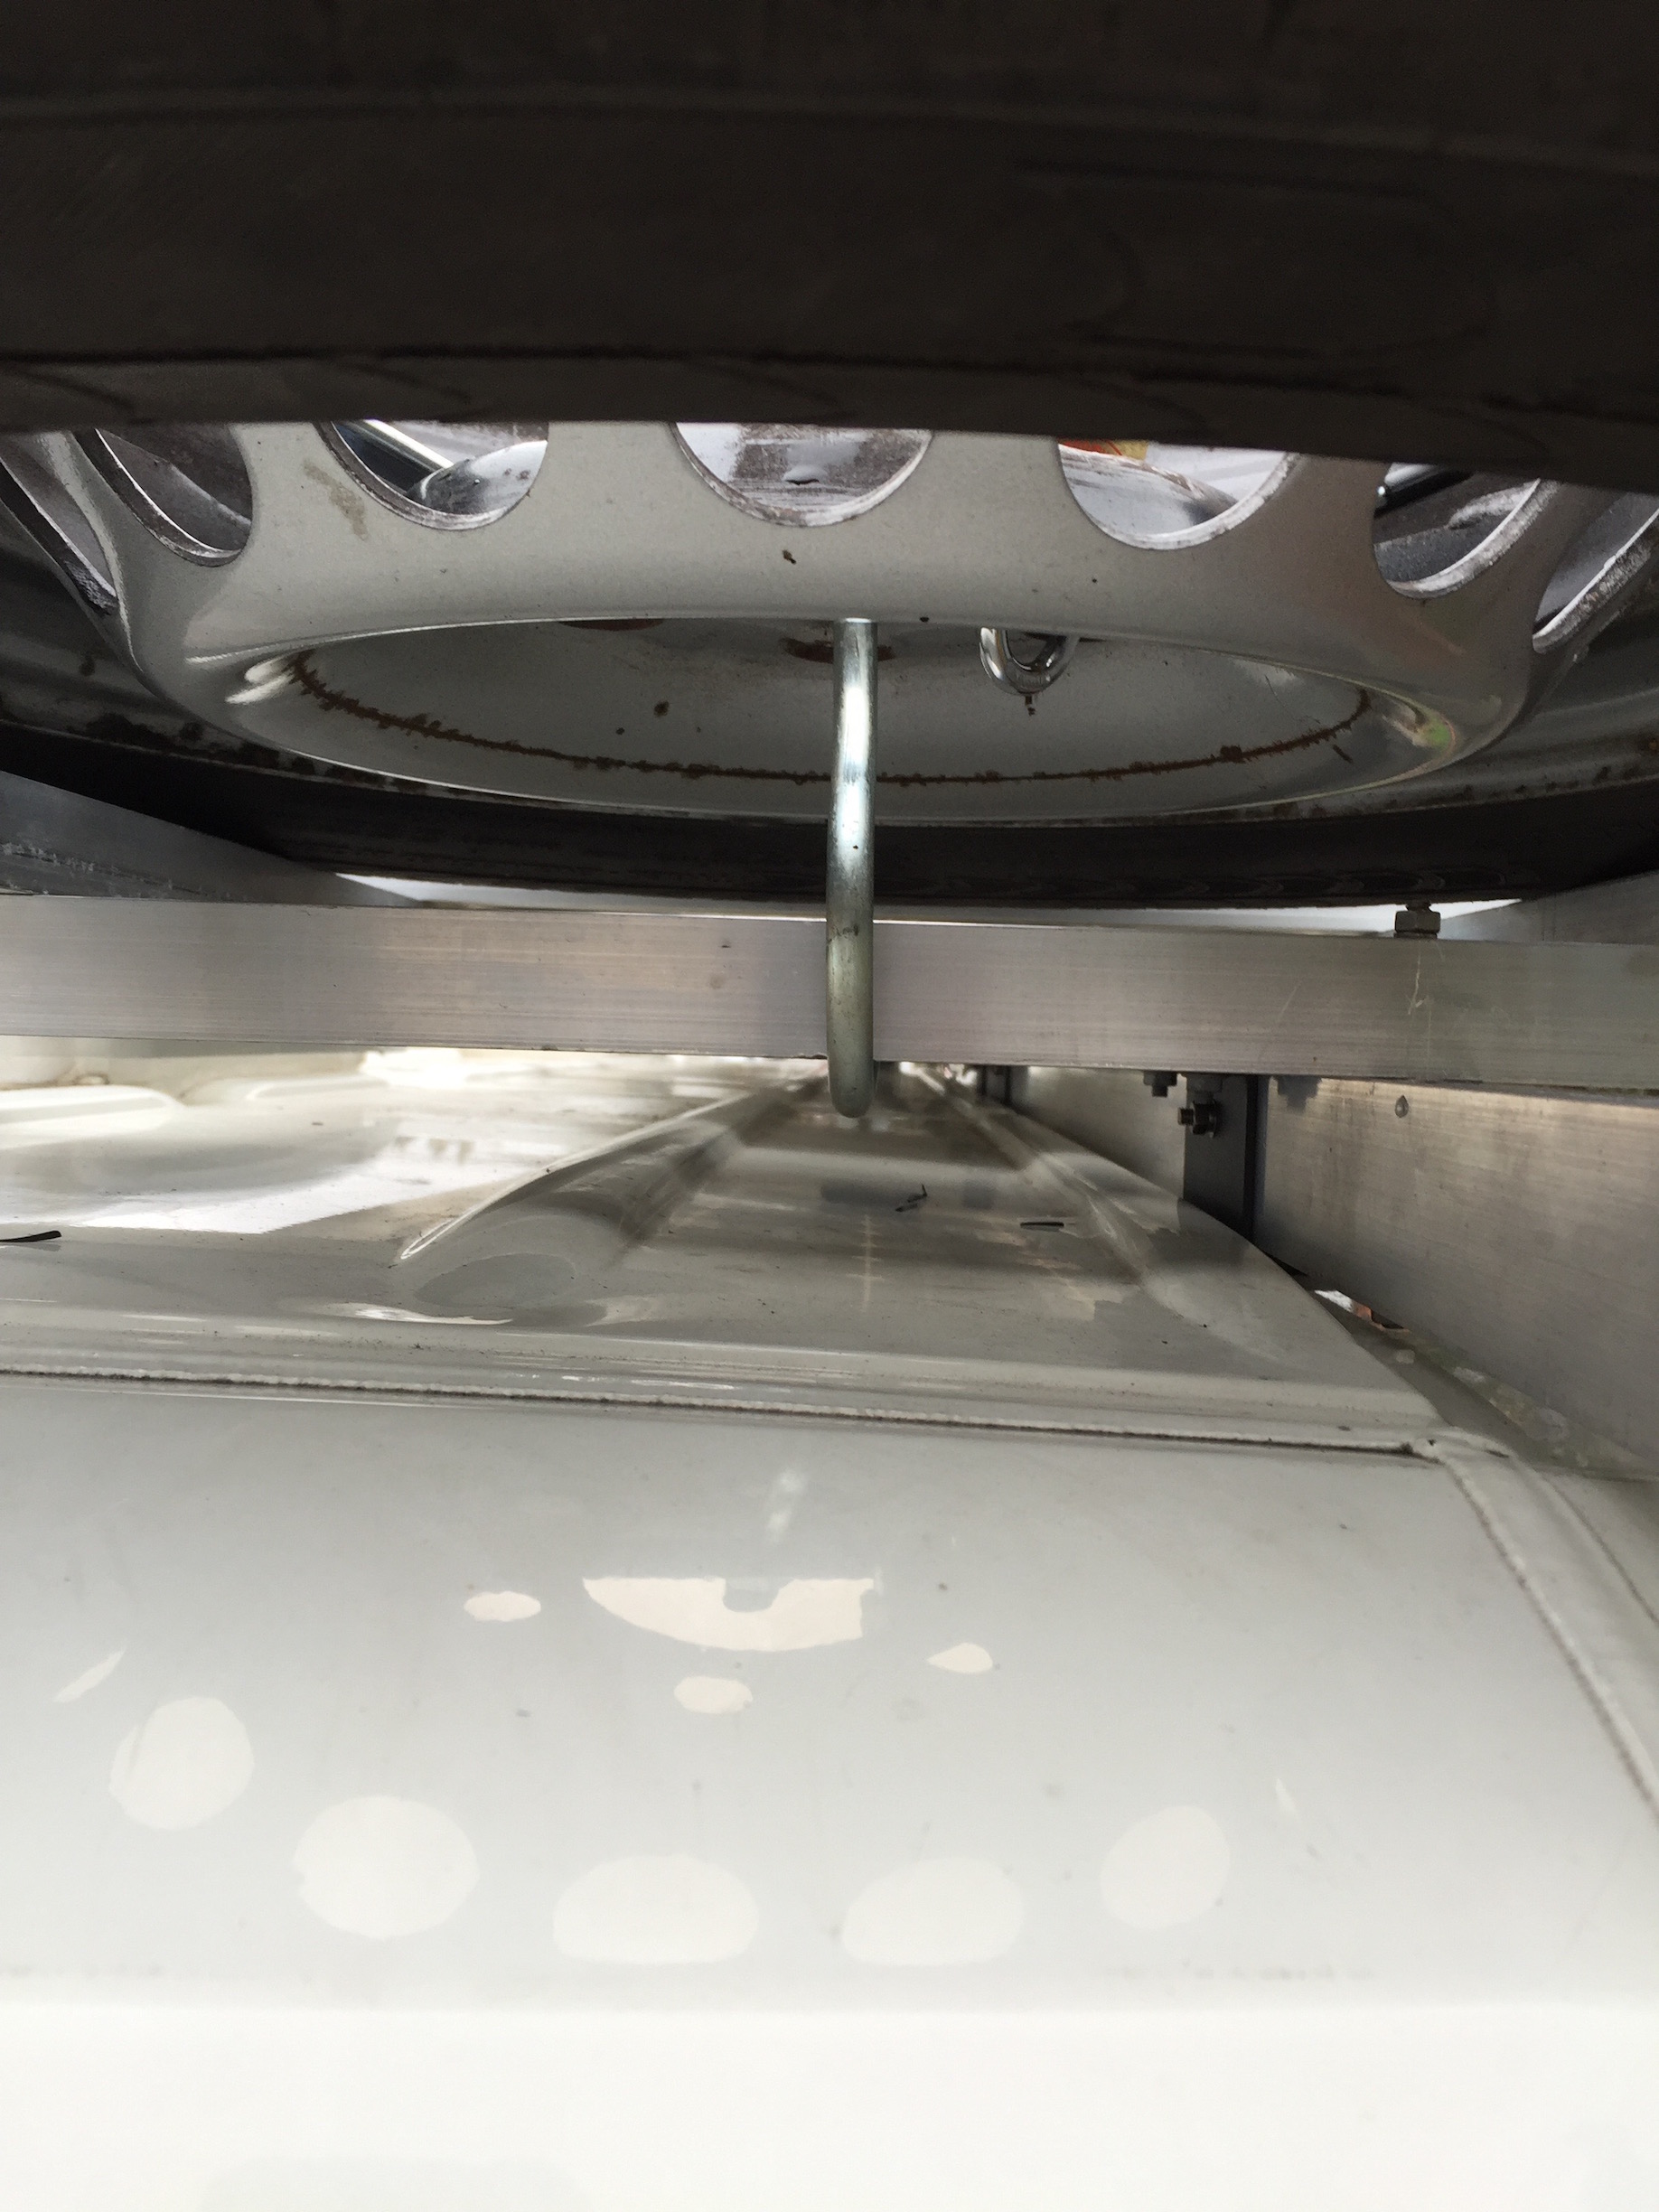
I had to adjust the width of the platform to accommodate the solar panels, so the finished set-up looks like this. I also hammered in plastic caps to the sides of the frame to stop water getting in there.
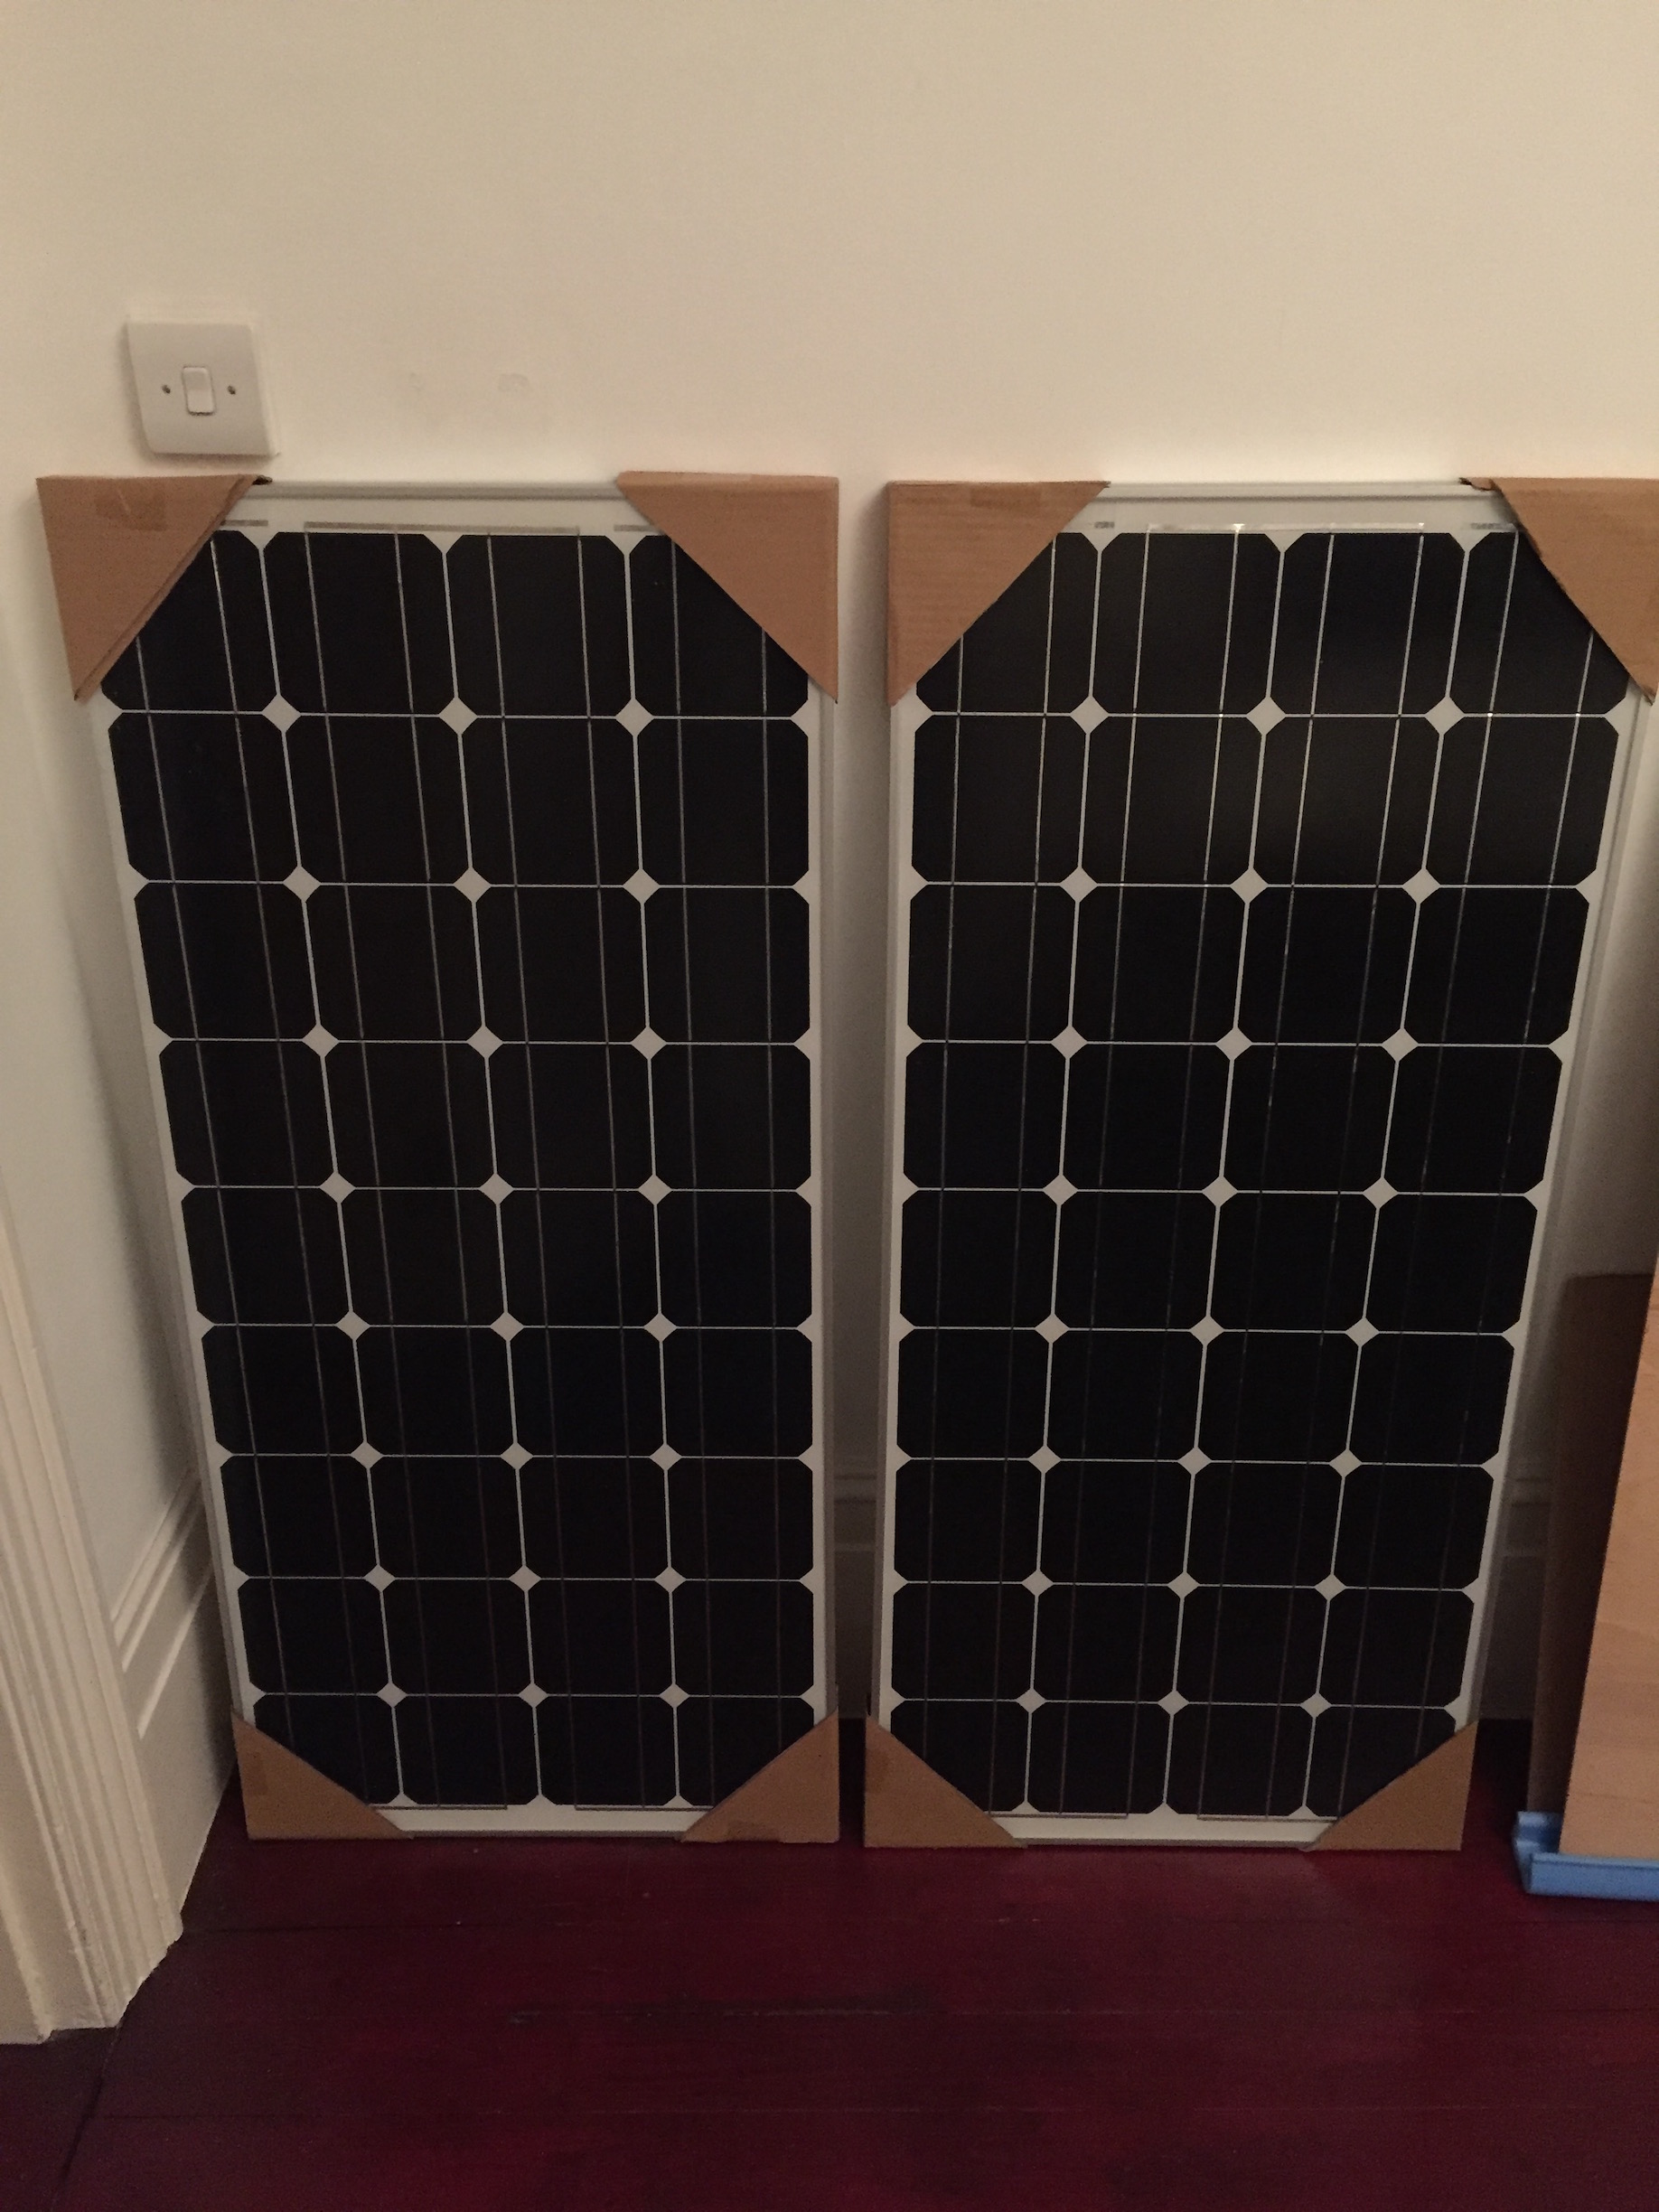
Solar Panels
I bought two 100W mono-crystalline solar panels from The Friendly Green Store eBay shop as well as some MC4 connectors.
I also got some 12.5mm x 12.5mm x 1.5mm aluminium angle from Metals4U to fasten the panels to my roof harness.
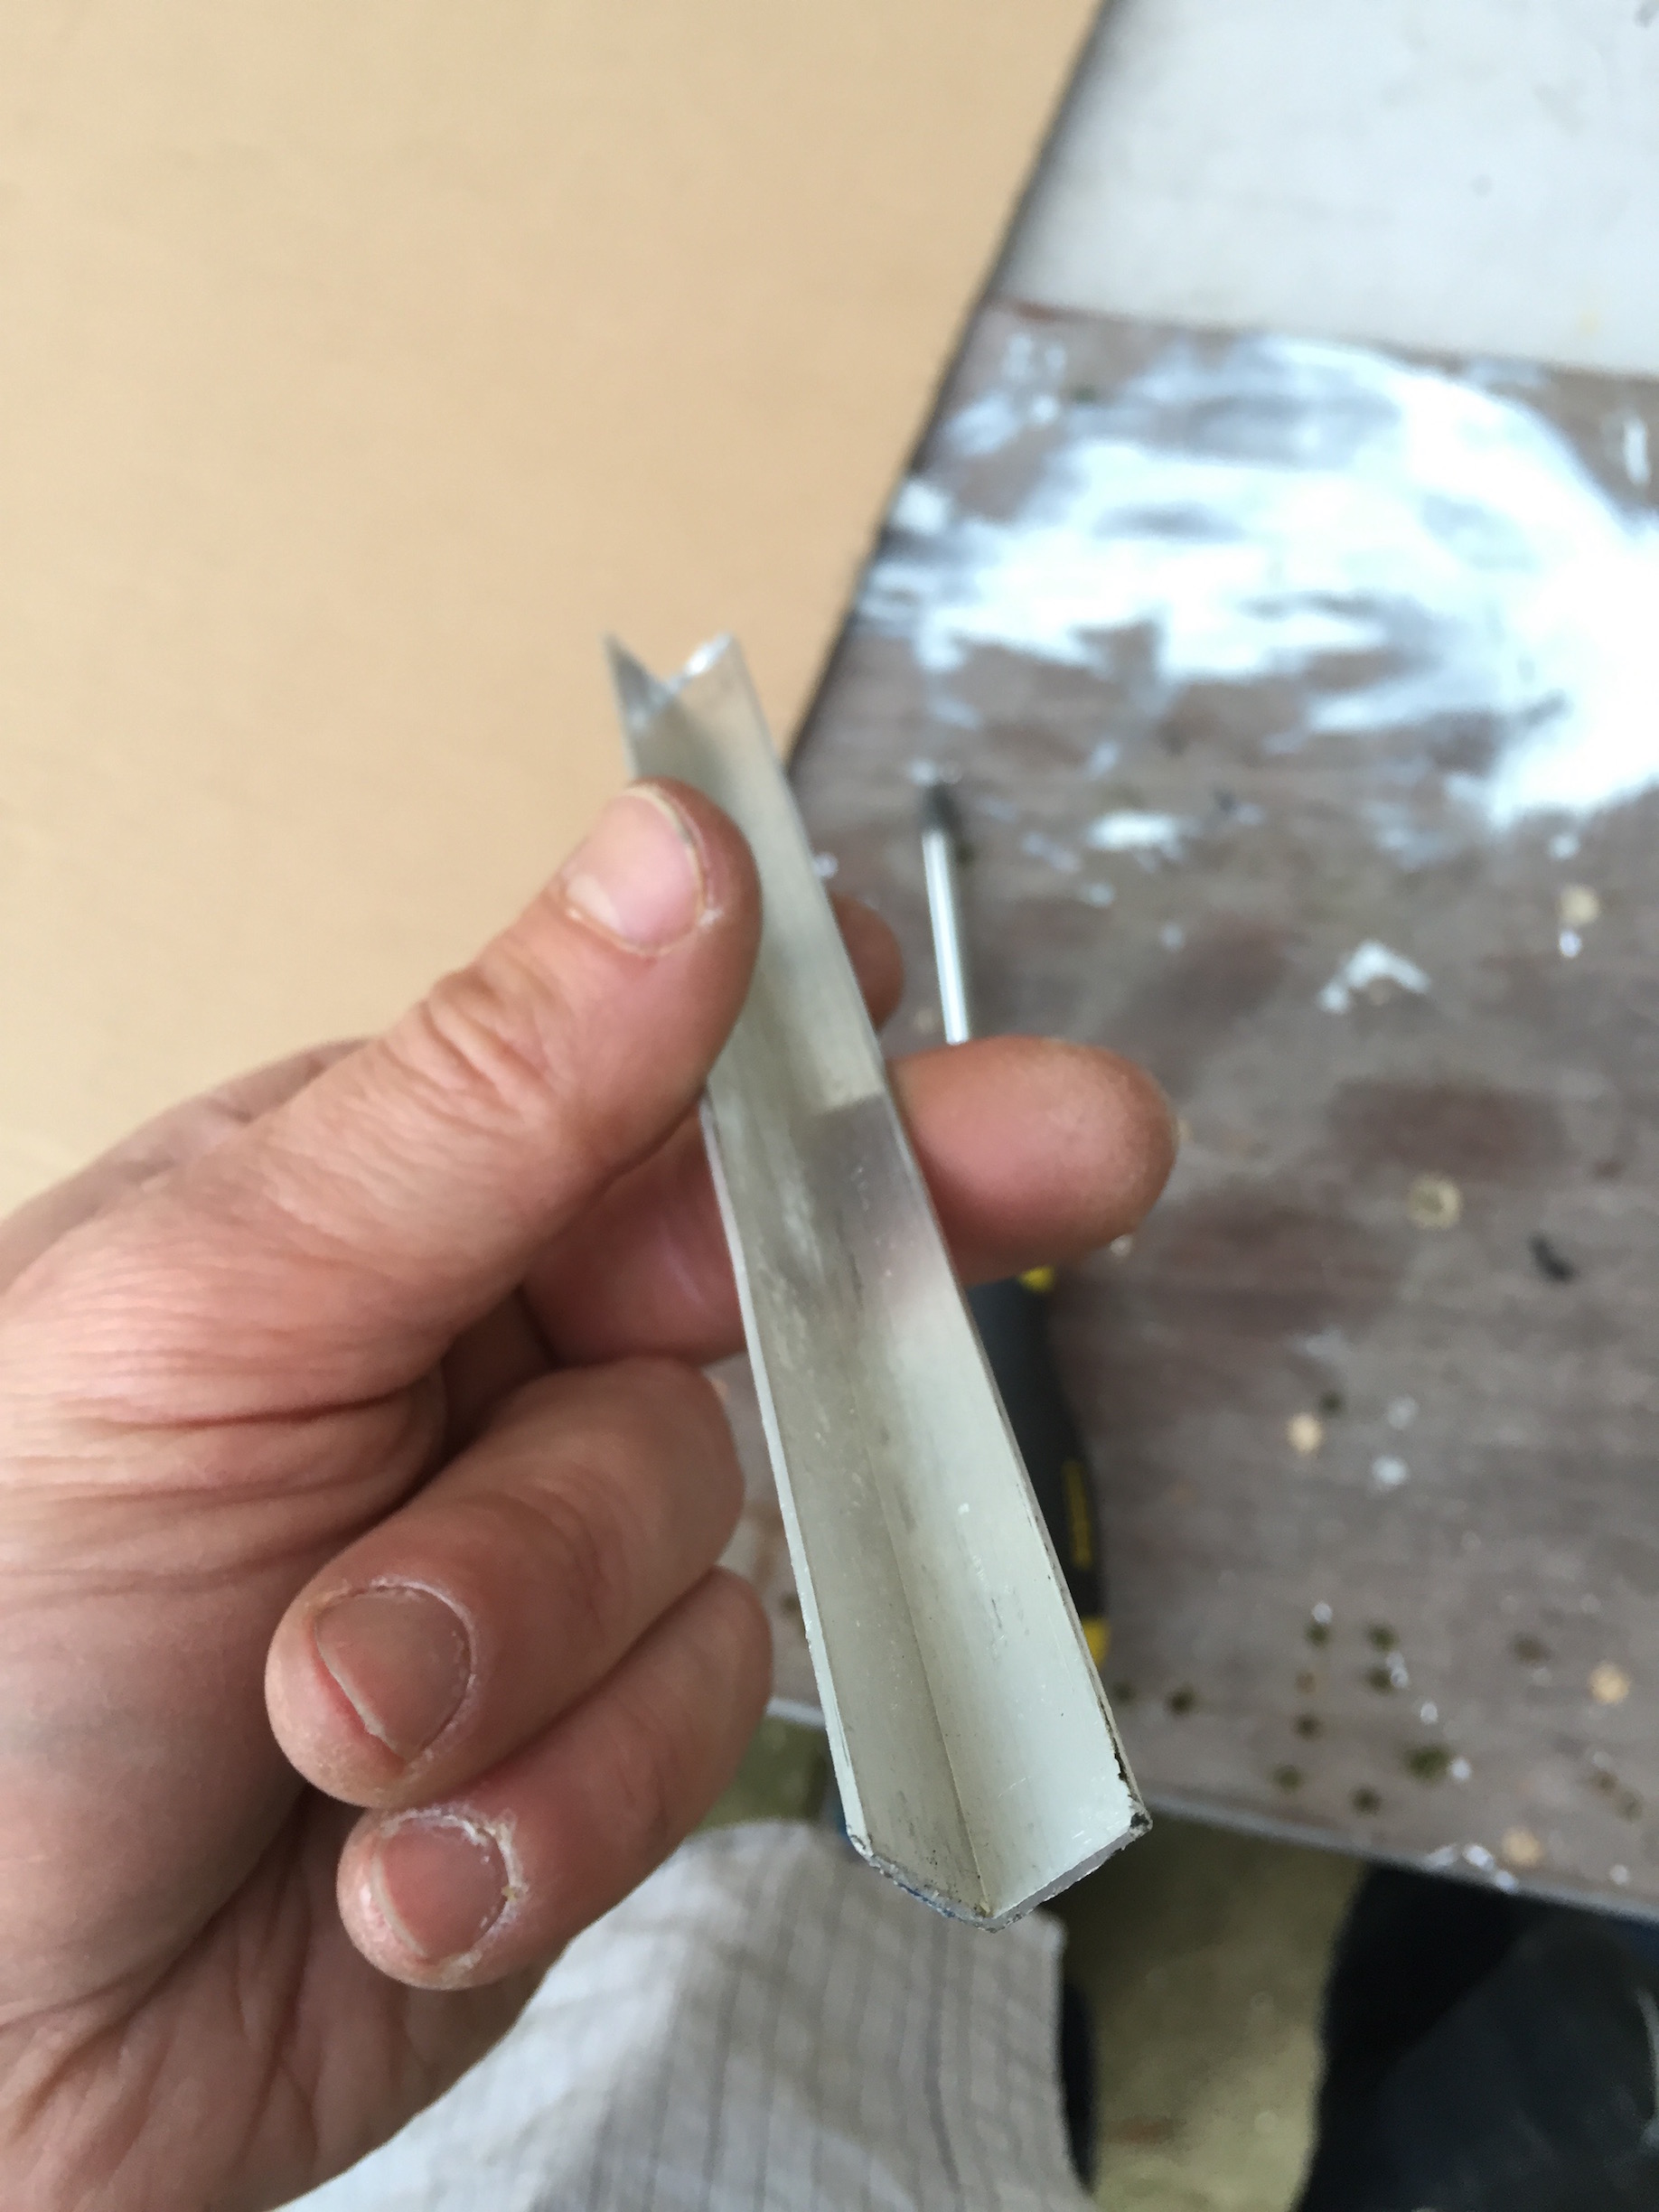
Using M6 stainless steel button head bolts, spring washers and nuts, I attached the angle to the under side of the panel frames on each side and secured them to the box section using the same M6 bolts, by tapping an M6 tread first.
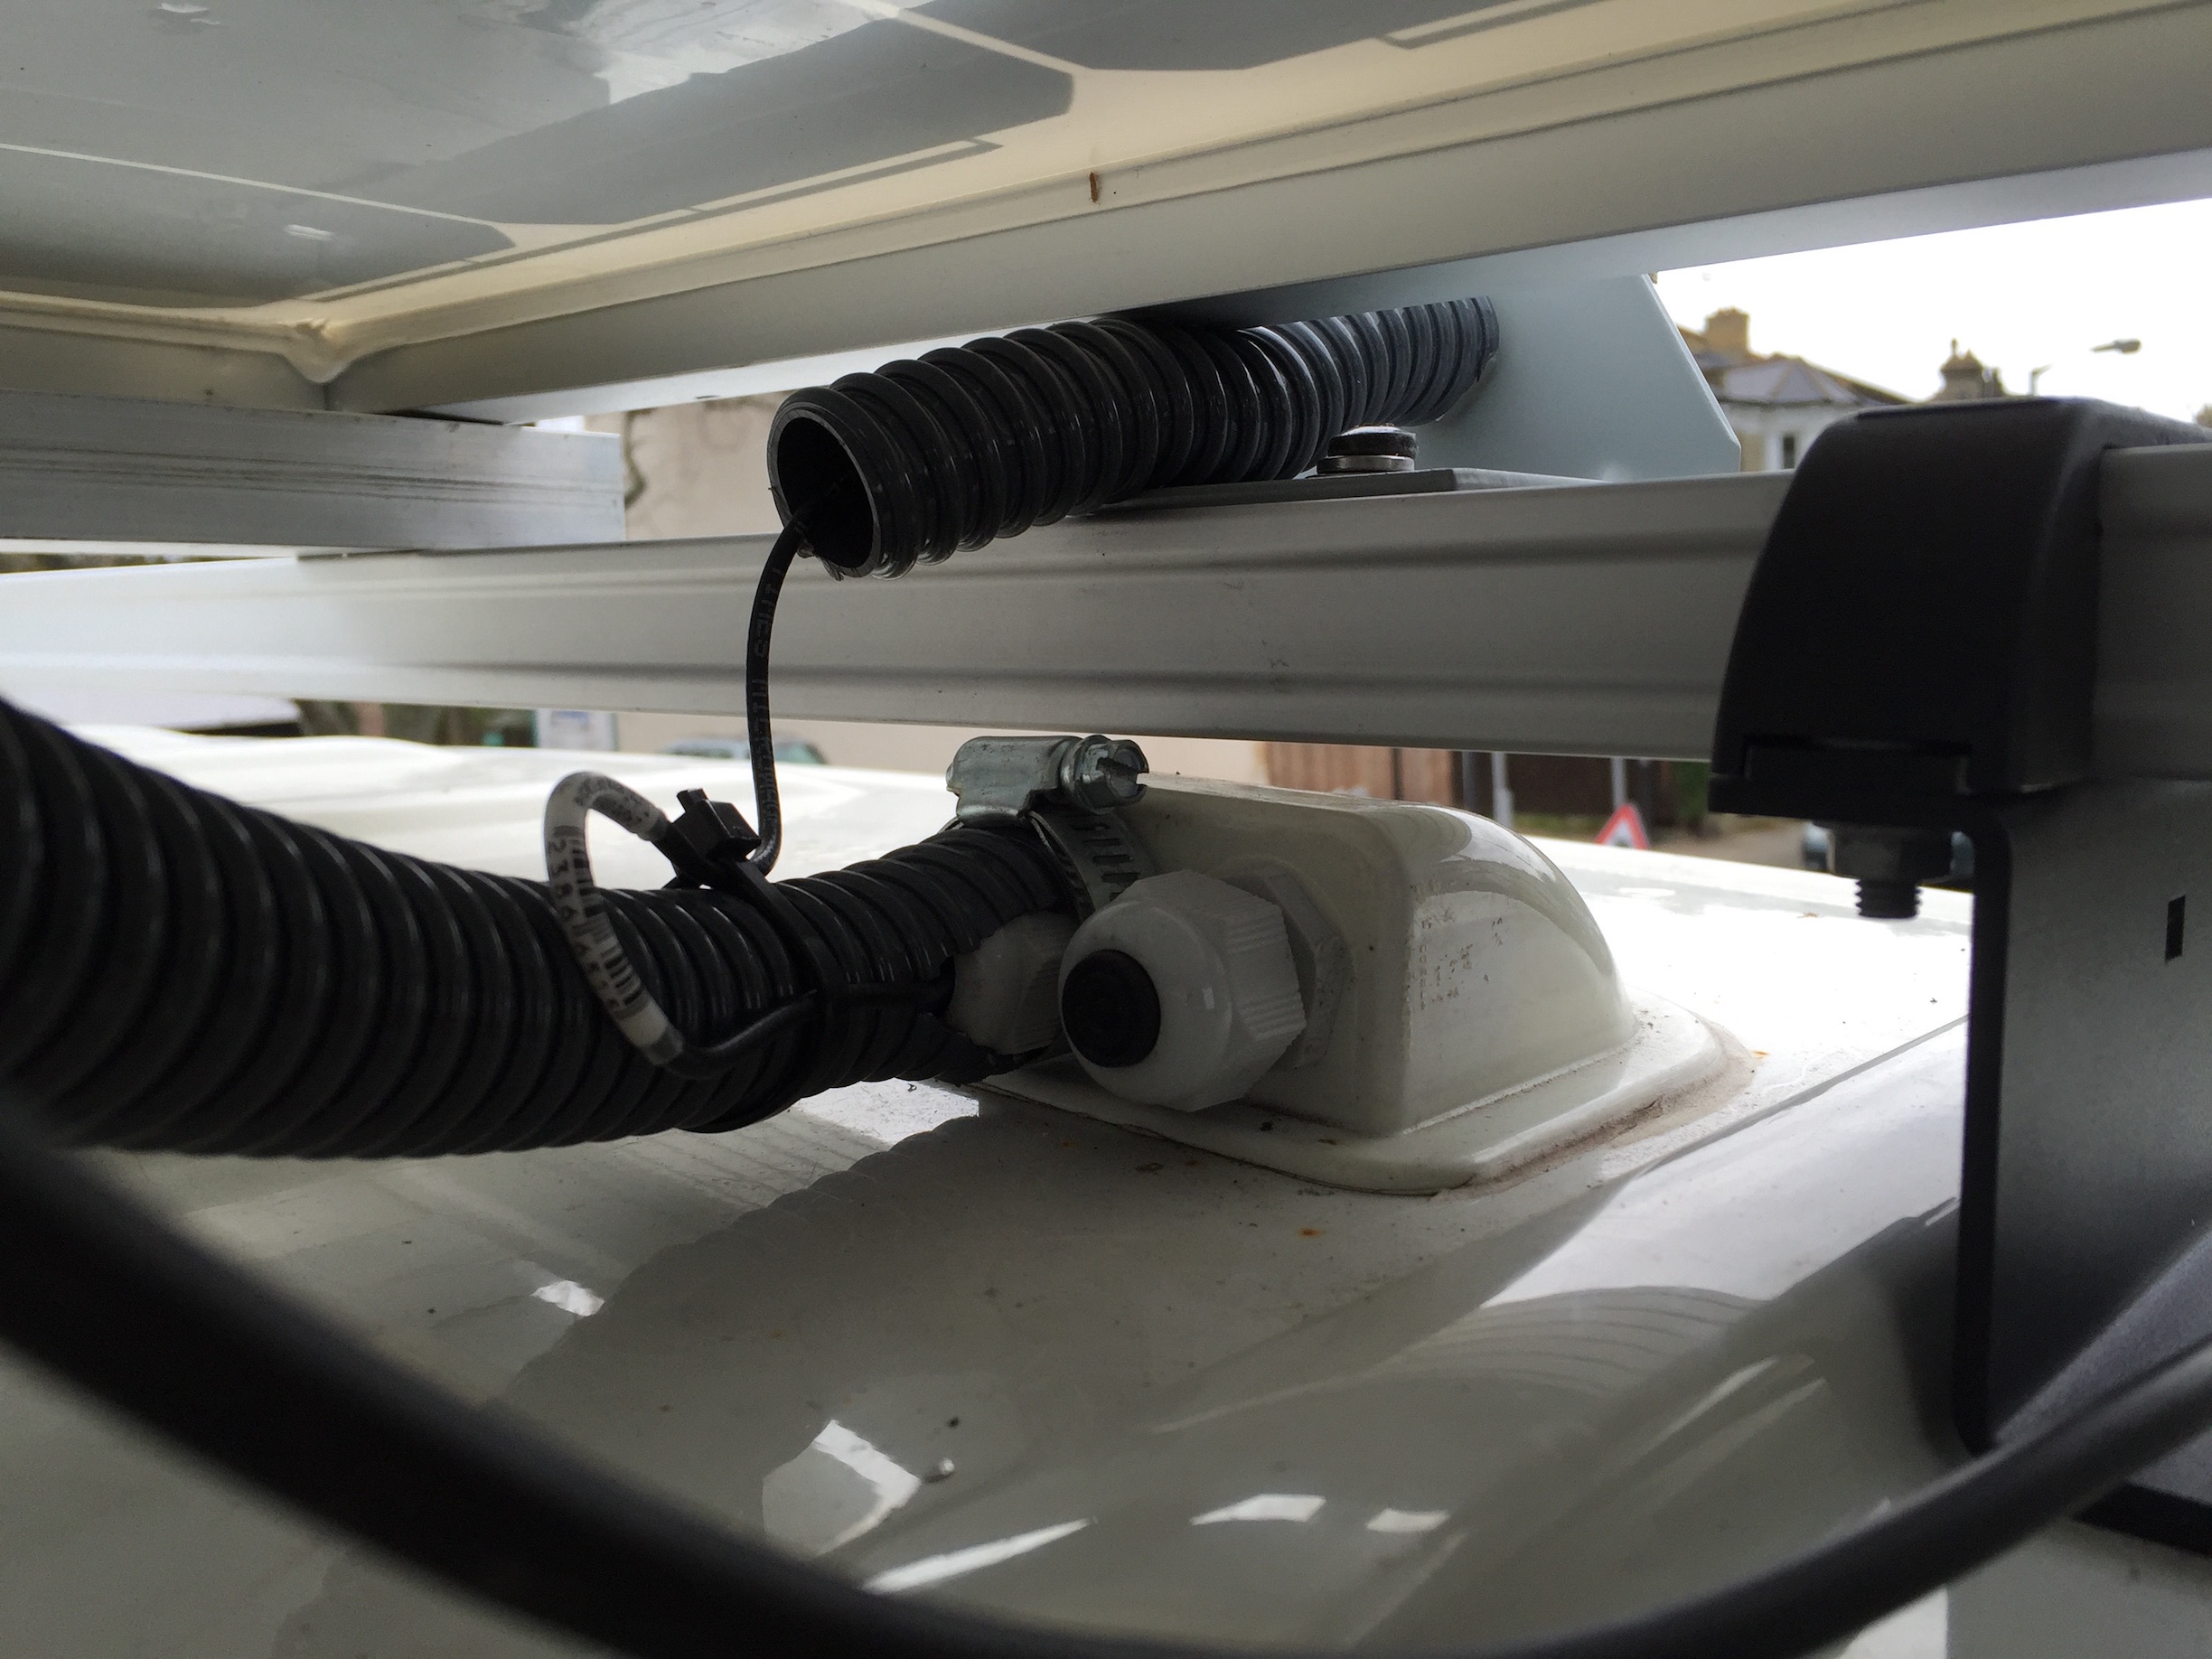
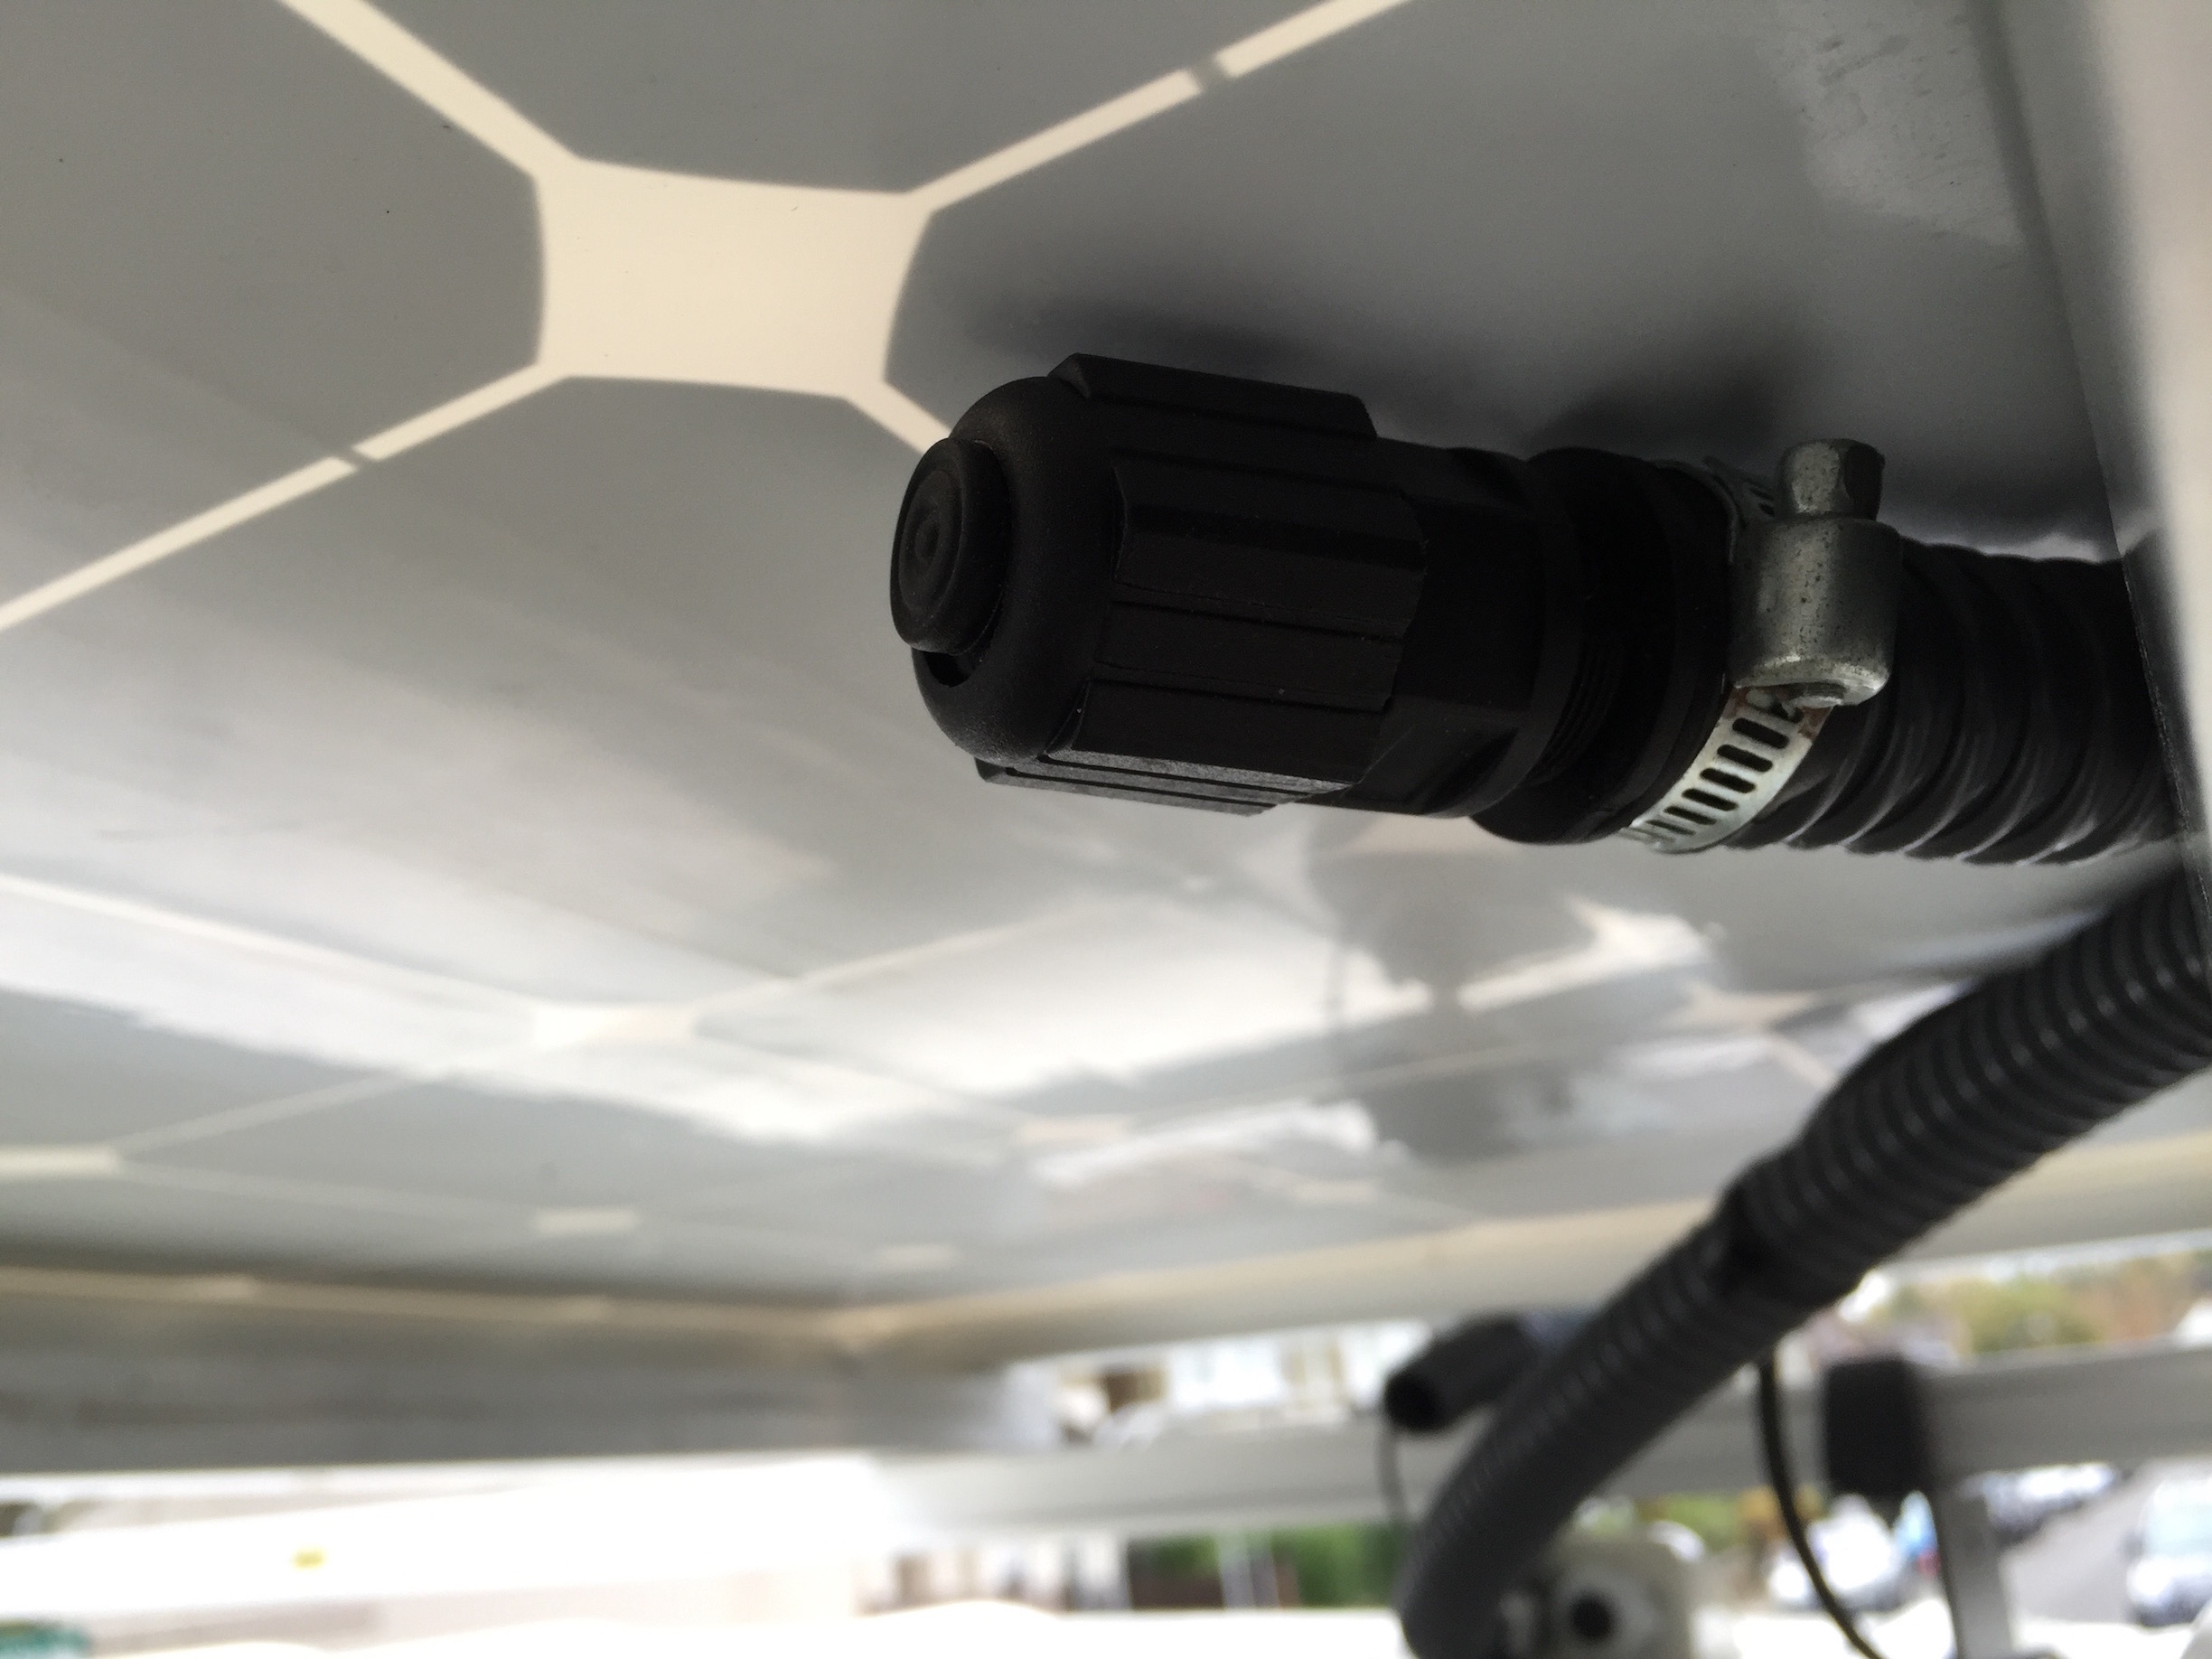
I fed the 10mm2 PV+ solar cable through the roof gland, to the solar charge controller under the bed and terminated the ground cable on the chassis. I used left over waste water hose to run the cables under the solar panels and tucked them into spots between the PV panel frames and the box section.
I naturally fed the wrong end f the PV cable to the roof, by wrongly assuming the
+tamped on it meant it was for the positive side. I ended up having to chop the connectors off on each end and swap them around. Obviously, a quick glance at the connectors would have avoided this unpleasantness..
I made provisions for an Ethernet socket on the roof, with a view to potentially running a Sat modem later on and not having to deal with coax cables longer than necessary. I got the cable gland from eBay (Hong Kong) and adapted it using a short length of grey waste water hose off a Y hose adapter to split off the main line with the PV cable.
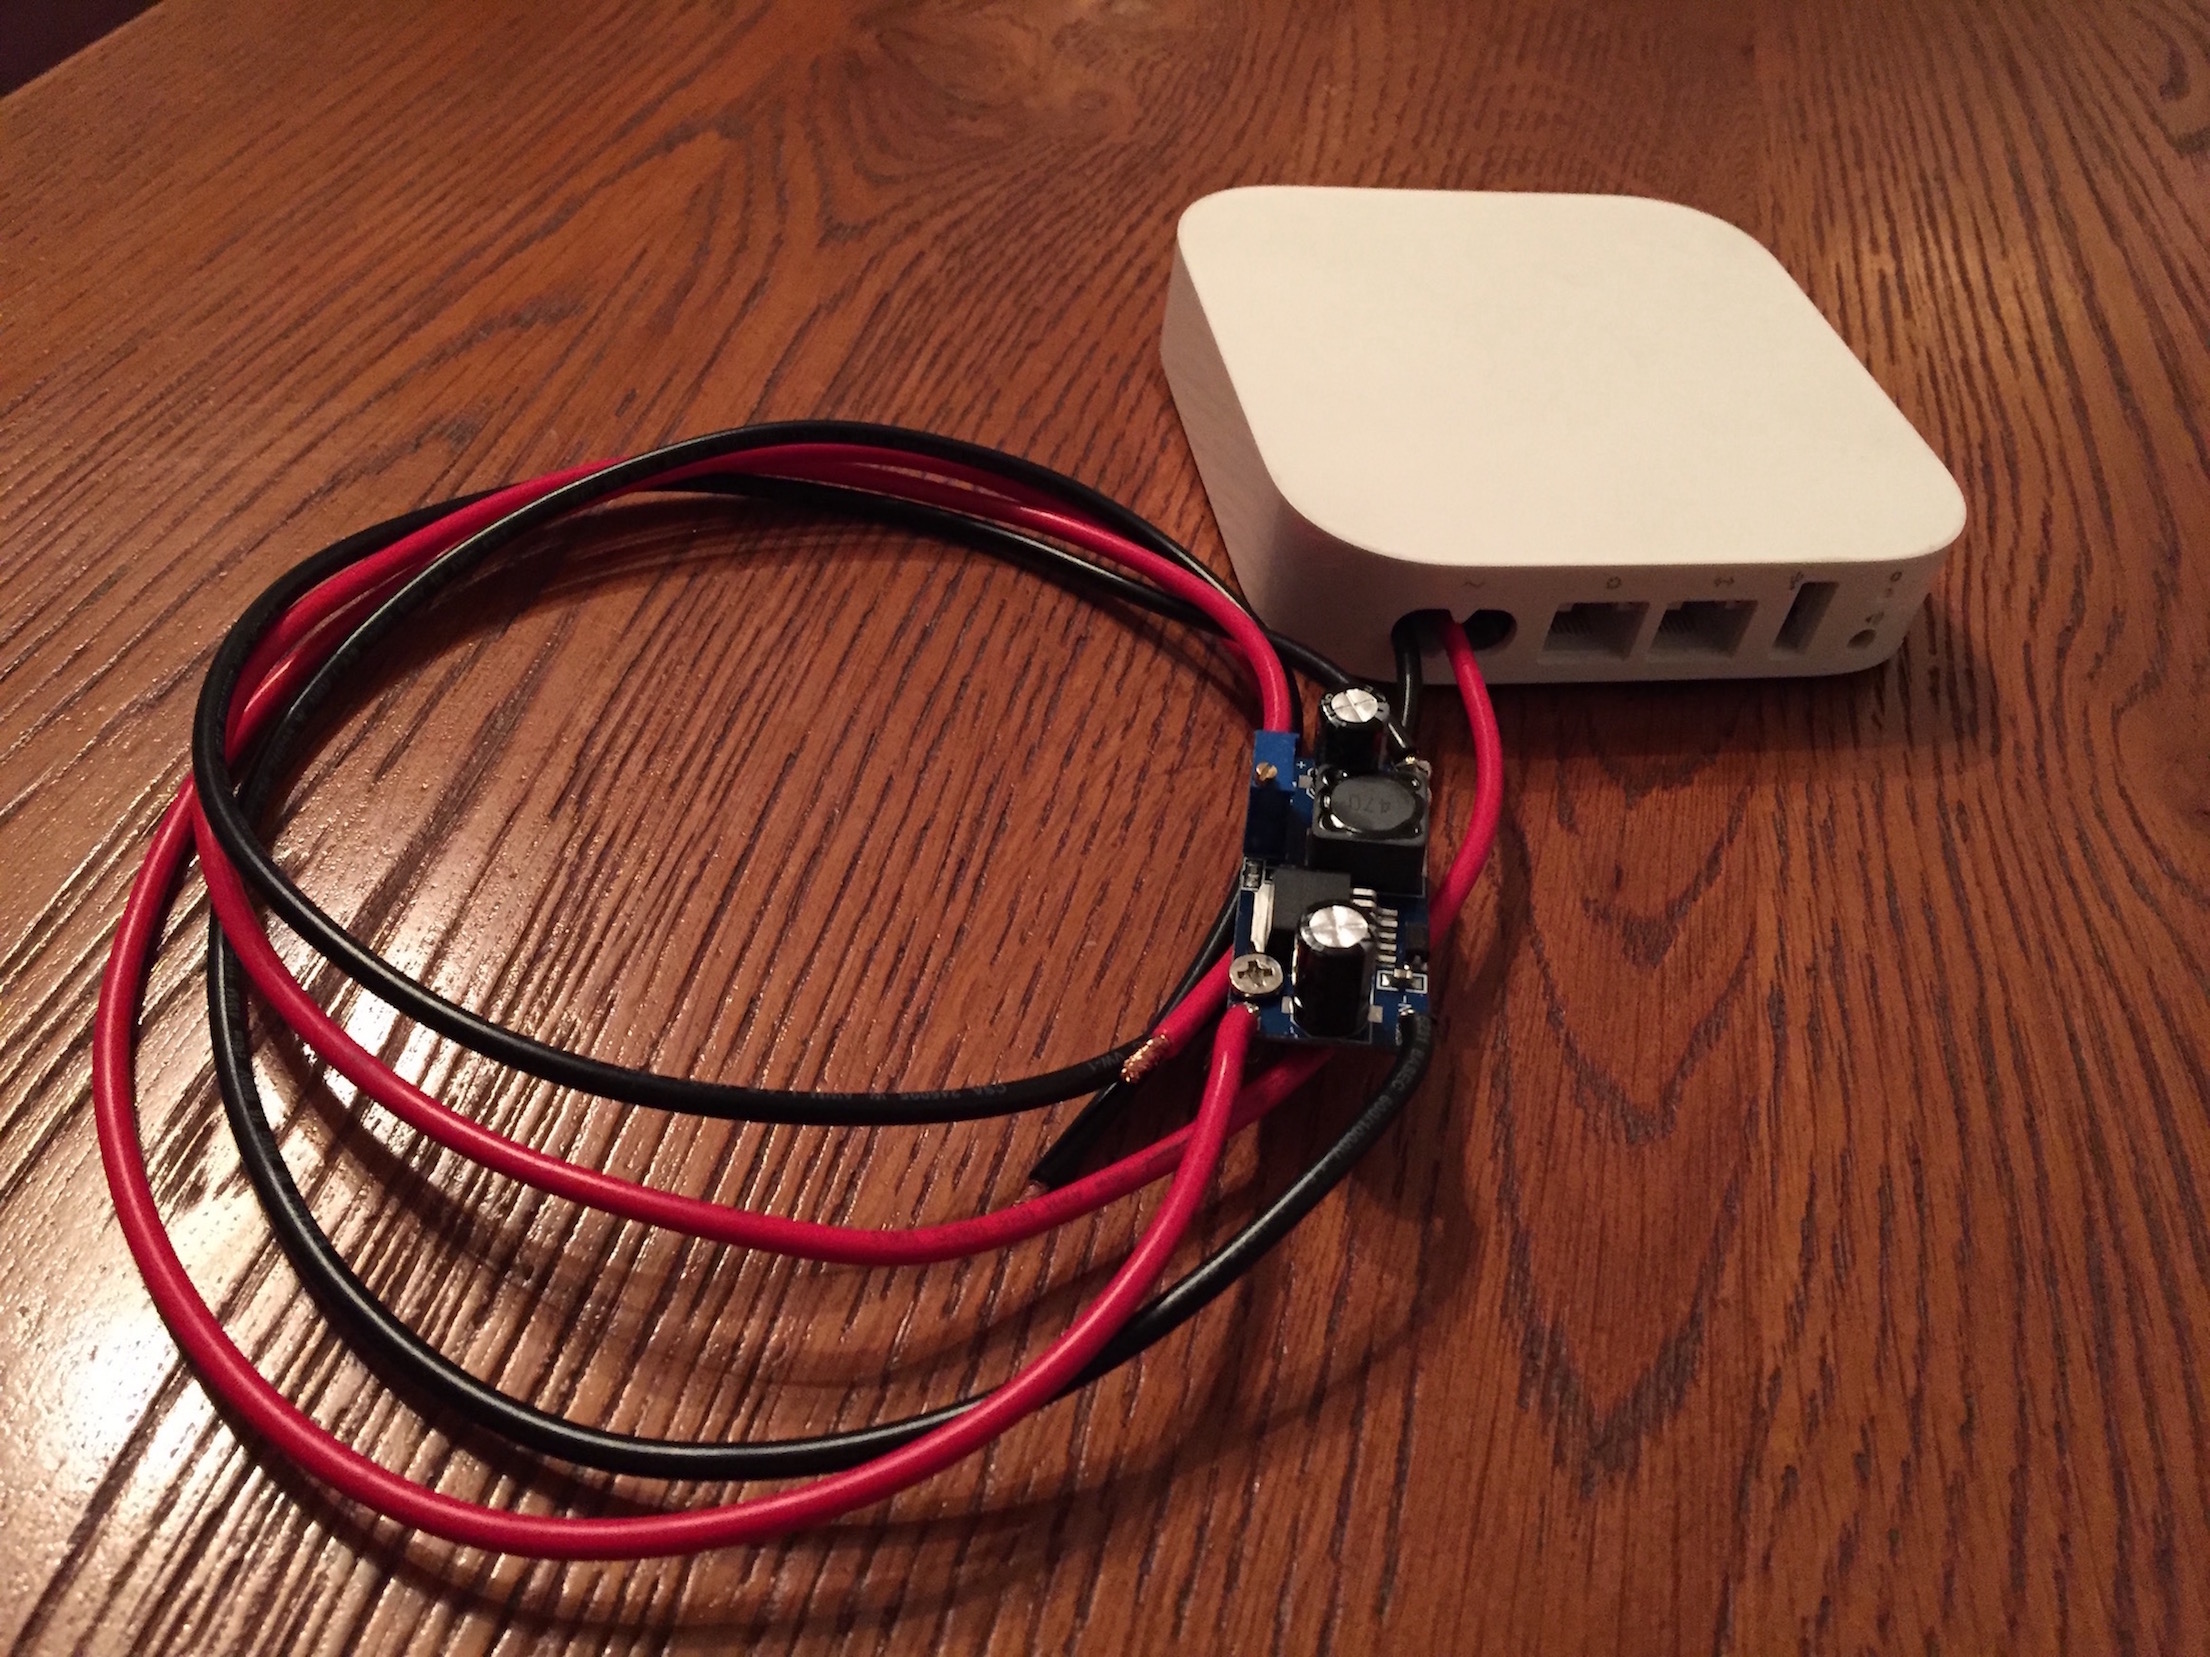
Wi-Fi
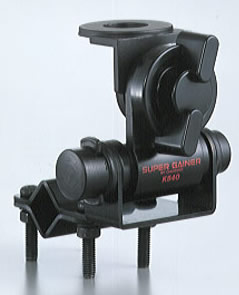
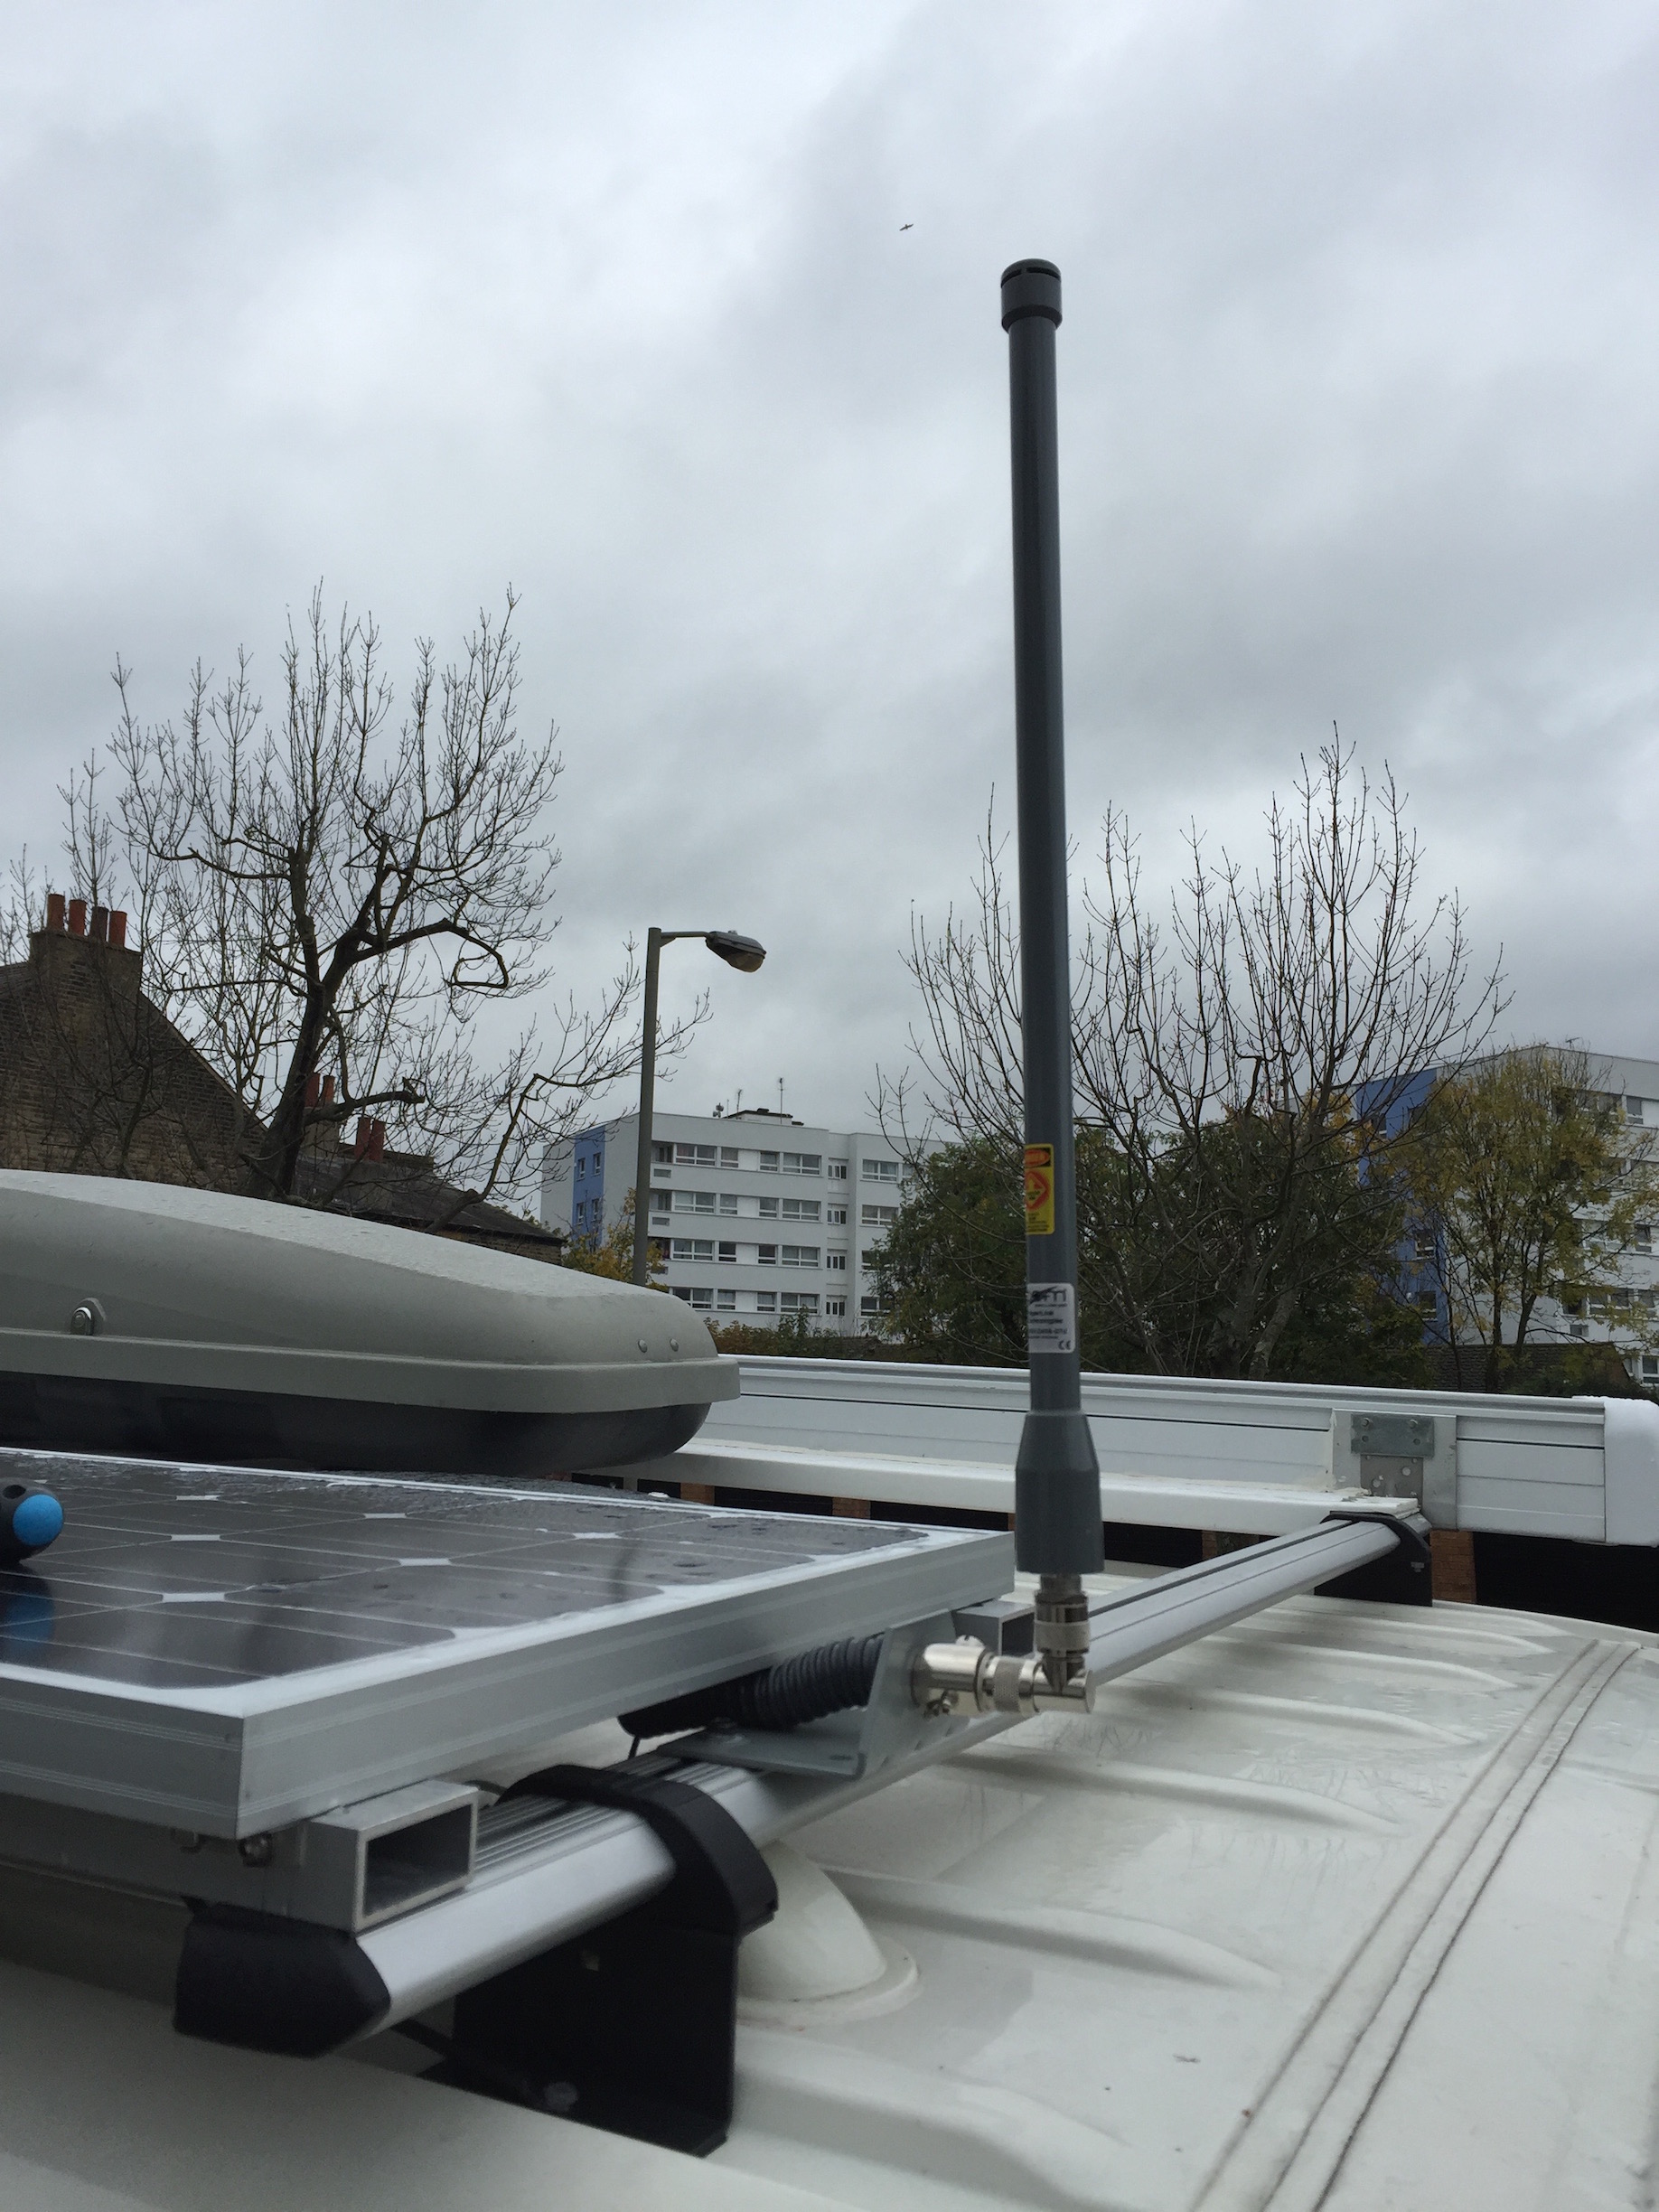
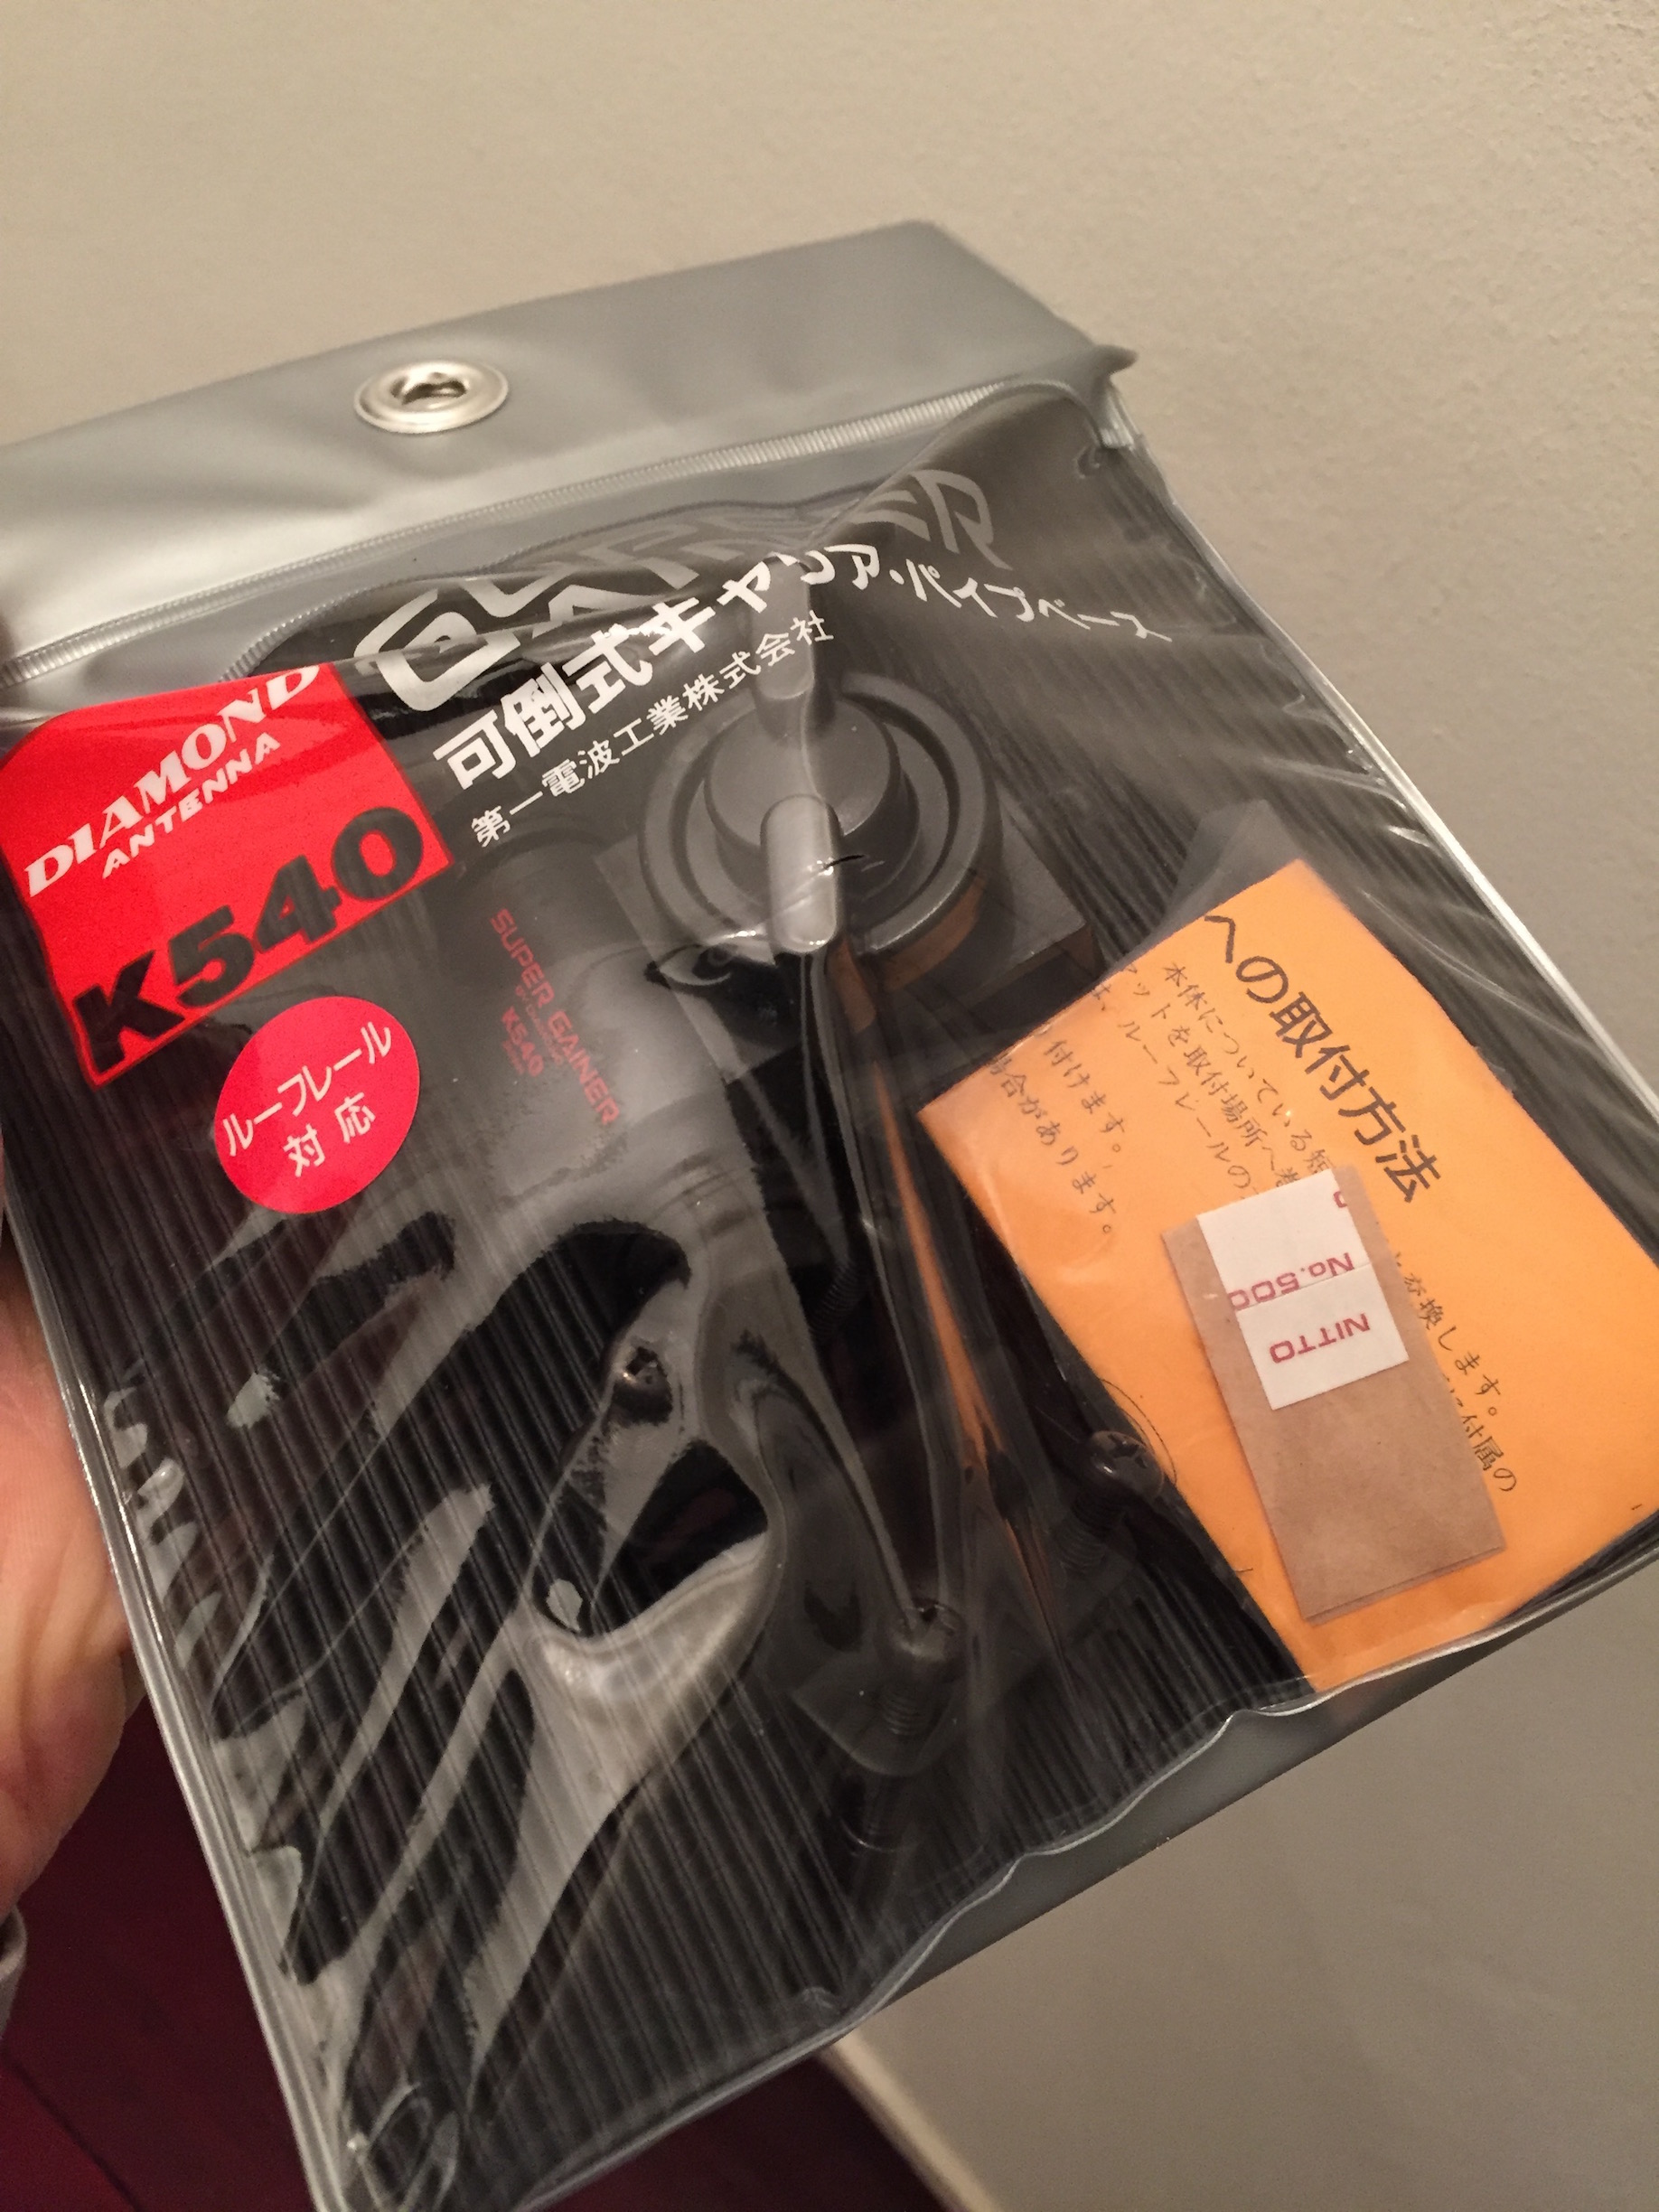
I got an omni-directional 2.4/5.8GHz 7dBi Wi-Fi antenna (HGV-2458-07U) with N-Type female socket from ITM Components, which came with mast mounting bracket and U-Bolts. I was originally planning to use a Diamond K-540 mount, but it turned out that the lightning arrestor would not fit it any way. A it of a shame really, because with this mount the antenna can be simply folded down.
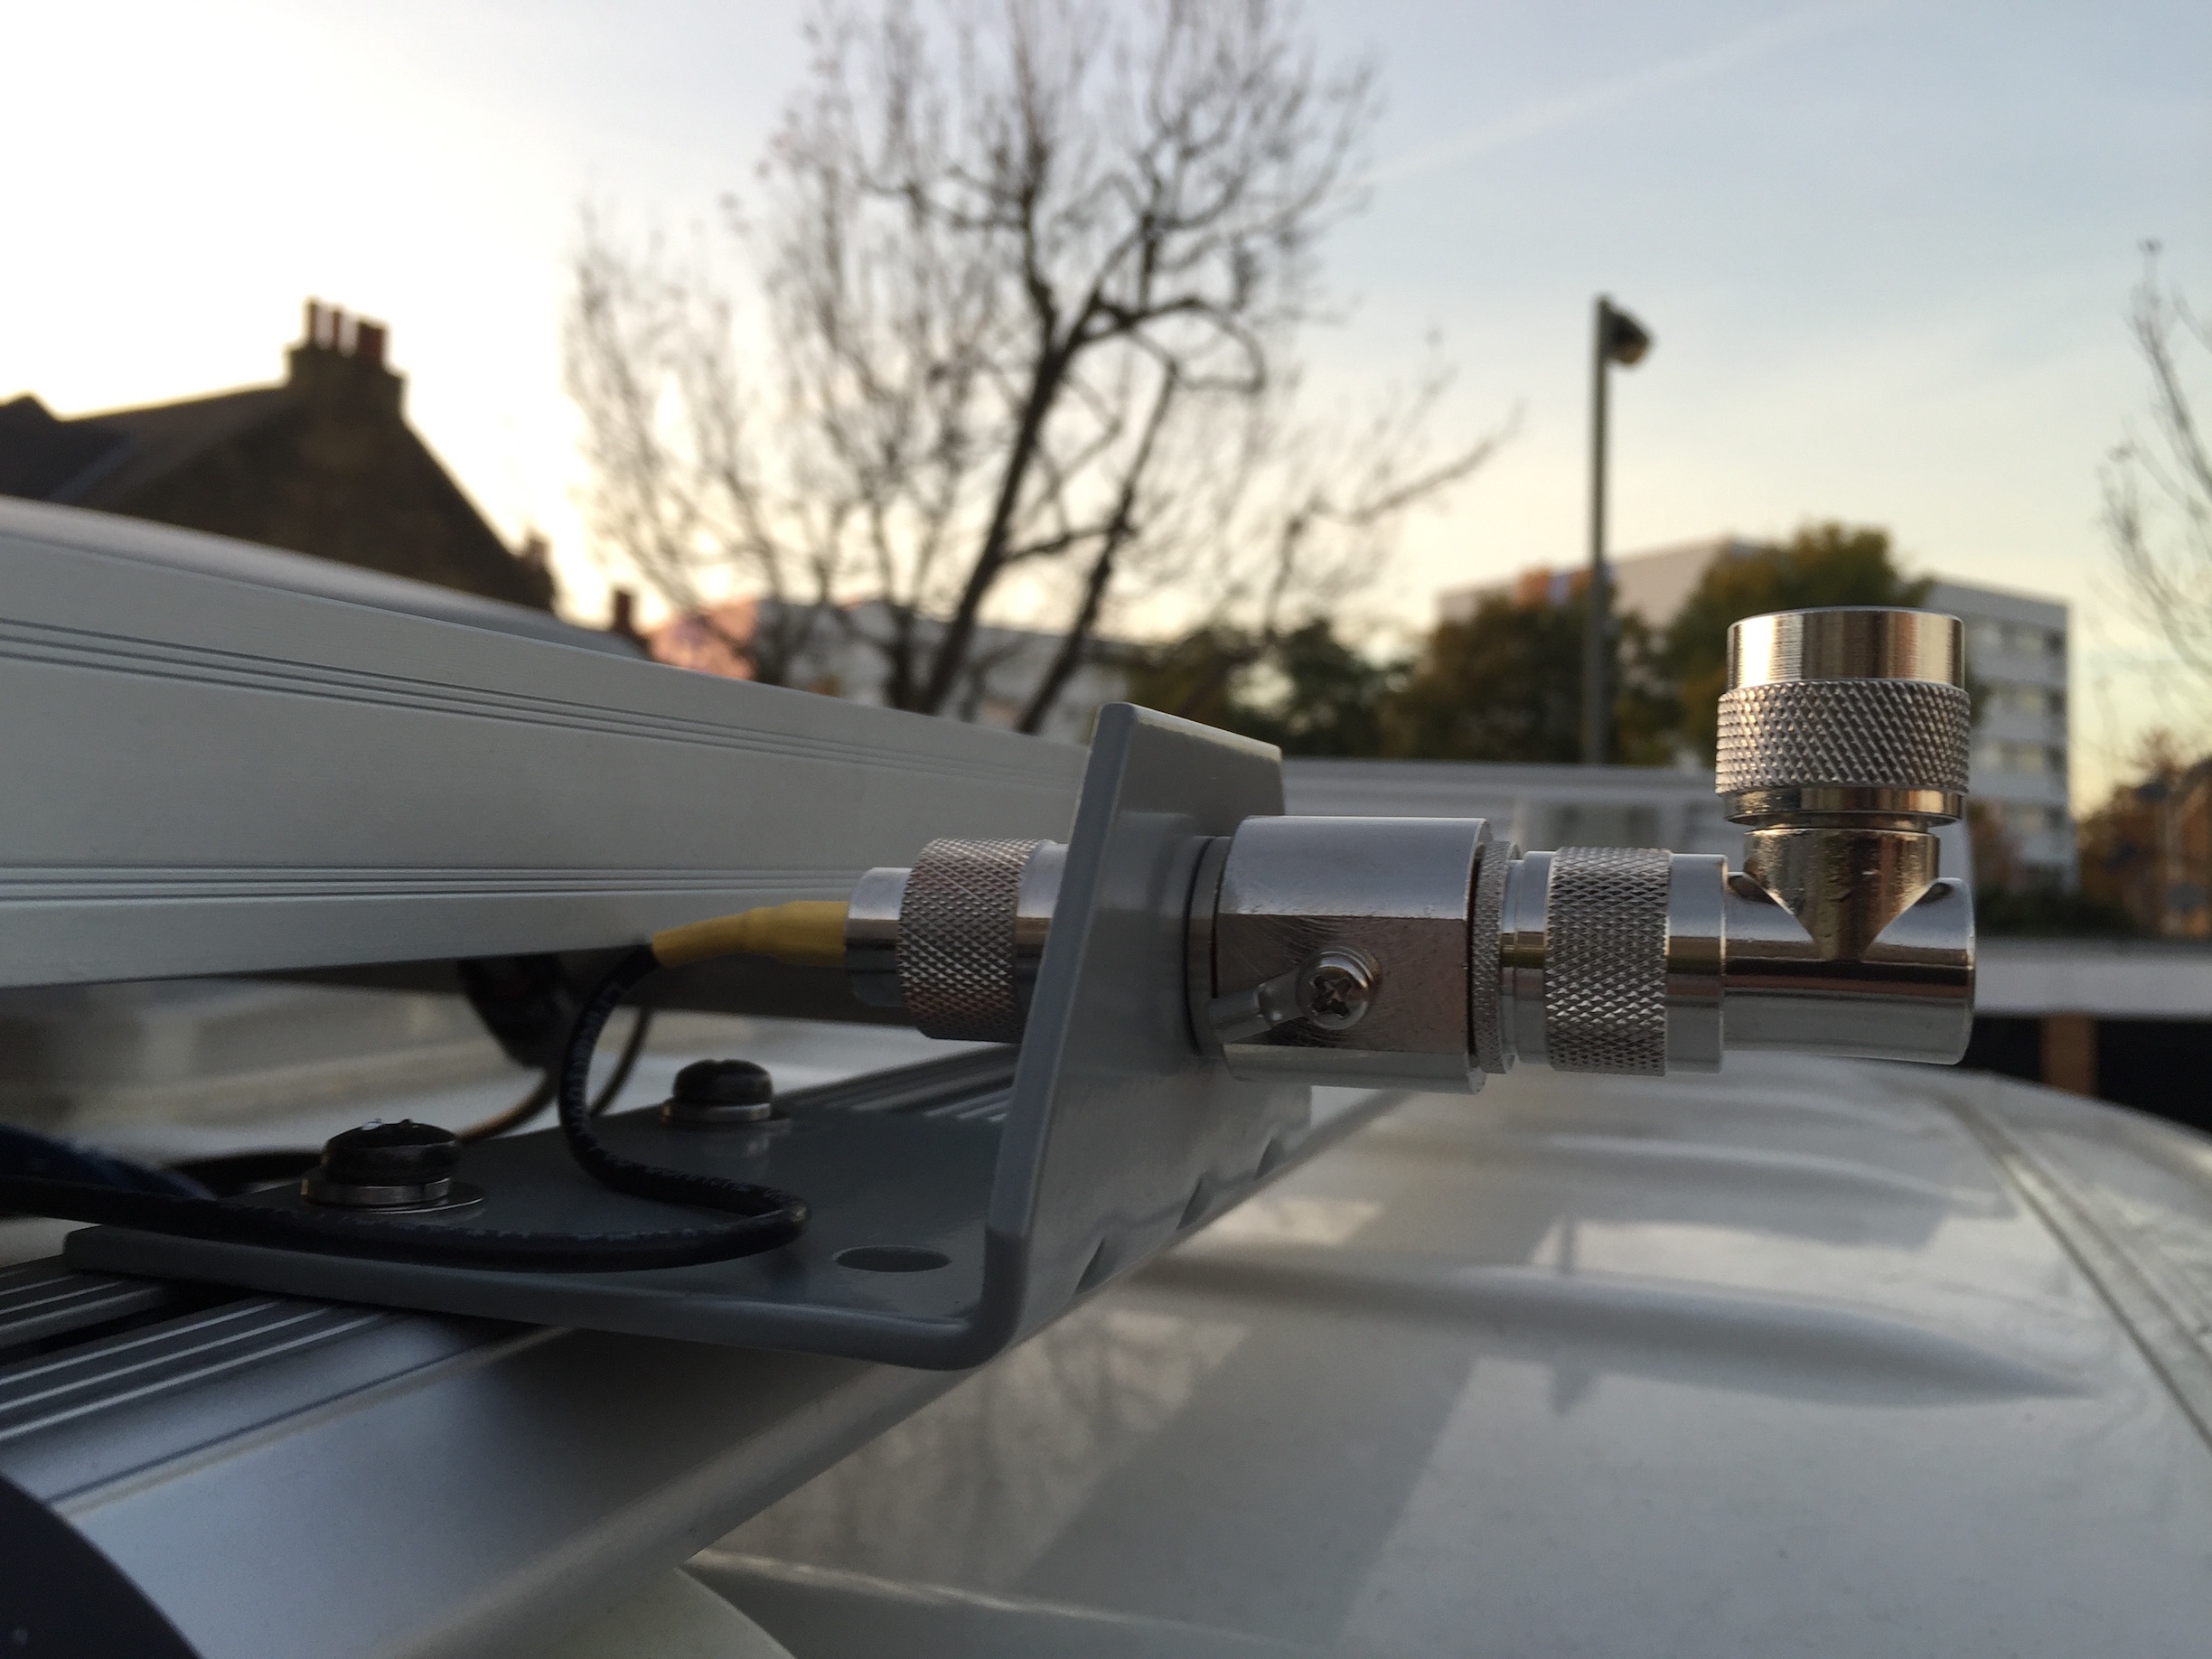
Anyway, I ended up using the bracket, which came with the antenna. I attached the antenna bracket horizontally to the roof bars using a couple of runners and M6 bolts and used 90-degree elbow adapter on the end of a lightning arrestor to orientate the antenna correctly. The N-Type to RM-SMA cable was pulled through with the rest through the roof gland to the receiving equipment below. The cable is quite thin and fragile, so I put a split length of waste water hose around it.
If anyone needs one of these, do let me know..
Next...
Electronics!