Crafter Motorhome Furniture and Appliances
My wife and I are converting a delivery van into a motorhome in three phases and this is phase 2 of 3, which was successfully completed by Marlin Conversions.
If you just want to look at pictures, here is an updated photo journal with the most recent photos at the top.
Making Progress
In my previous post Lining and insulating our Crafter, I wrote about the process of lining, insulating and carpeting our van.
We've completed all the pre-requisite works week commencing the 4th of May and drove the machine down Marlin Conversions in Torpoint, Cornwall. We dropped the van off on the 9th of May and collected it on the 4th of June, so it took just under four weeks to manufacture the cabinets, bed and fit (but not connect) appliances.
We've spent approximately £17,200 so far, including the van itself. Looking at the original budget of £20,000, we are likely to go around 5-10% over.
Original Design (3D)
This was my original 3D sketch of what the end result could/should look like:
While some unit placements have changed since, namely gas cylinder and the boiler, the actual results to date look comparable..
Roof Lights
I decided not to cut big holes in the van myself, as with the windows, and outsourced that part to Marlin Conversions, along with the furniture.
We supplied them with a pair of Dometic Mini Heki AirQuad roof lights from Grasshopper Leisure and had them professionally installed:
These roof lights are supplied with both blackout and mosquito blinds and open in five different ways.
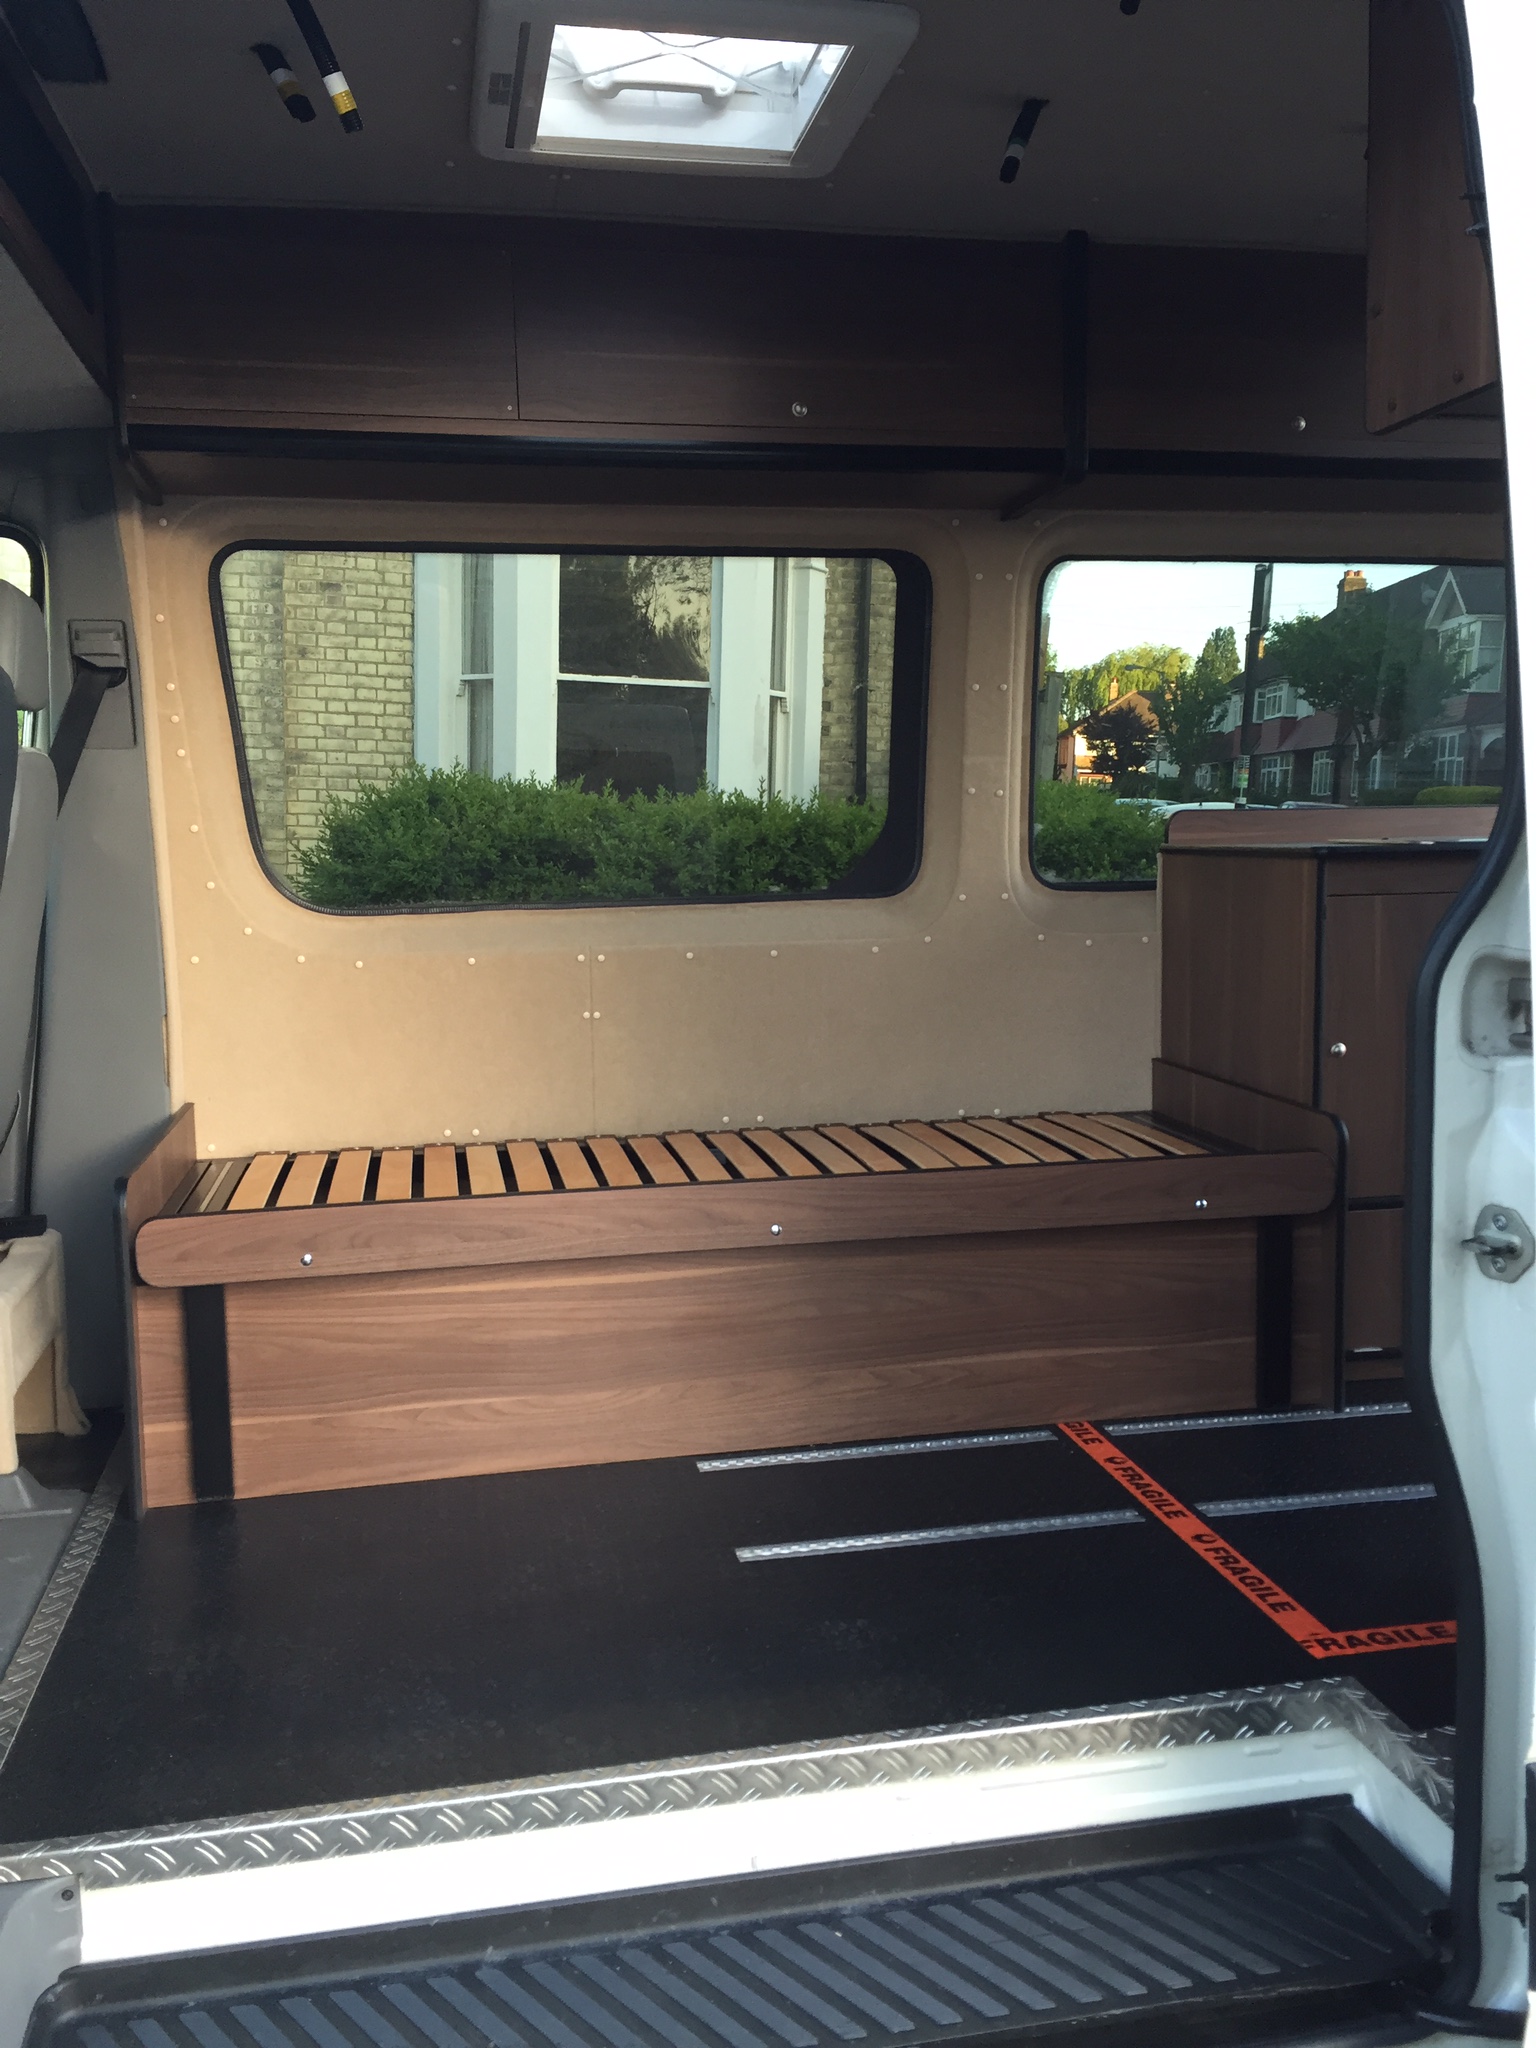
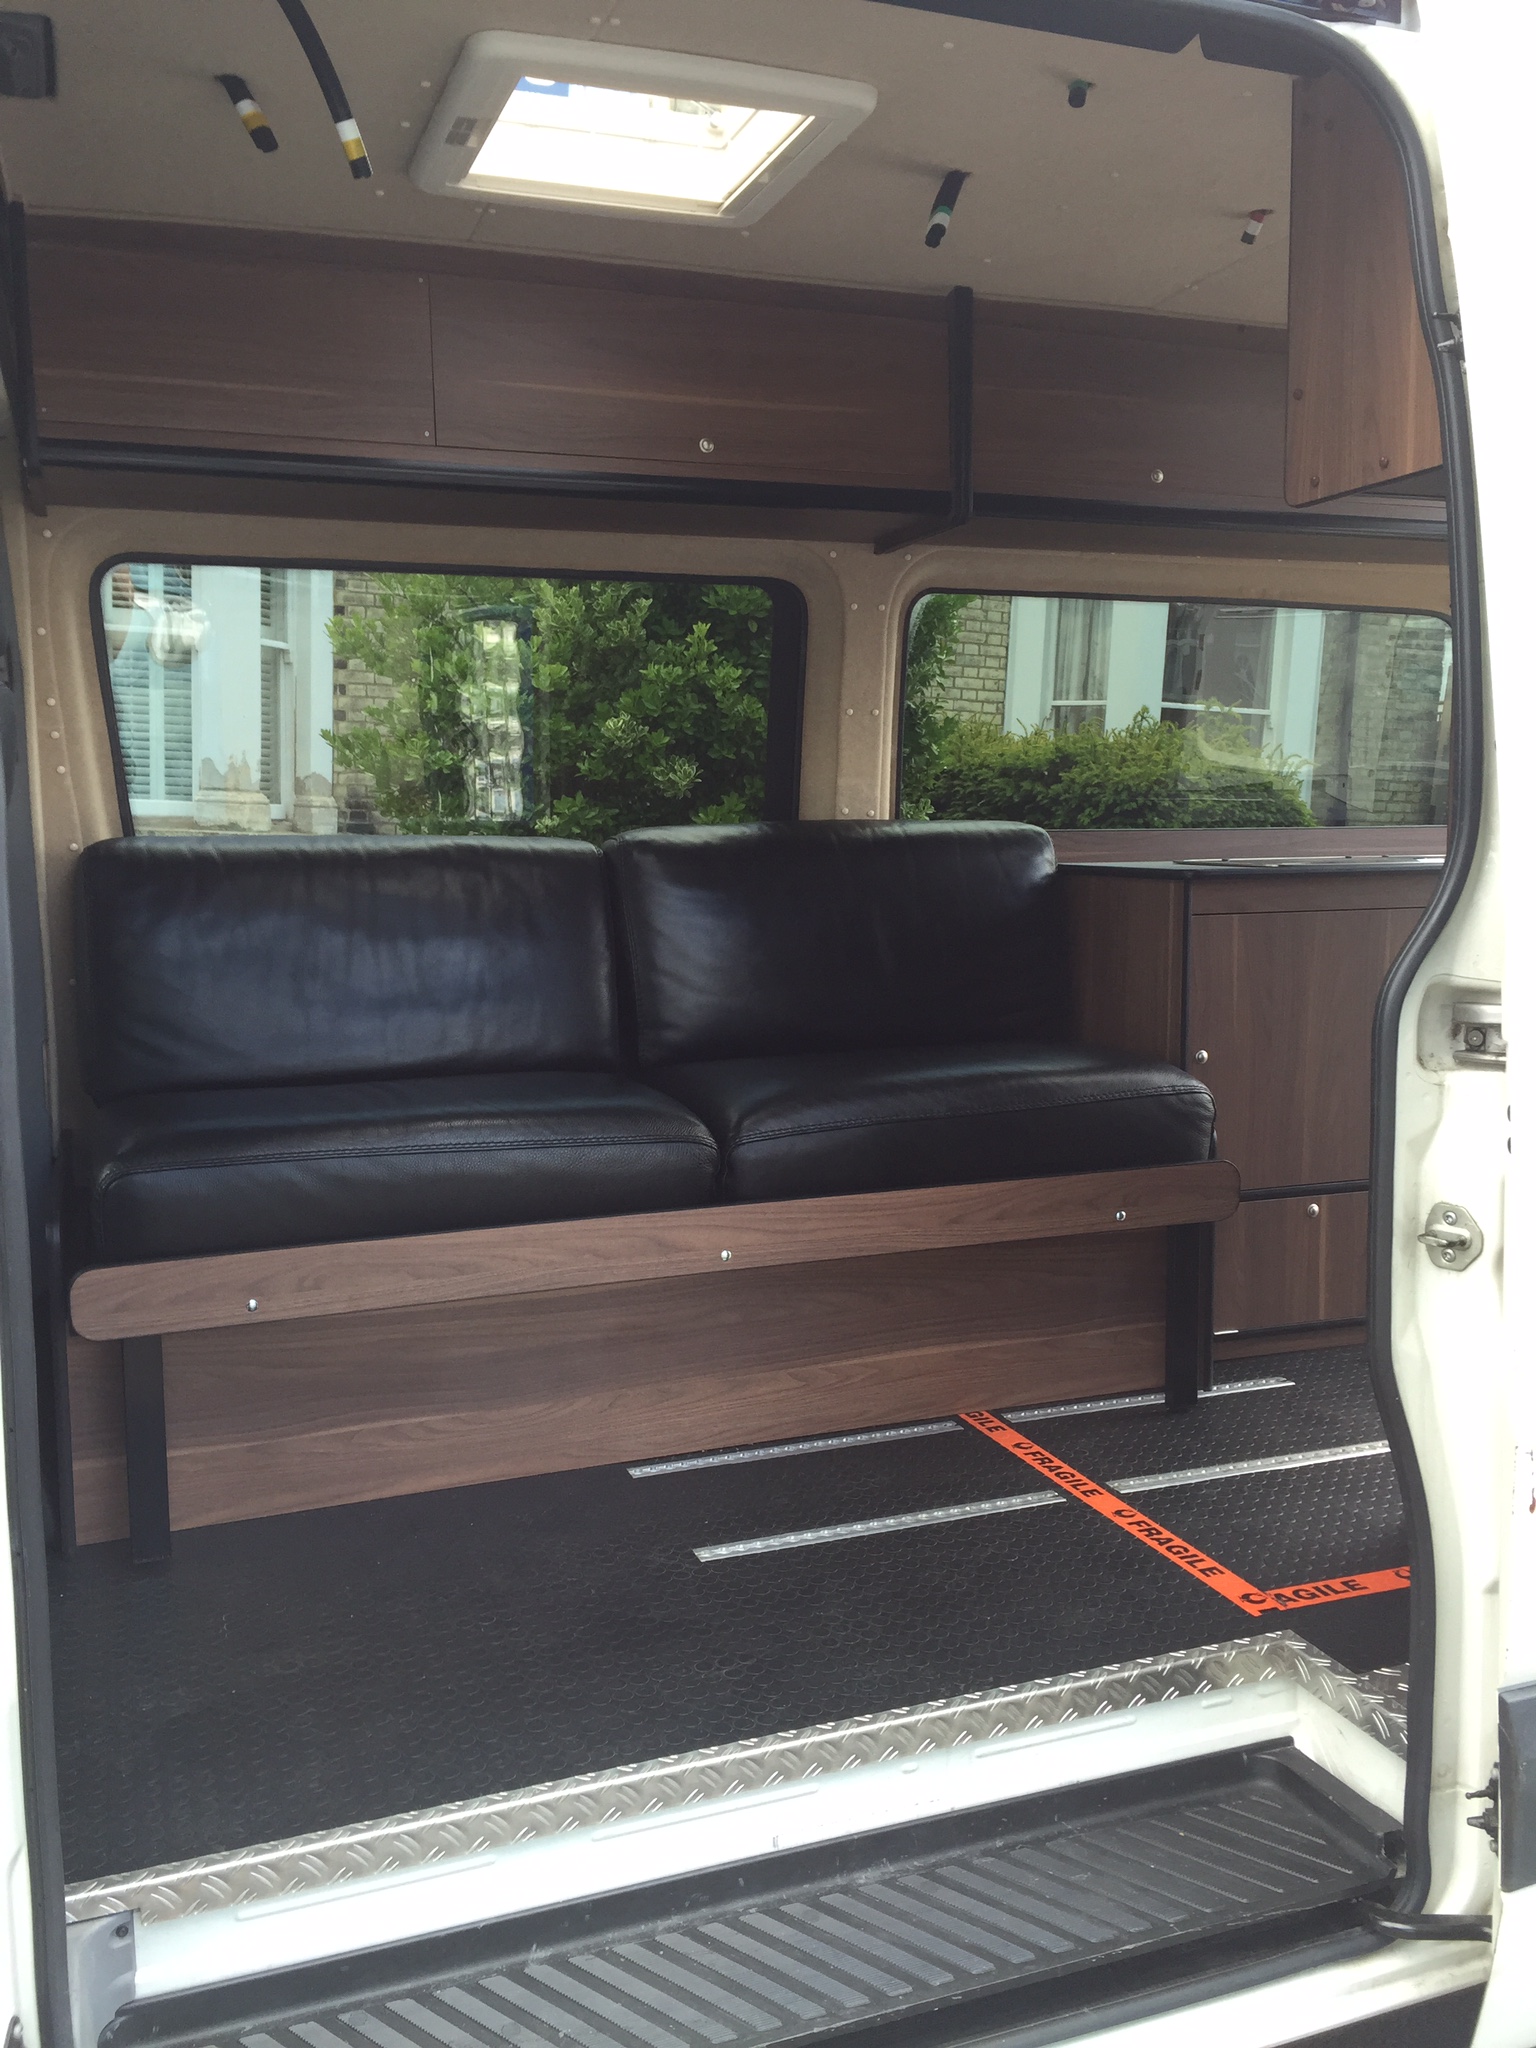
The Bed
I originally found Marlin Conversions as part of my search for a decent motorhome bed. I came across their eBay listing for a motorhome bed and followed the links. You can read more about the bed specs. here.
In the folded position, the bed functions as a sofa and looks like this:
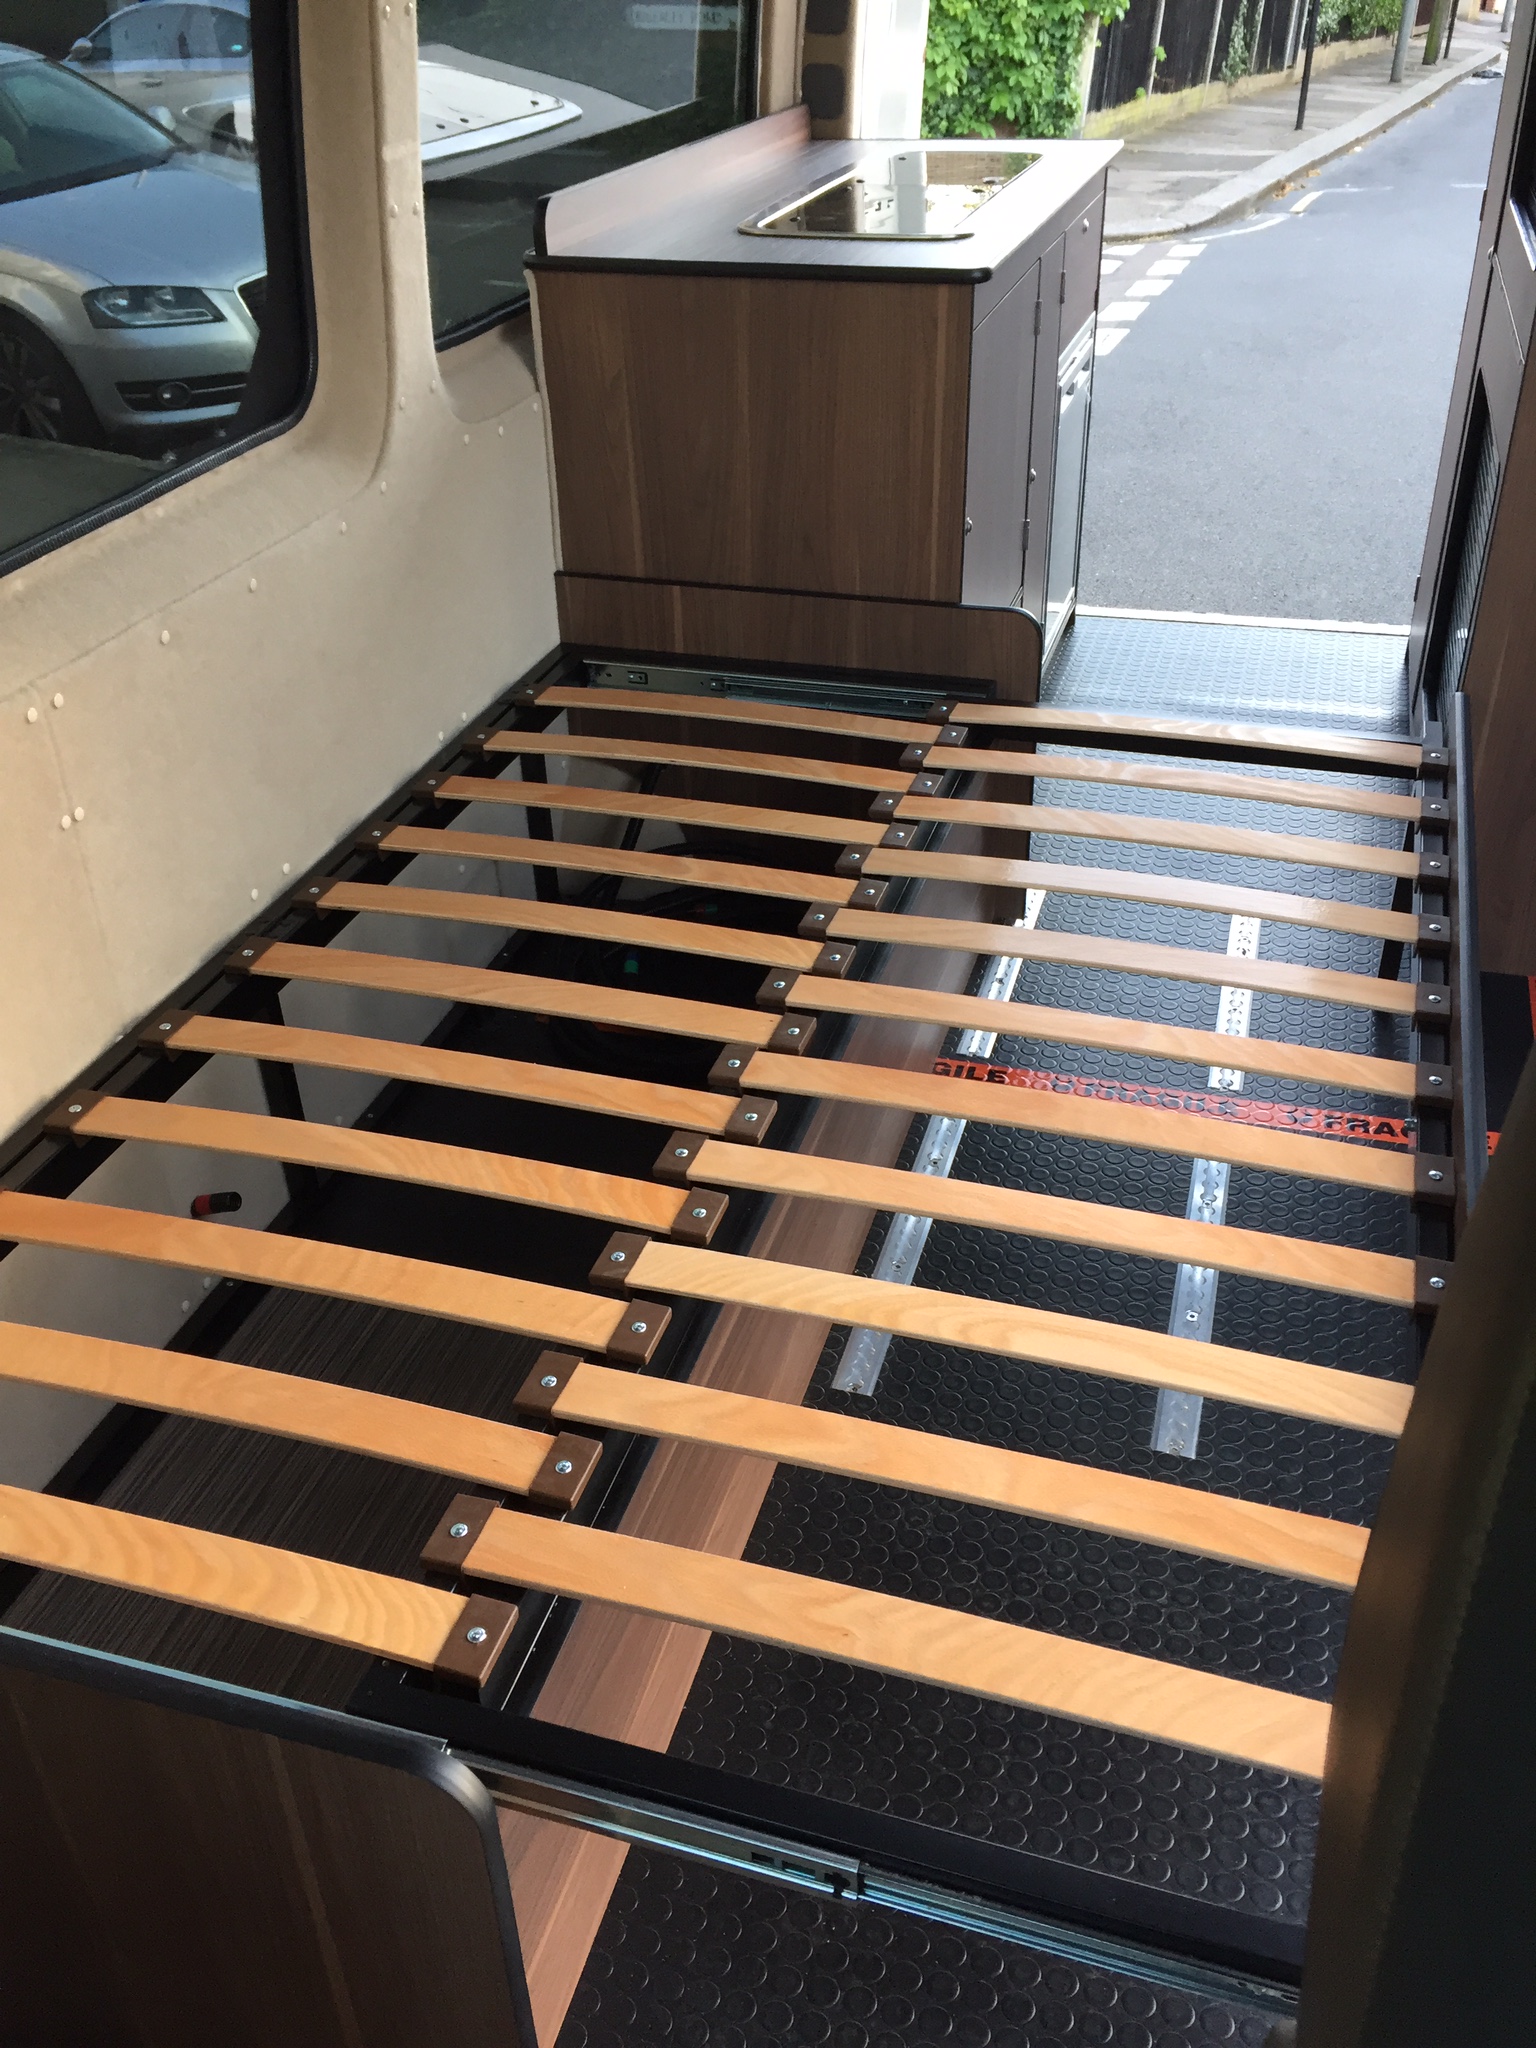
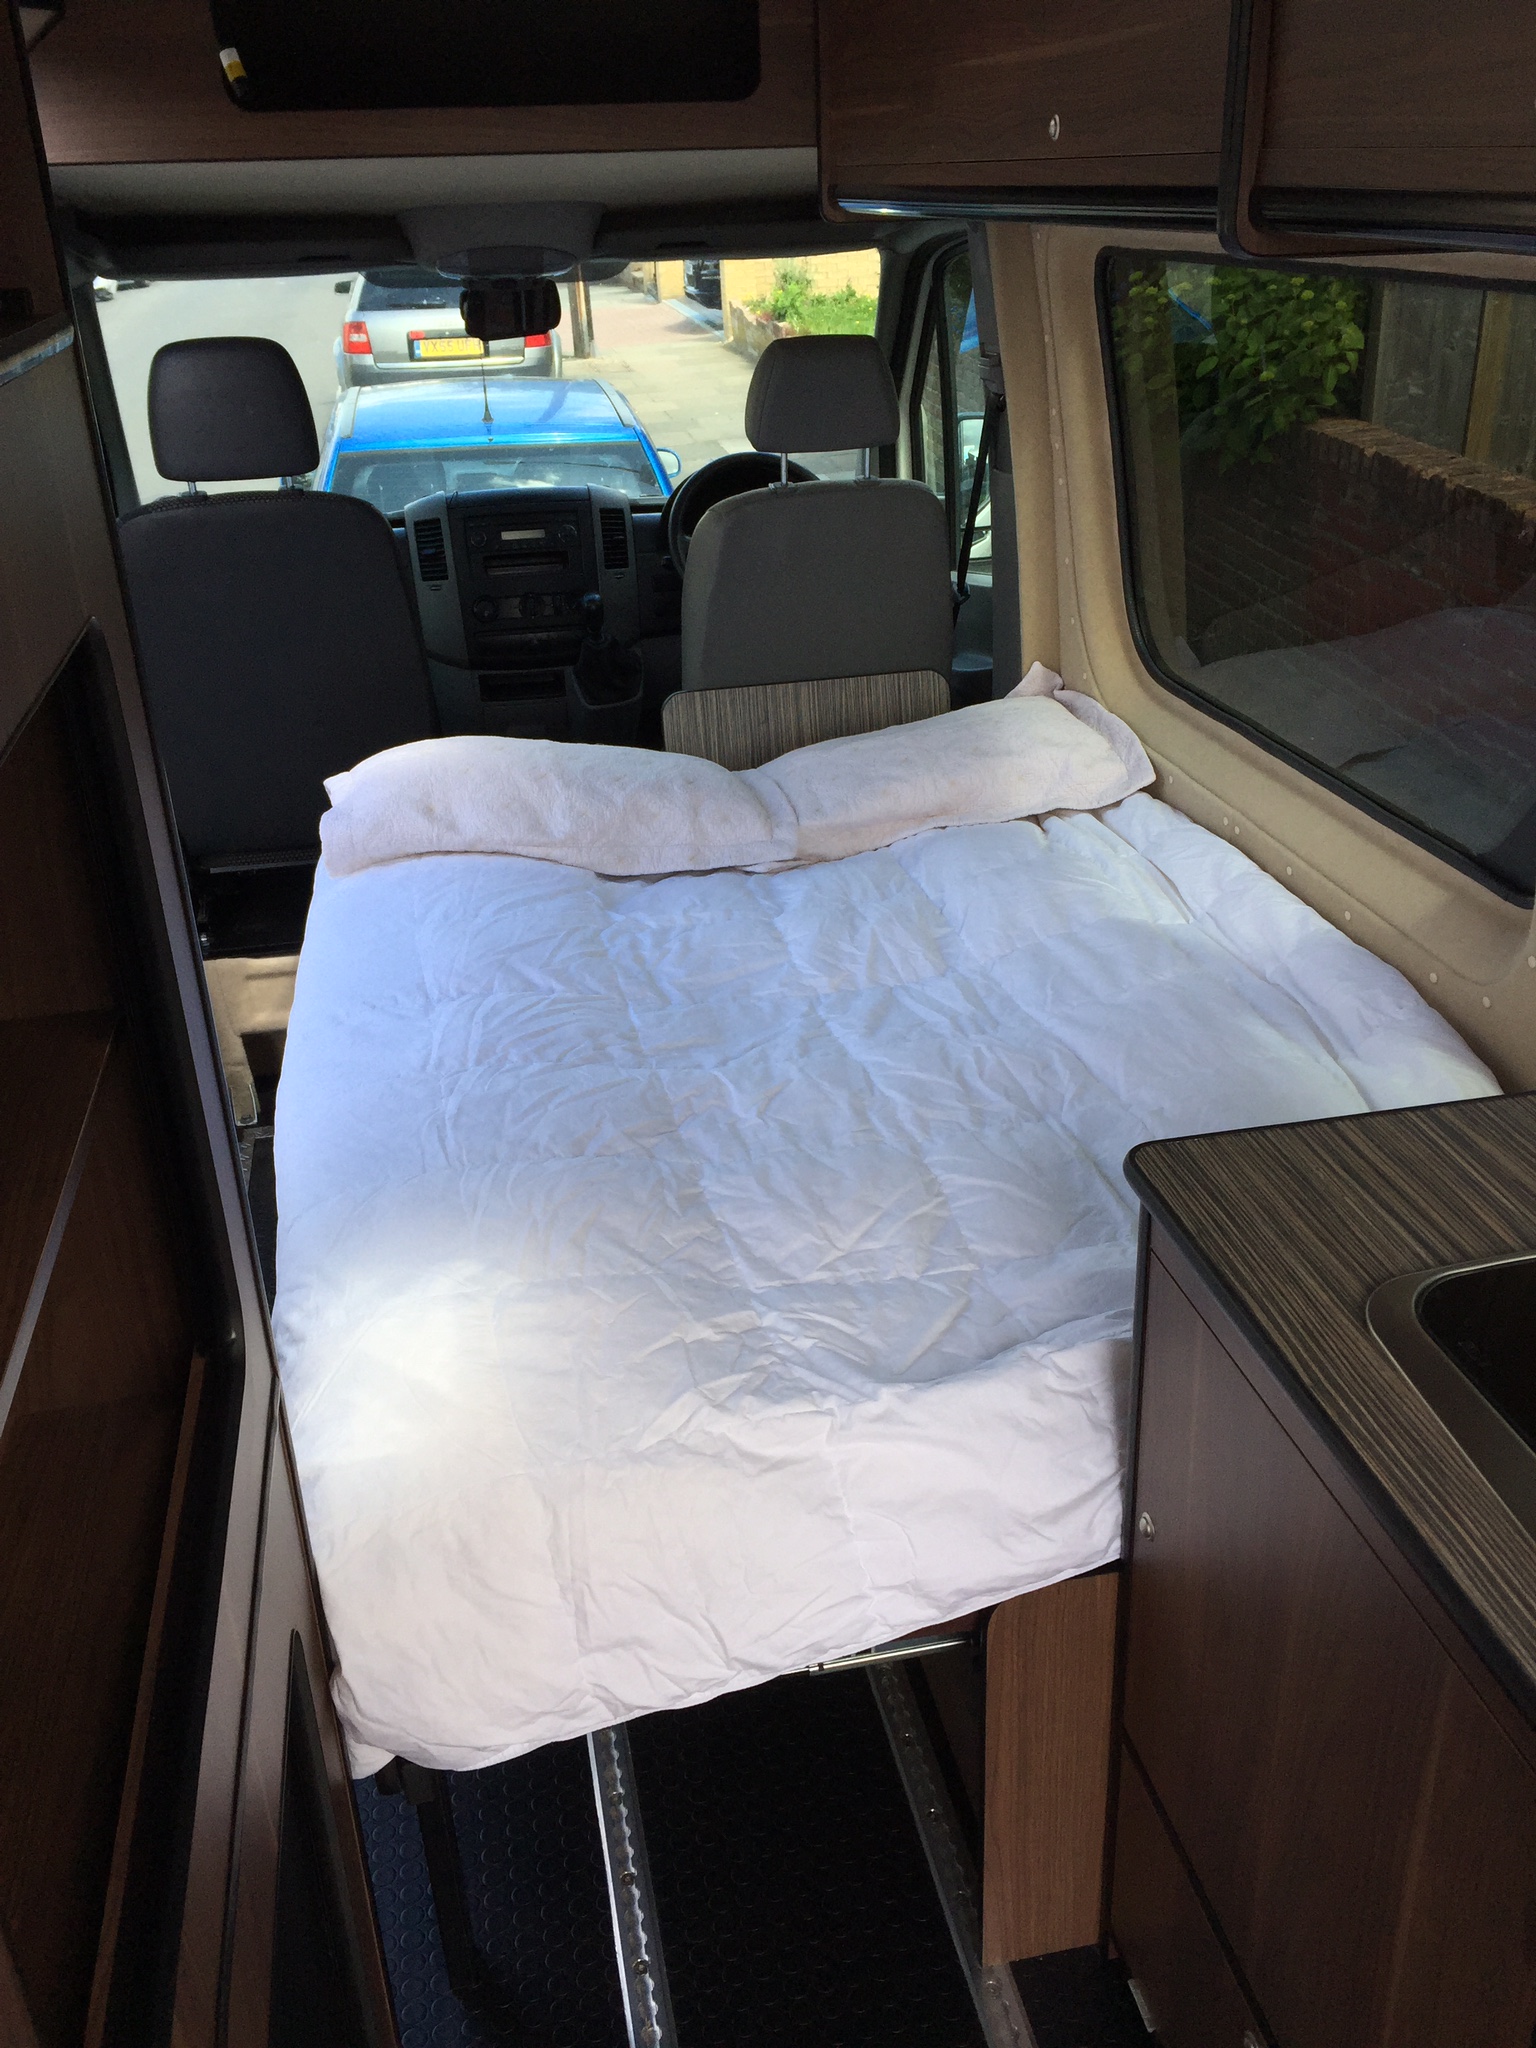
Once extended, the bed becomes a regular double:
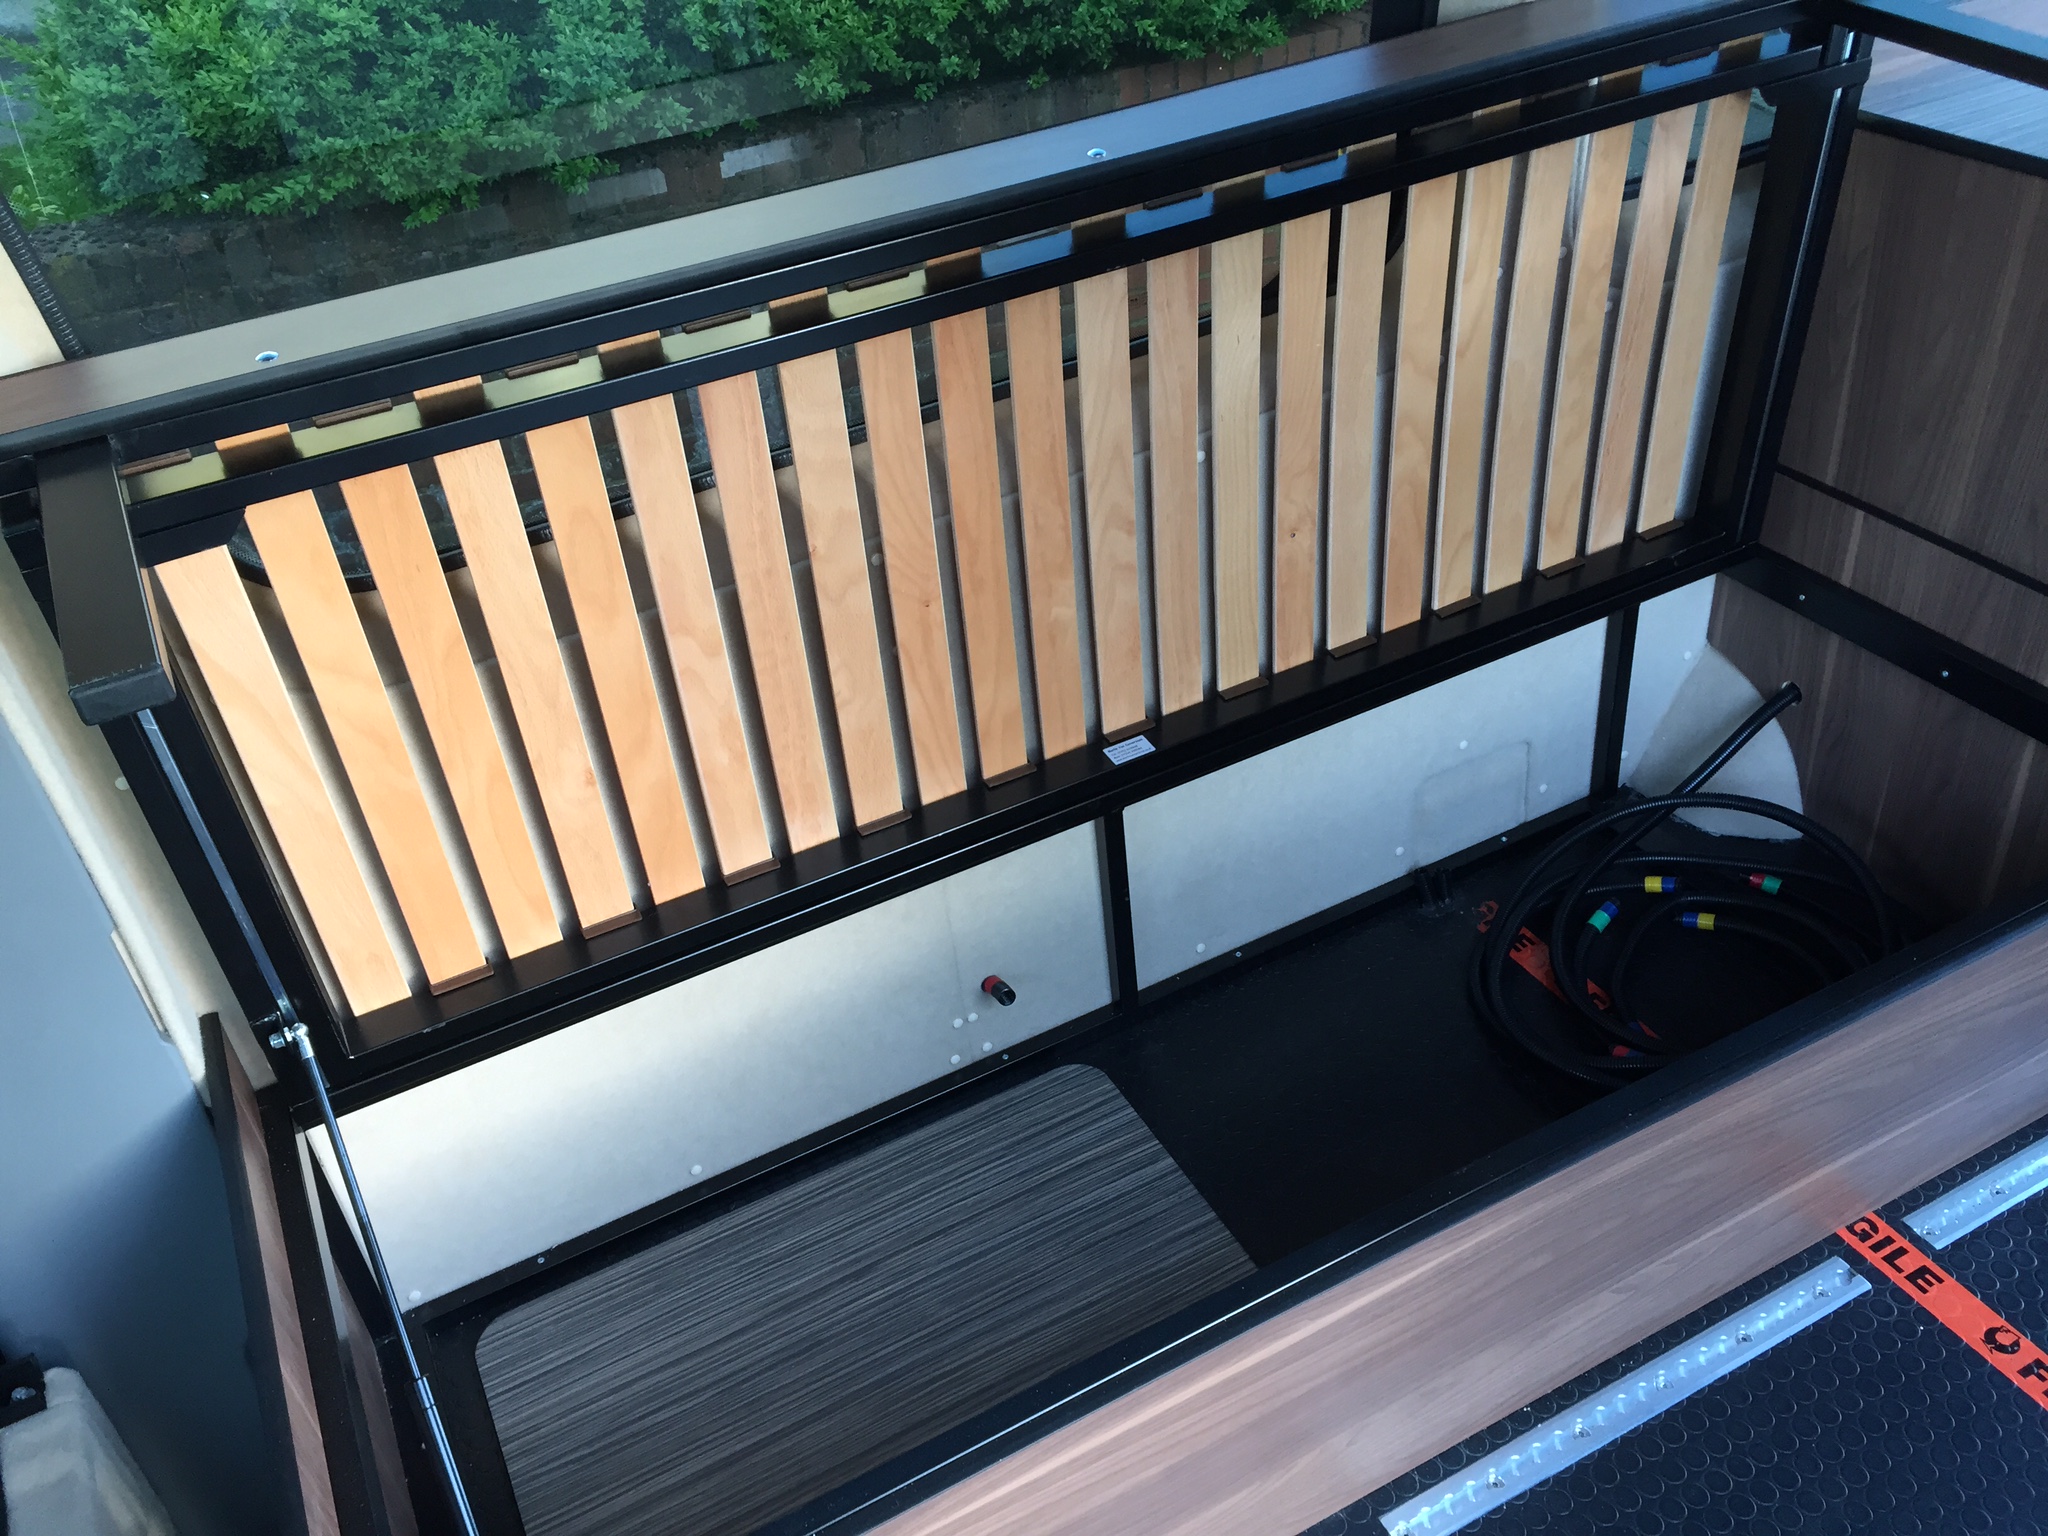
The top is hinged, supported by a gas strut, which opens up to reveal additional storage, although half of it will be occupied by electrical stuff, including batteries, charger and inverter:
And here is a photo we took for insurance/DVLA re-classification purposes:
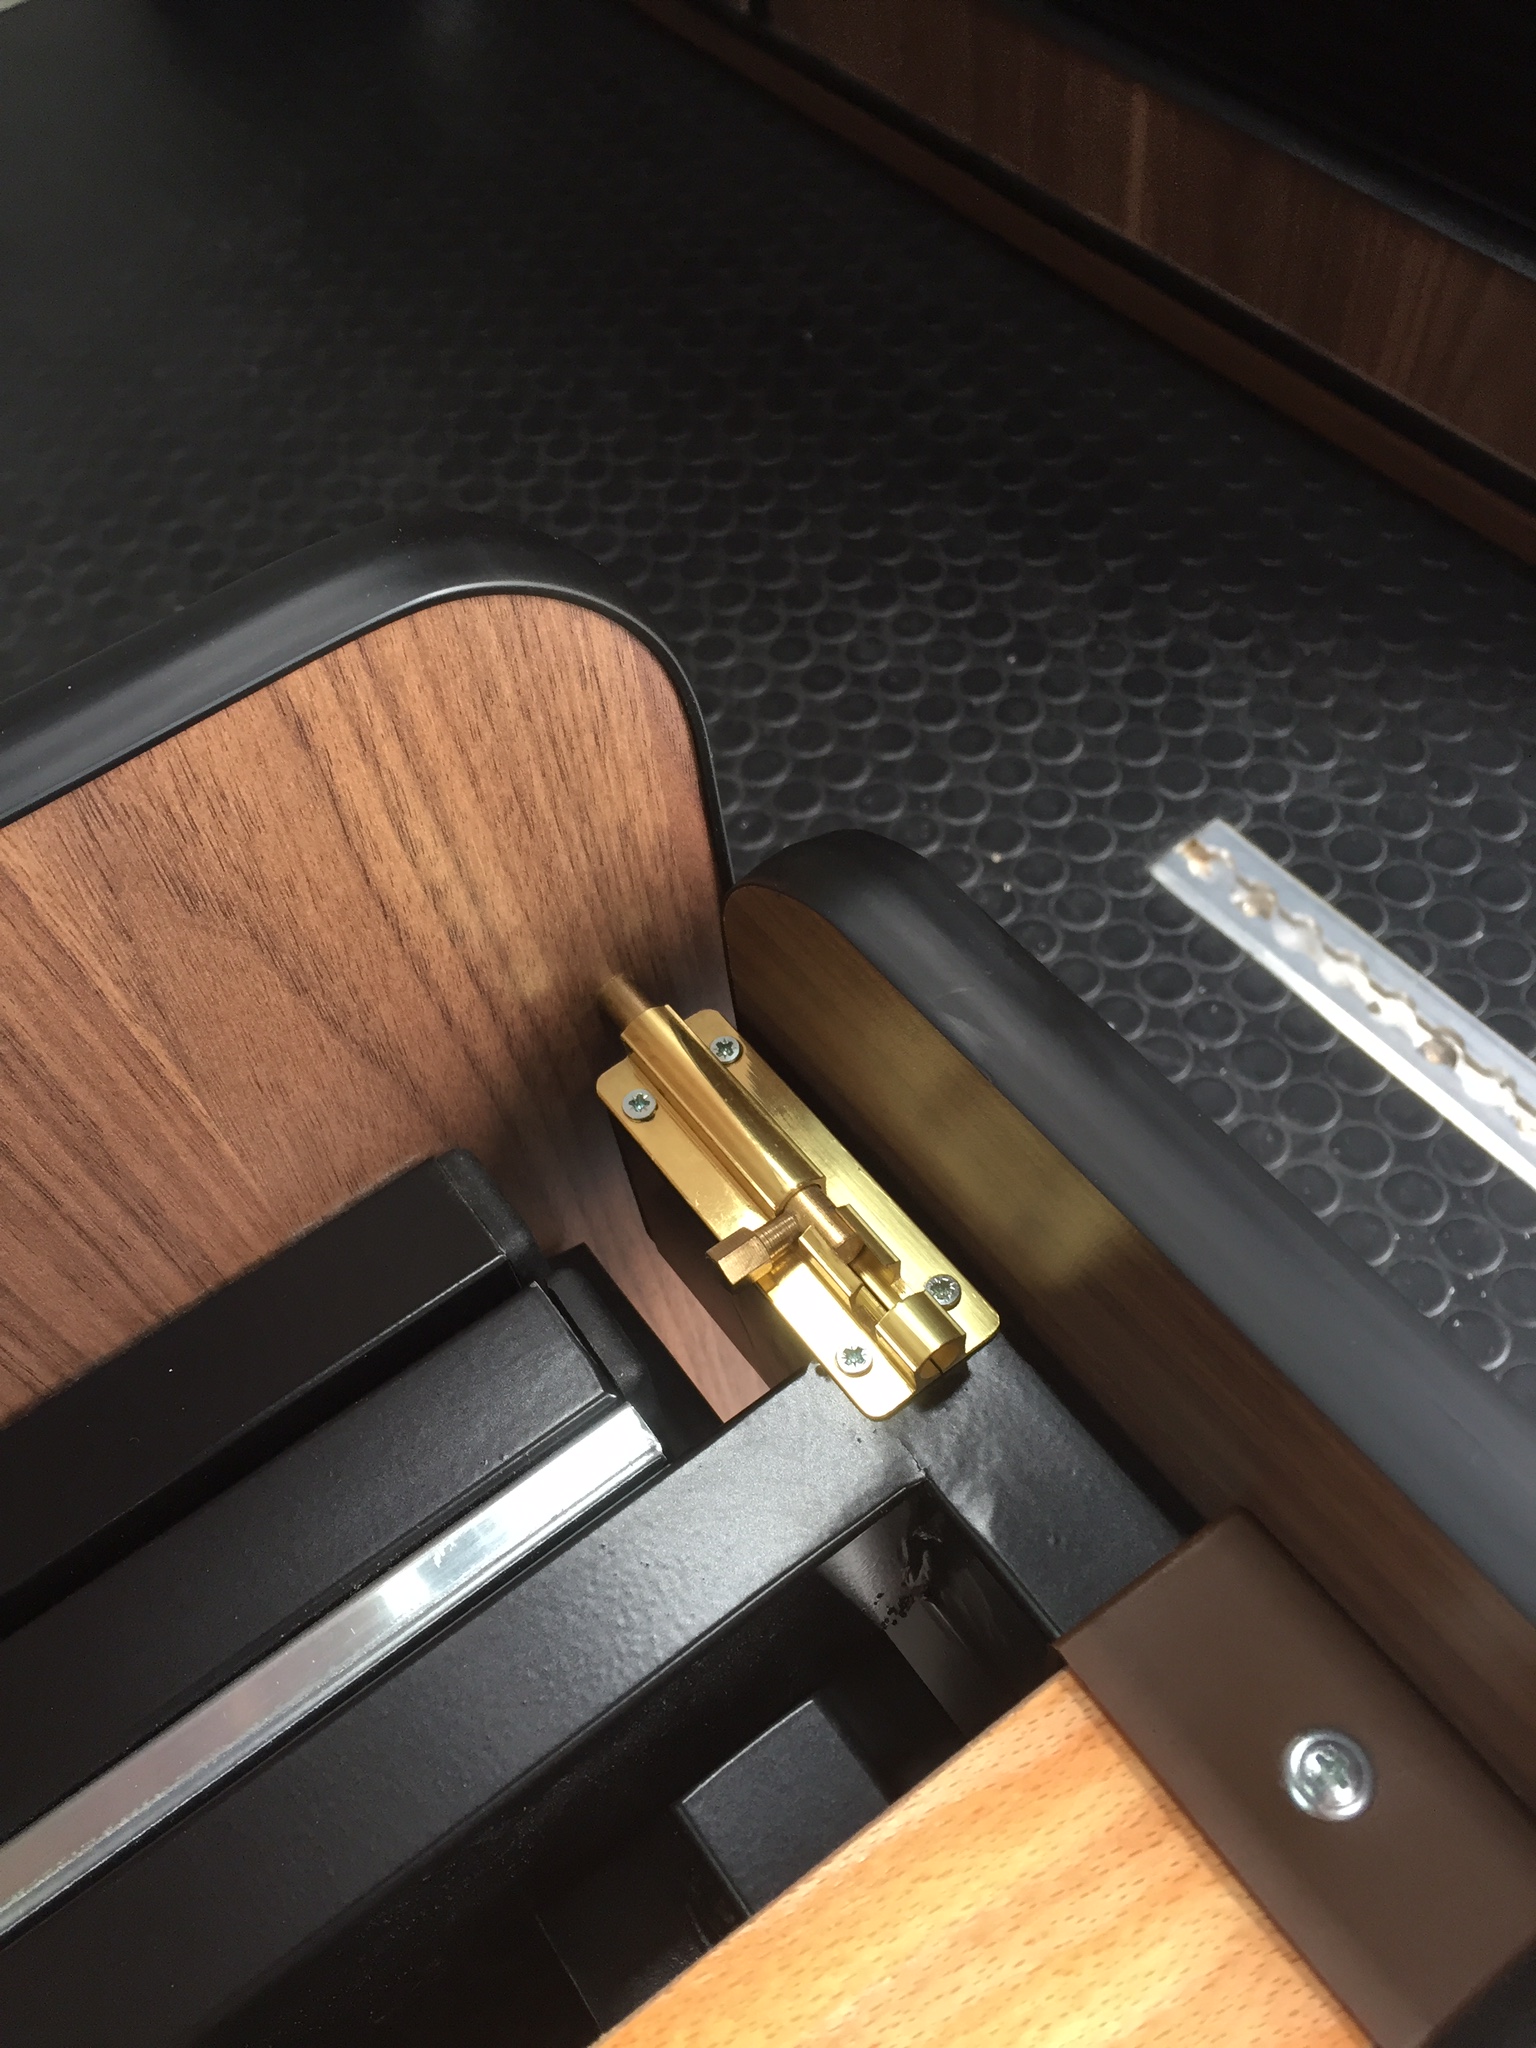
Also, here is a little modification I made to ensure the bed does not violently extend as we throw the van around corners and round-abouts...
One thing I was not expecting was the sheer cost of foam mattresses and suitable upholstery. Needless to say, if the costs I am currently being quoted are realistic, then I've severely under budgeted..
Update 20/06/2015: Funky Futon Company comes to the rescue with the awesome and very reasonably priced mattress.
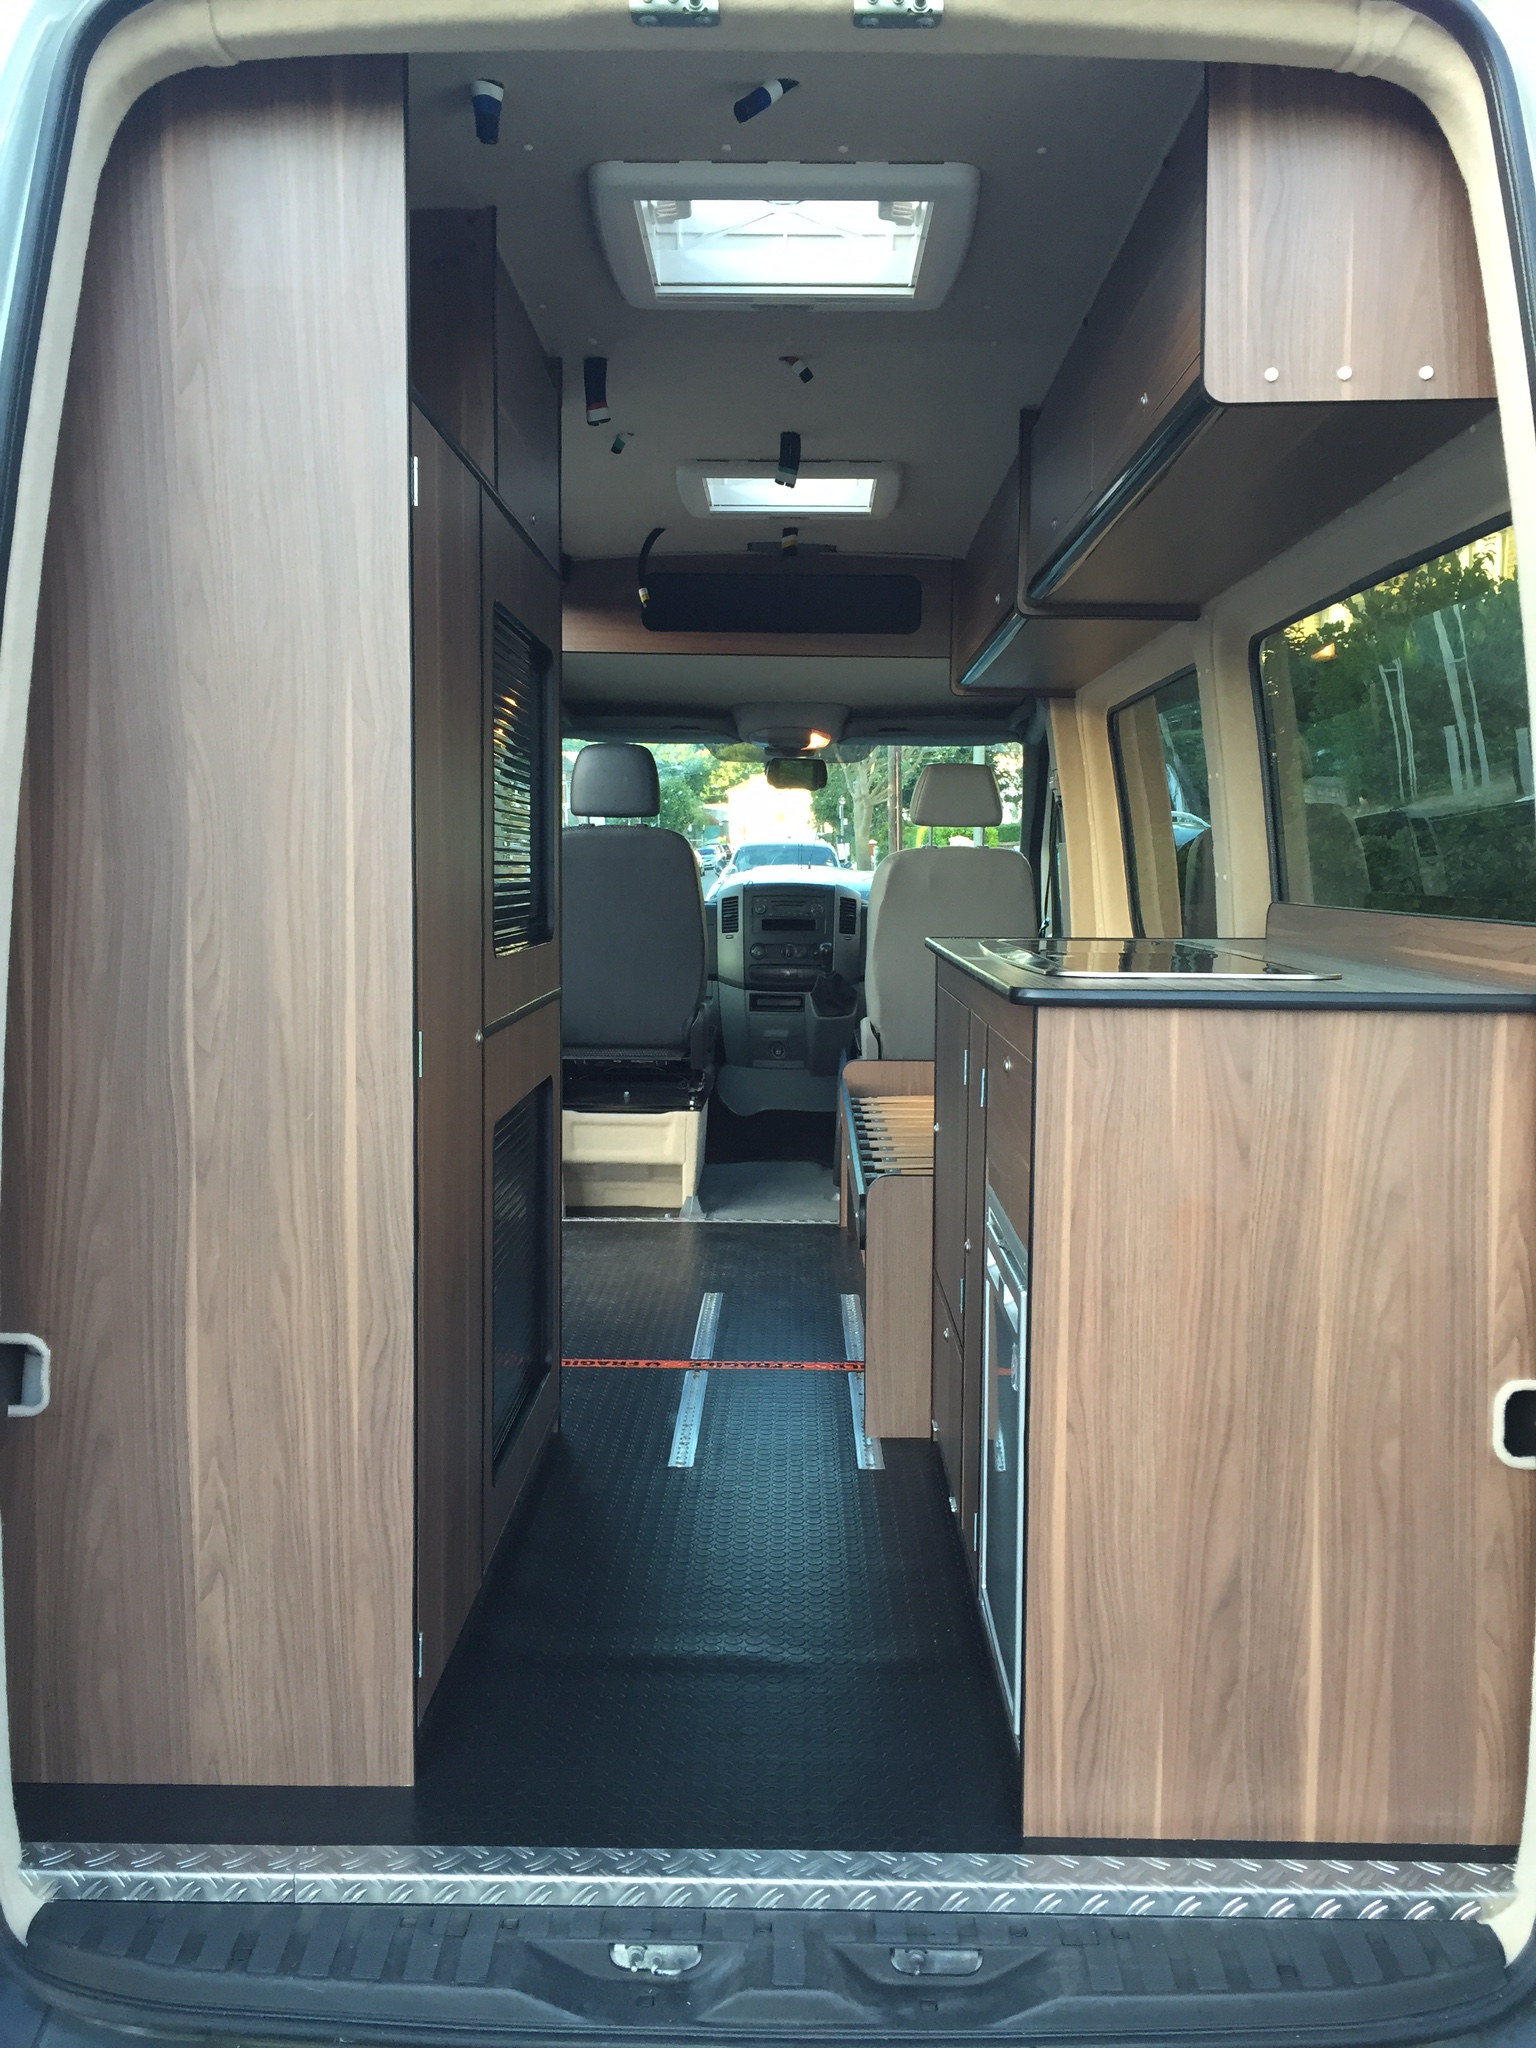
Kitchen
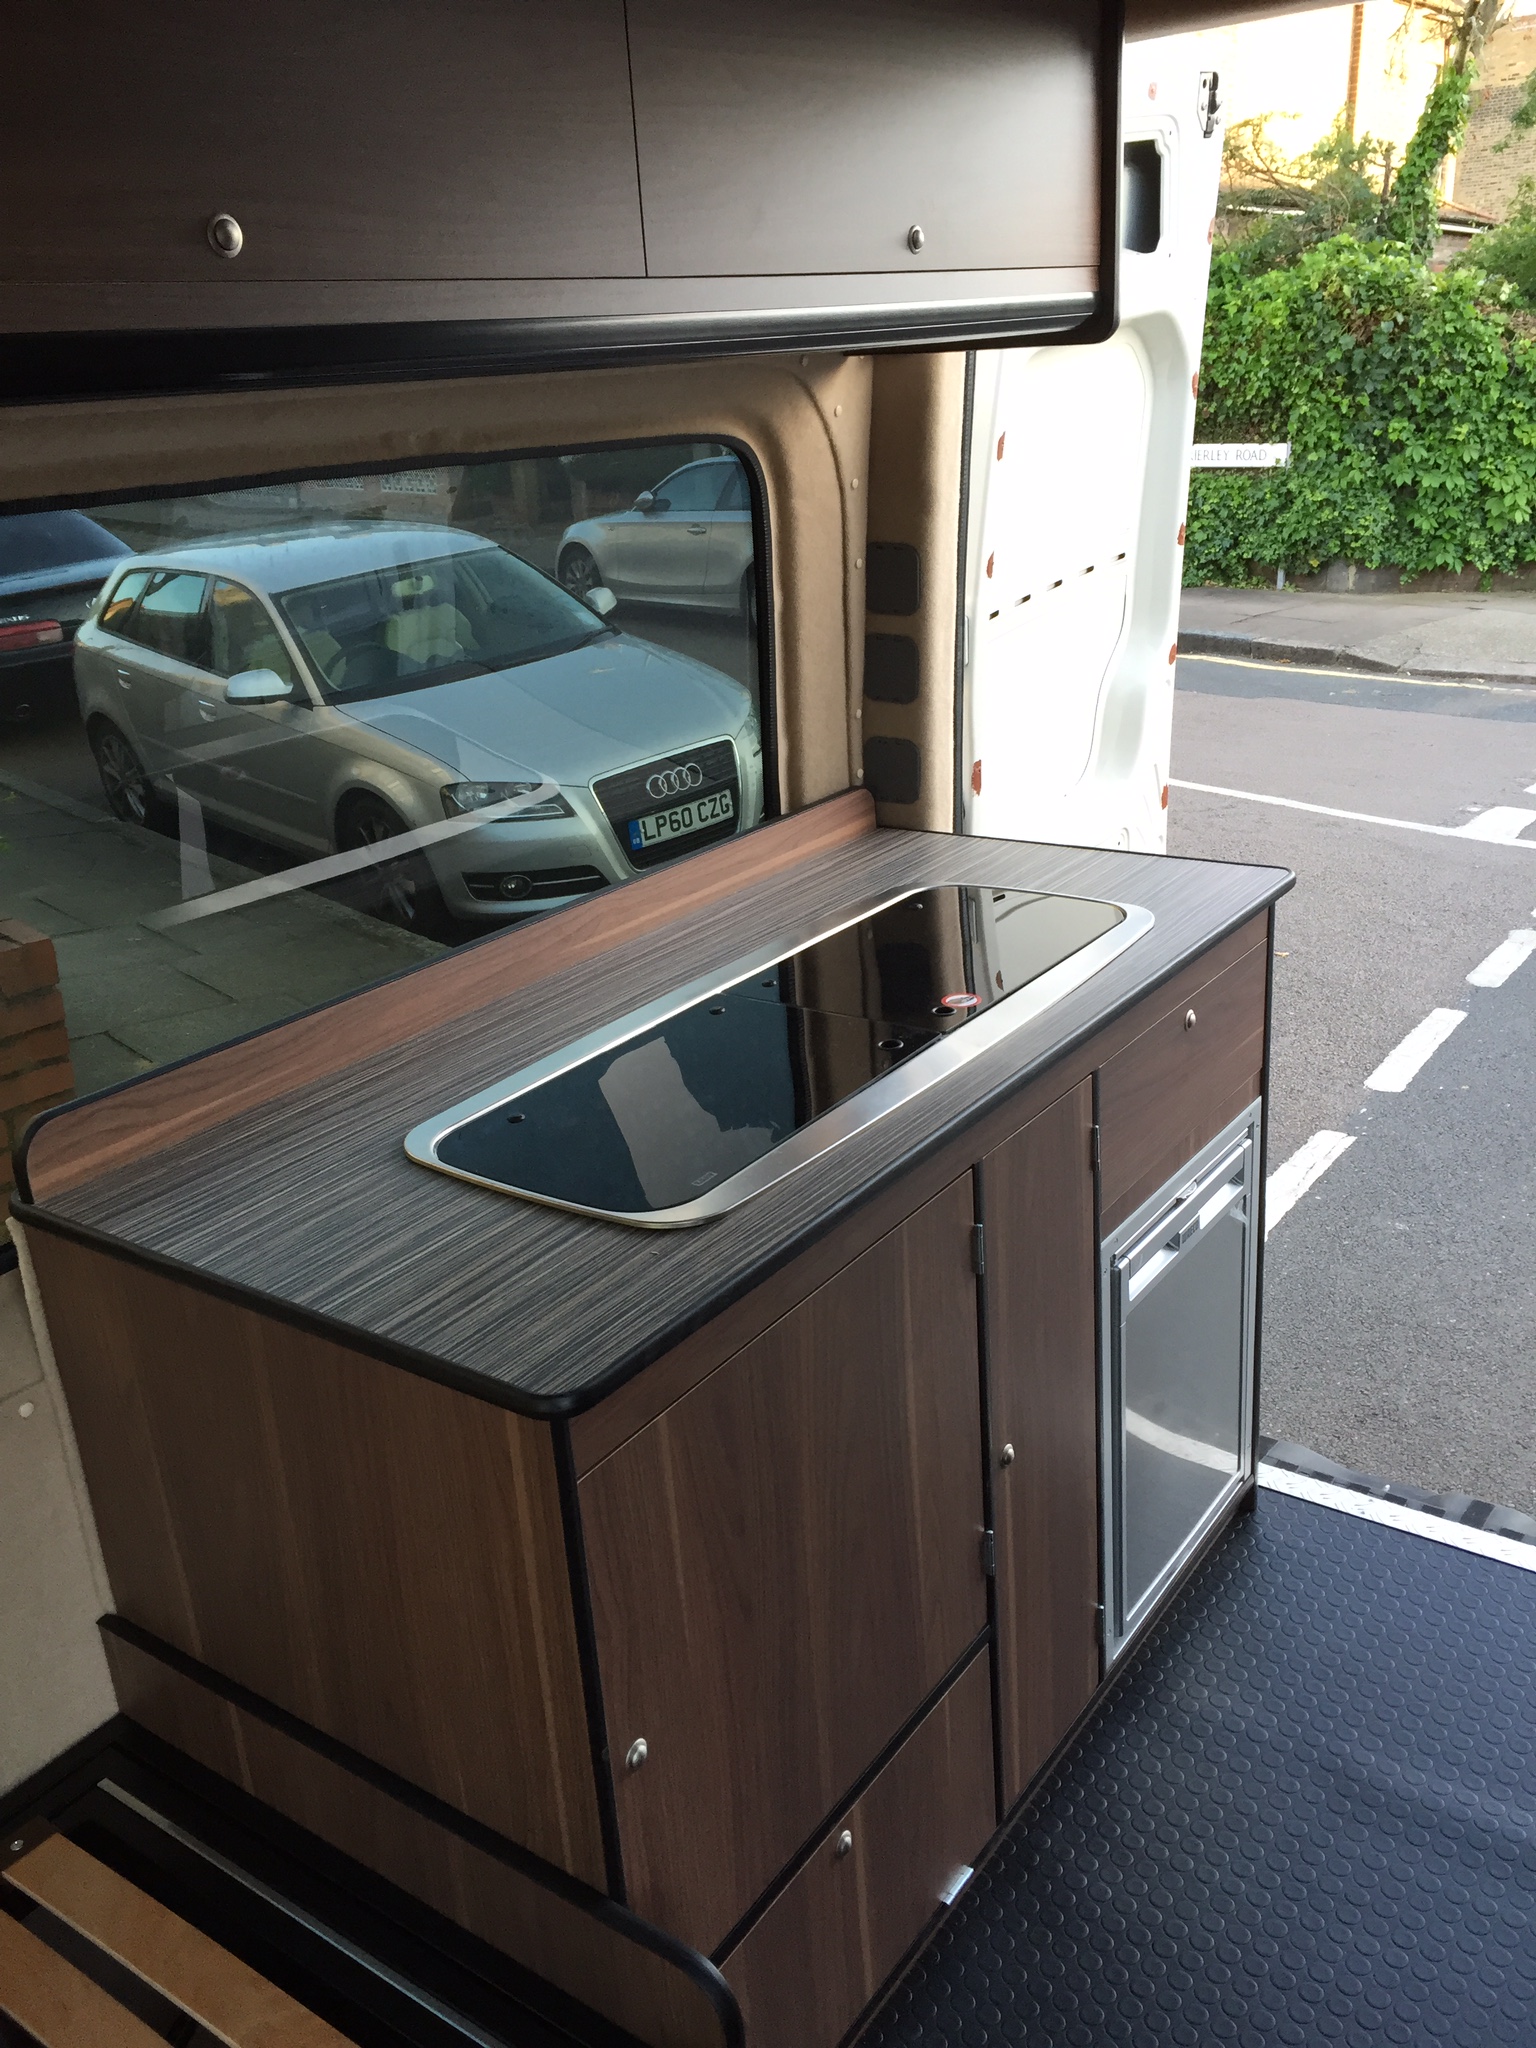
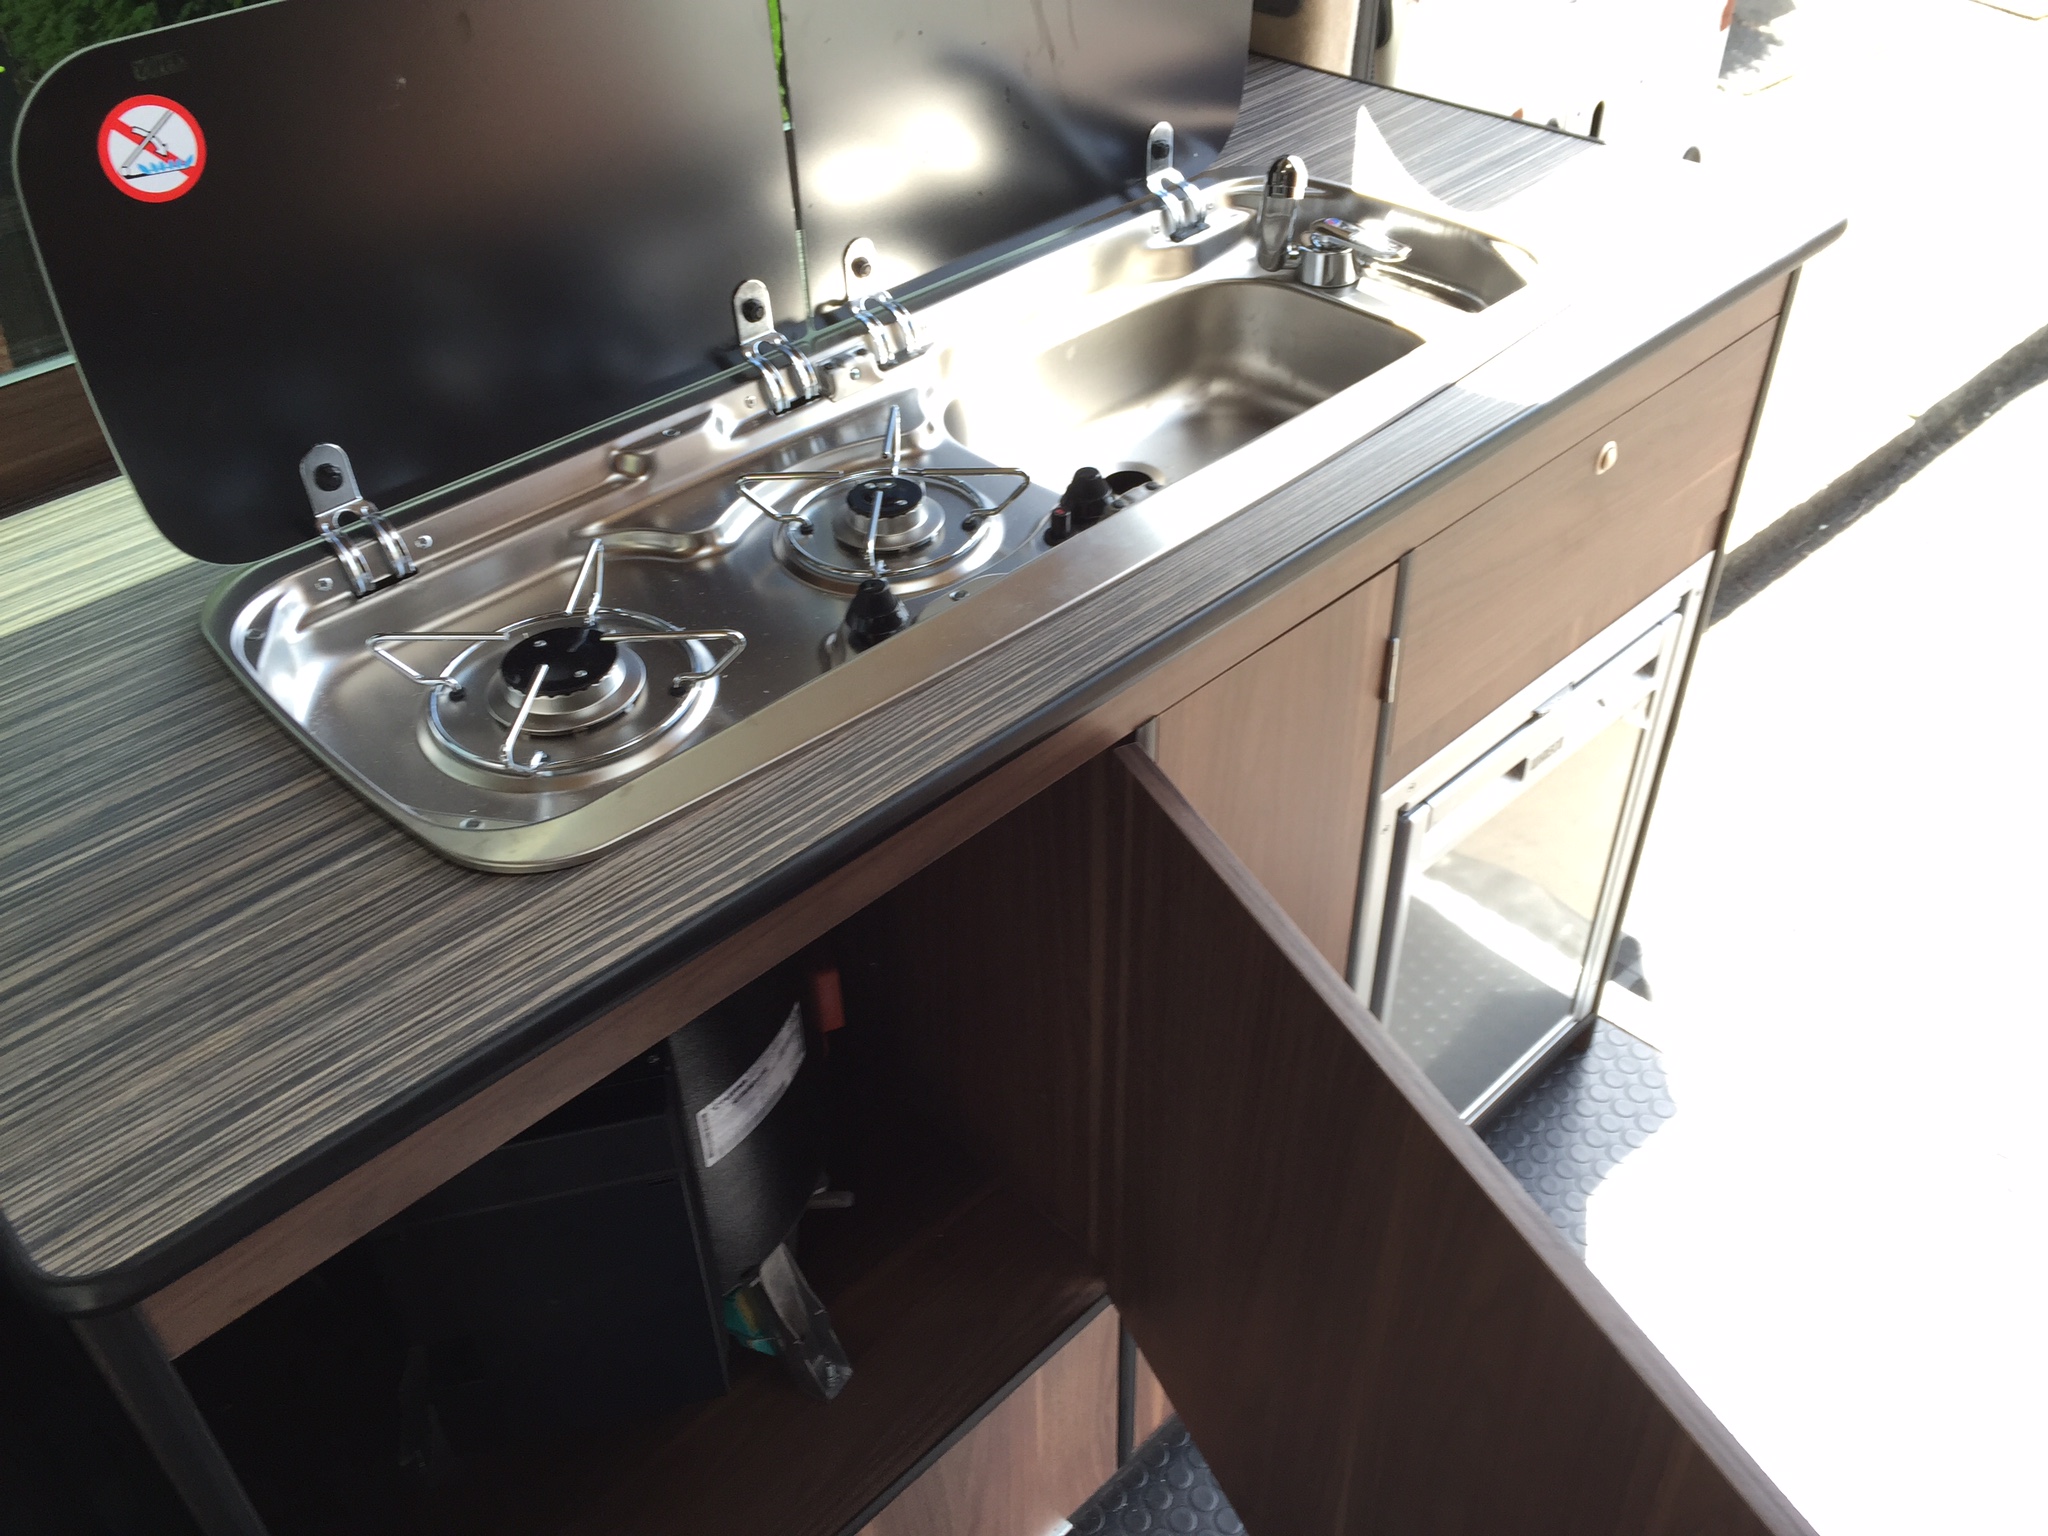
For the kitchen, we had a fairly simple design in mind. The kitchen unit houses the following:
- SMEV 9222 two-burner/sink combination unit with glass lids and mixer tap
- Truma 6002E boiler (vertical) from Magnum Motorhomes
- utility cupboard (bottom-left)
- narrow vertical cupboard
- Waeco CR-50 fridge with flush-mount frame from Rainbow Conversions
- shallow cutlery drawer.
All of the units are manufactured from 15mm laminated plywood with black plastic trim. The kitchen top is Zebrano, while the rest of the furniture is Dark Walnut.
The utility/wiring closet with hinges at the bottom, contains enough room to house a water pump, gas manifold, gas gauge, switches for water tank heaters as well as miscellaneous wiring. The holes I made earlier in the van floor and capped with cable glands also terminate inside this cupboard for convenience and it has a 75mm drop vent for gas ventilation.
Towards the end of the conversion, we will get a piece of glass manufactured locally to be fitted between the kitchen unit and the bed, so as to form a transparent partition. The glass will be most likely held by glass clamps screwed directly into the bottom of the overhead storage unit as well as the worktop.
Storage
As per the design, we dedicated the N/S of the van to be used as storage. This unit comprises:
- wardrobe/shelving unit on the left
- two units with tambour rolling doors
- small overhead on the sliding door side
- opening (top-left) to fit a 17 litre microwave oven
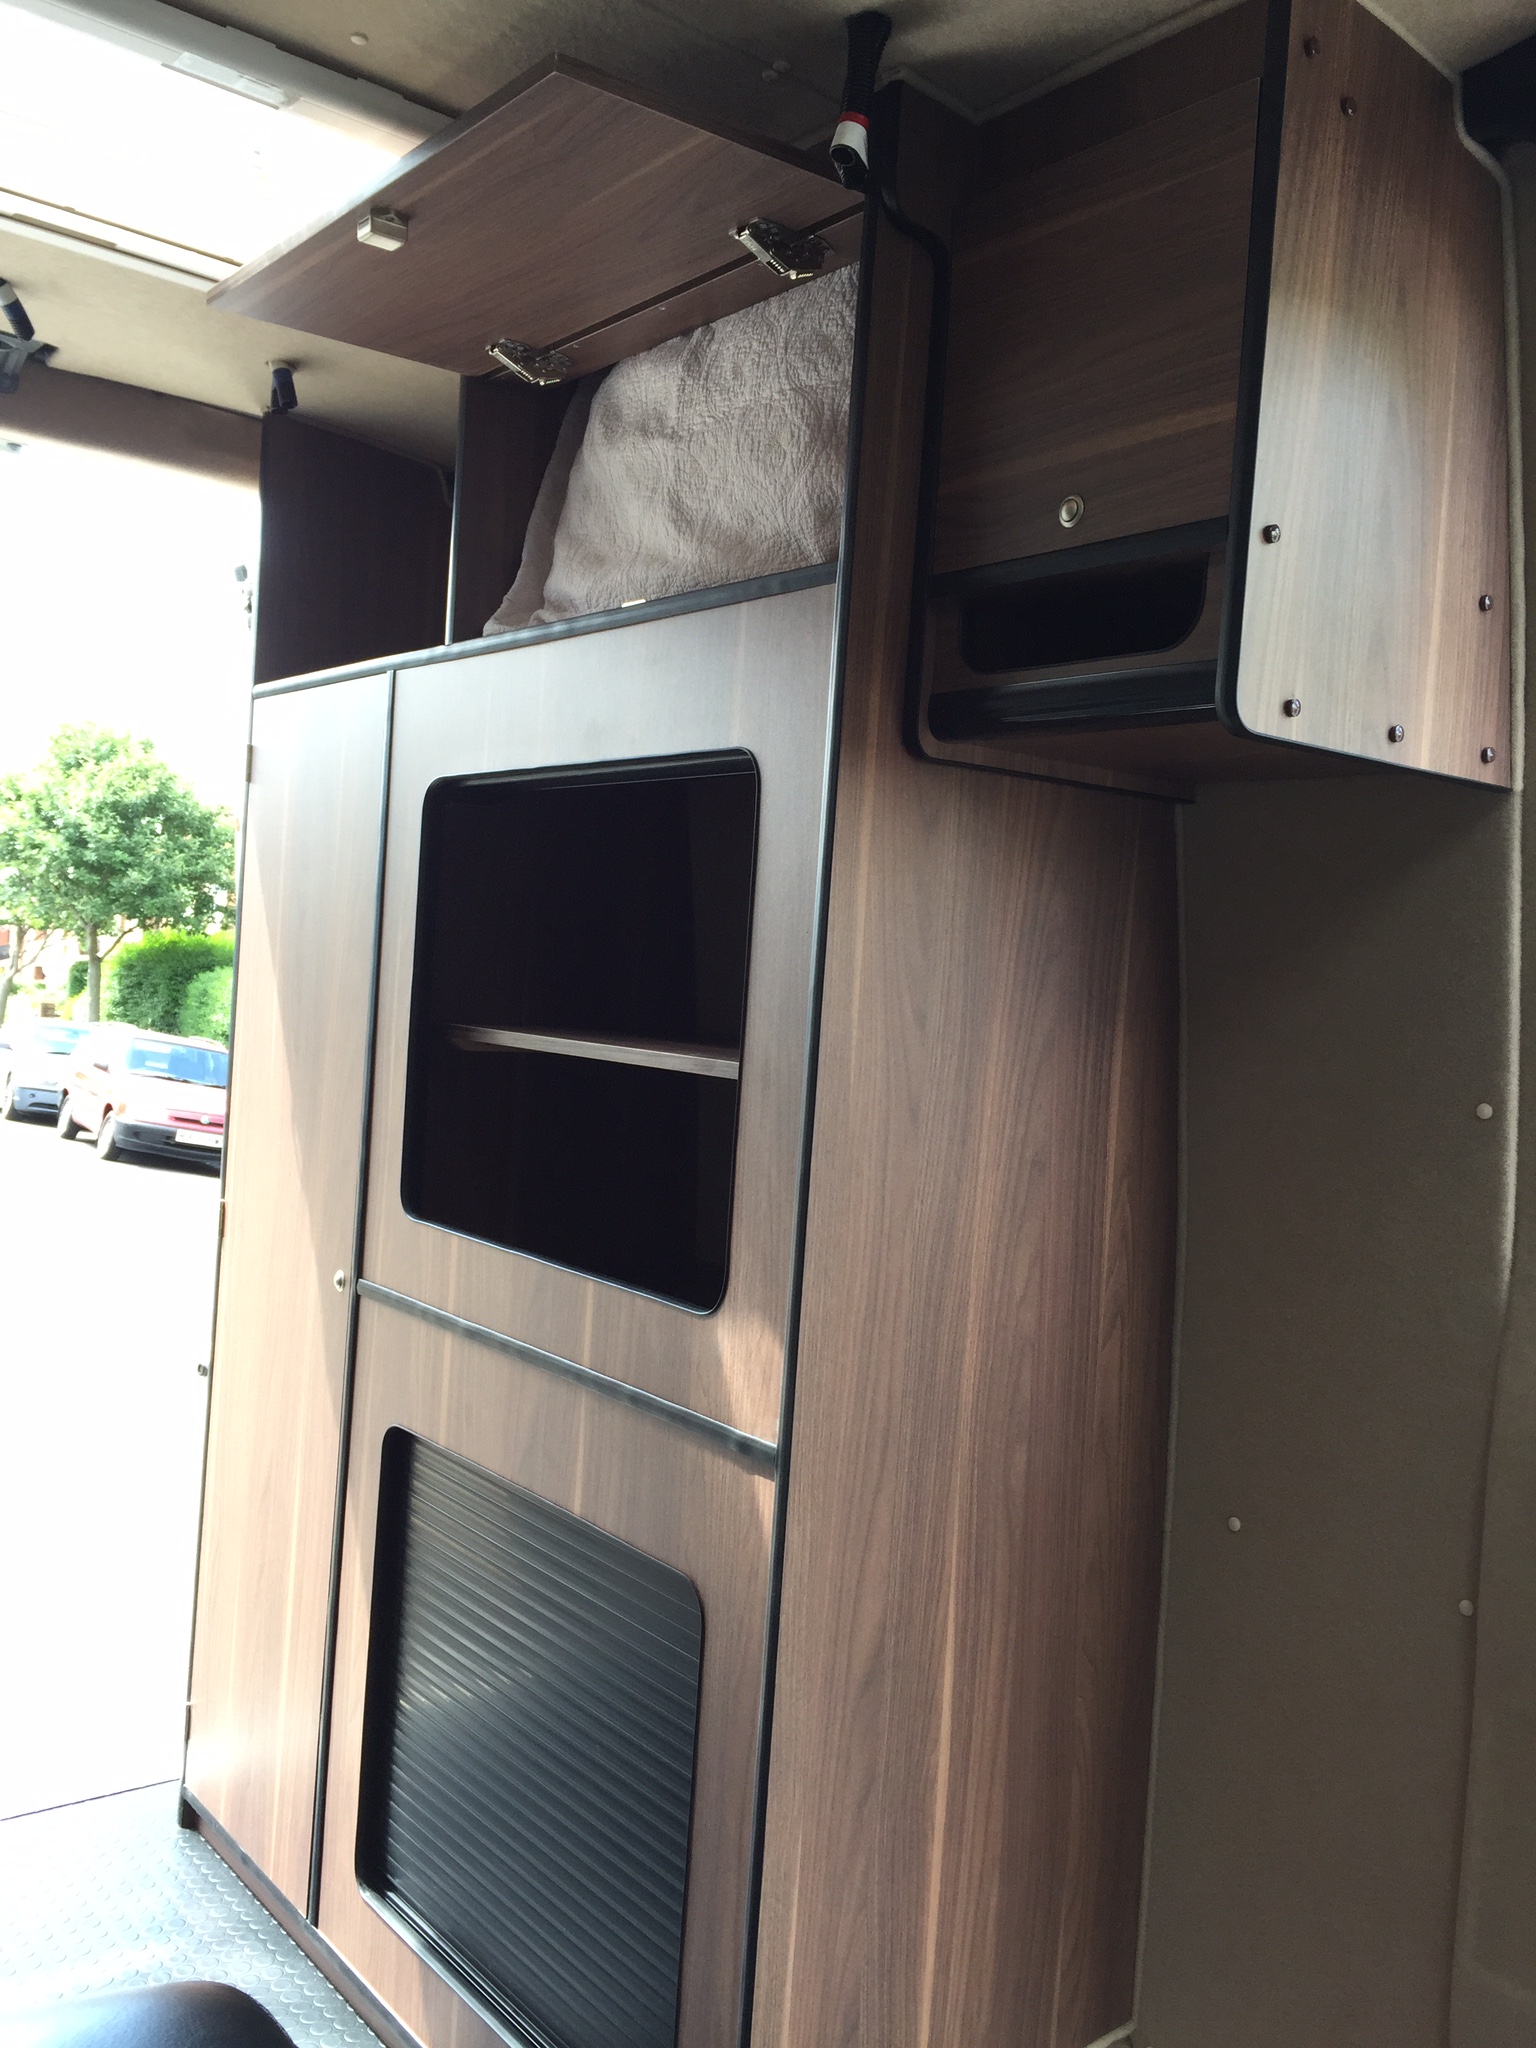
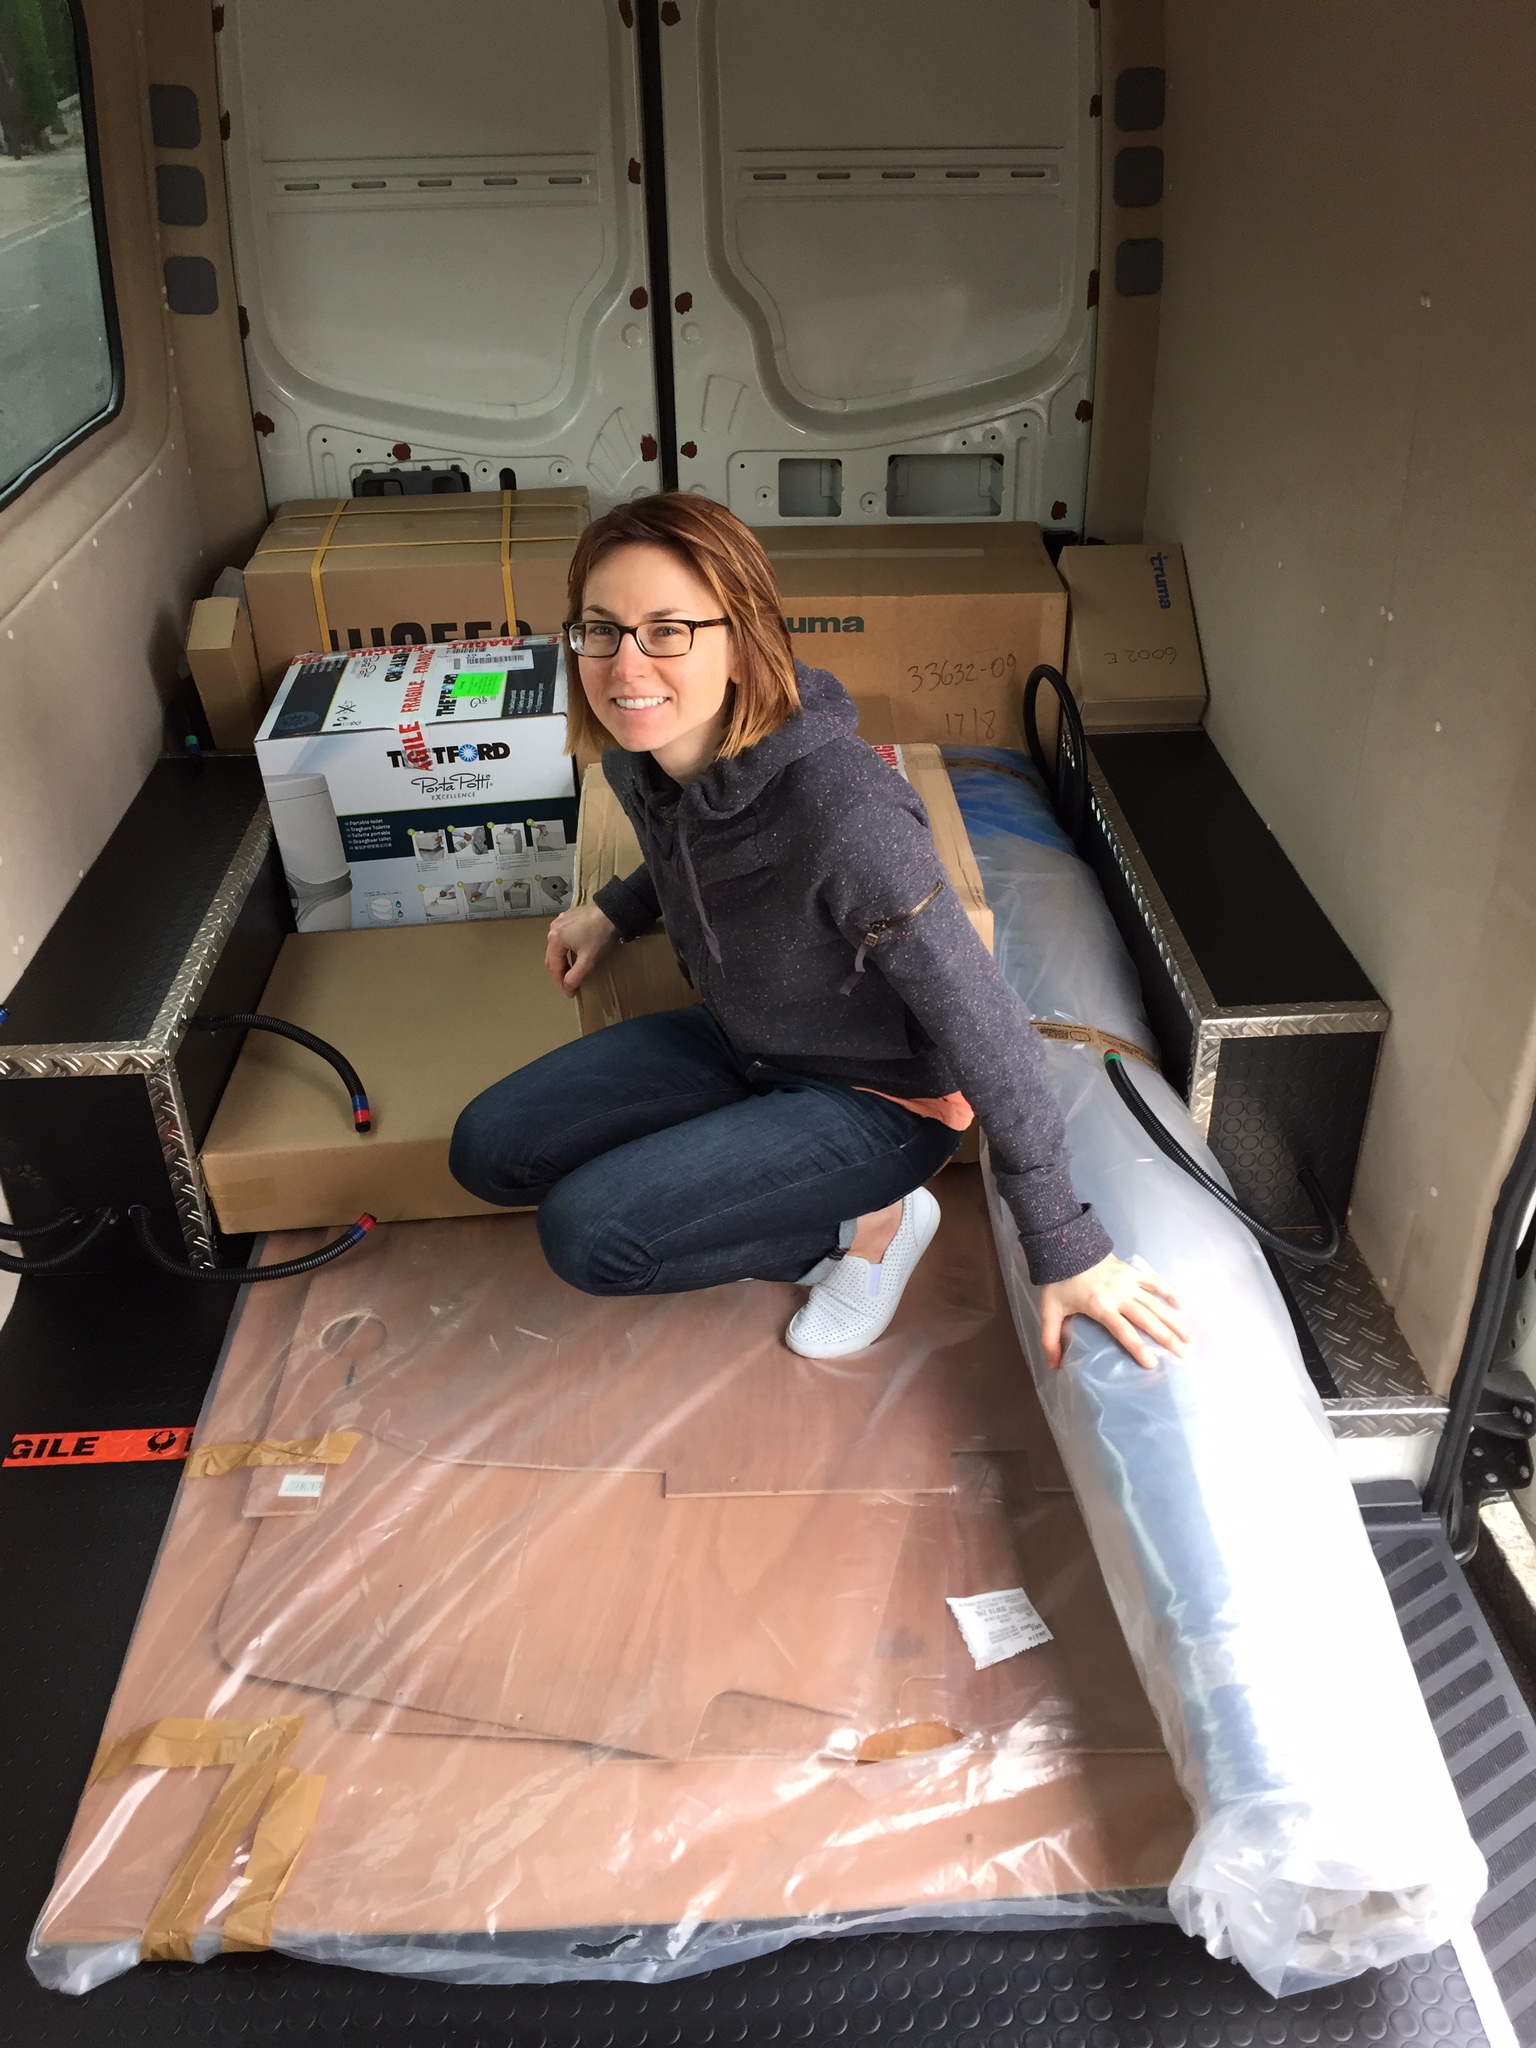
The bottom of the wardrobe (left) is dedicated to a Thetford Porta Potti Excellence (Manual) portable toilet. For emergencies. Better be safe than sorry.
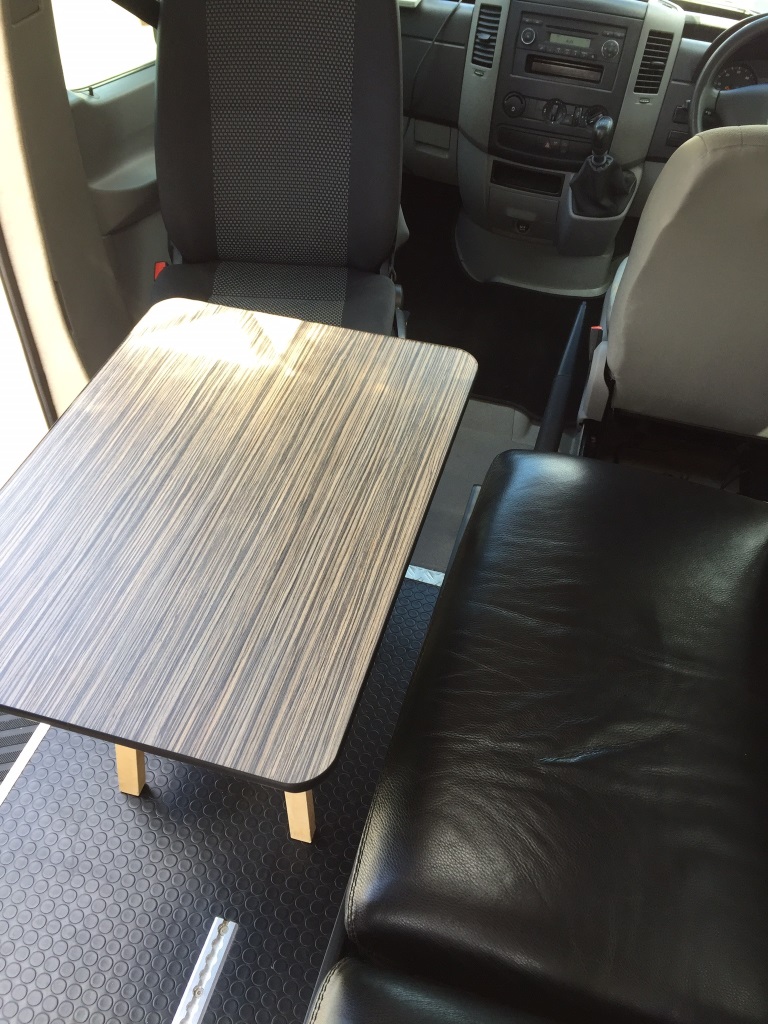
We also had a small table manufactured from the same Zebrano laminated plywood as the kitchen worktop. It doesn't have a leg to stand on at the moment. Jokes aside, I'll probably use these. We decided against the idea of using a single table leg mount with floor coupling, because we would like to be able to take this table outside as well. Although one of the seat rails could also be adapted to hold the table if all else fails.
The over-cab storage as well as O/S overhead storage cupboards are shown below. The over-cab storage is reinforced and shares fixings with the Jesus handles.
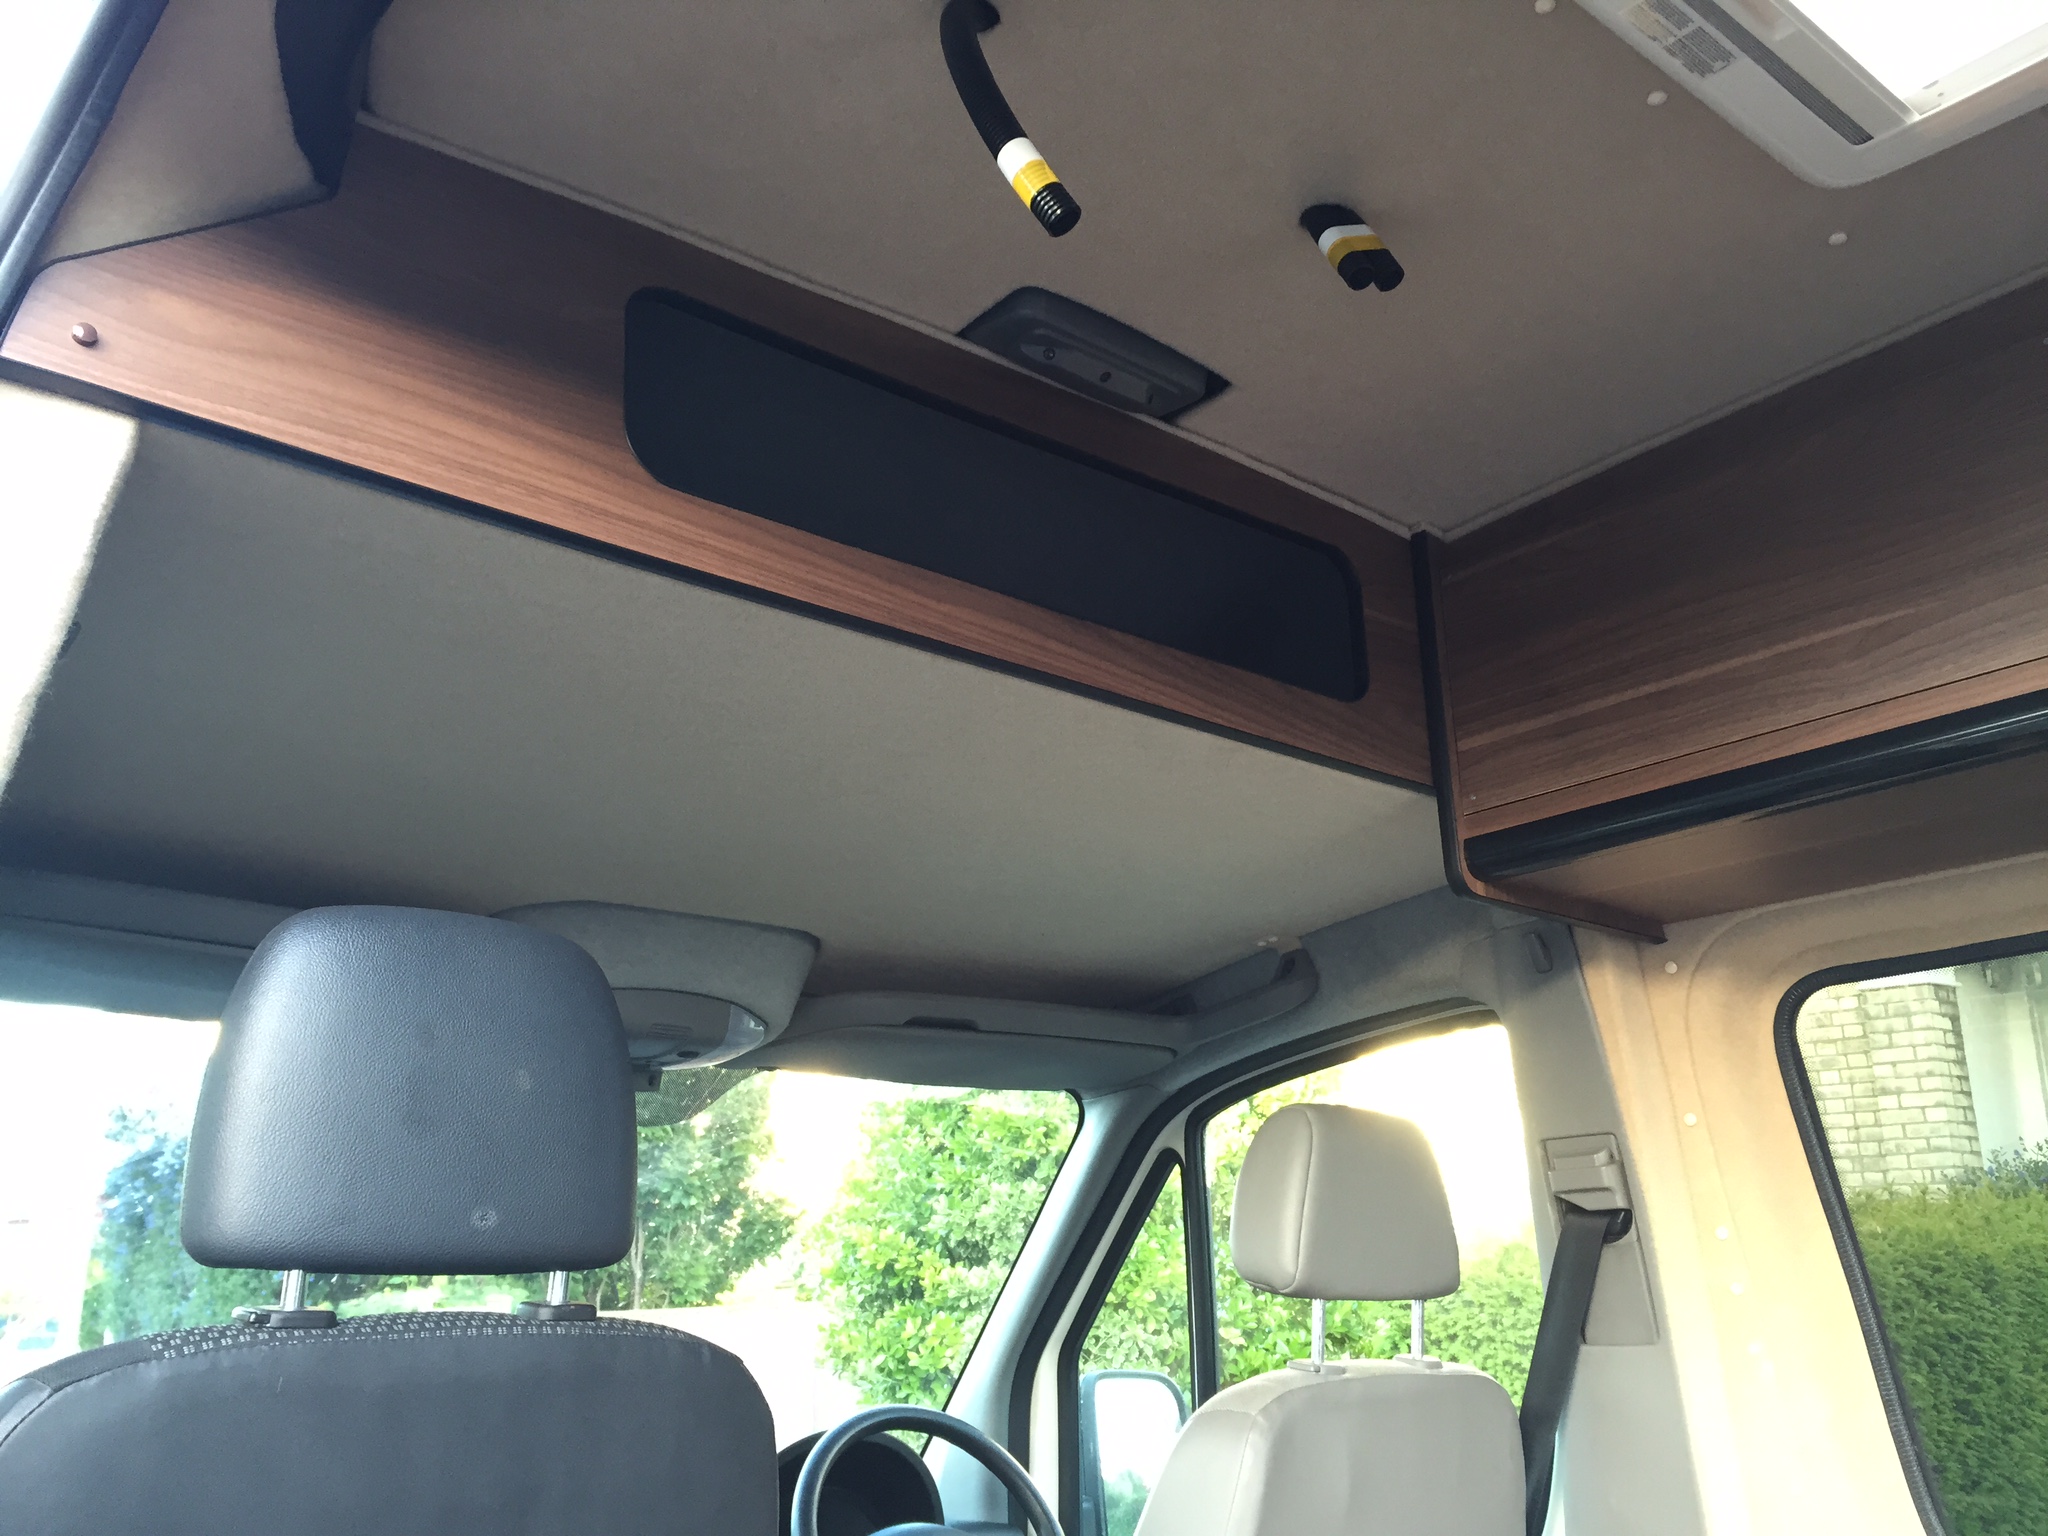
Note the left hand cupboard door is fixed, as it is a designated electrical wiring closet. All of the conduits terminate inside there as well as the trunk from the roof, which is designed to carry DC from solar panel(s) as well as coax cables for satellite Internet and an omni-directional hi-gain Wi-Fi antenna. It will also house wireless router, satellite modem and all other fixed electronic gear I can't think off right now.
Sadly, our work-of-art wheel arch boxes had to be sacrificed in the interests of space conservation.
Next Steps
Broadly speaking, the last phase includes the following outstanding tasks:
- insulating, lining and carpeting the rear and sliding doors
- roof bars, ladder and spare wheel relocation
- gas, water, electrical
- solar panel(s)
- awning and roof box(s)
Once I've completed the gas installation, I will probably create a separate entry, as I envisage this to be one PITA of a job.
Next job is to try wedge one of these under the van..
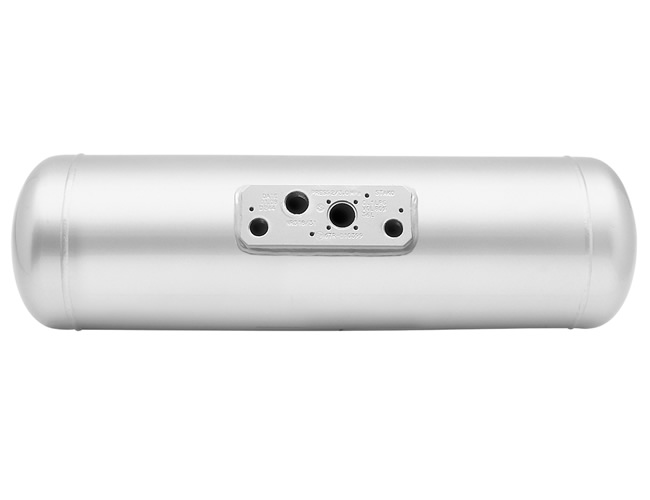
Wish me luck..
:)
